
Our first flip home
WANNA CHECK IT OUT?
Lance and I had always fantasized about doing a house flip but we sort of thought it was out of our reach. We both had demanding full time jobs. And didn't have a big chunk of cash accessible.

So we started looking at financing options and gathered our pennies together. We added to that with a hard money loan, which is typically issued by a private investor or company. And off we went!

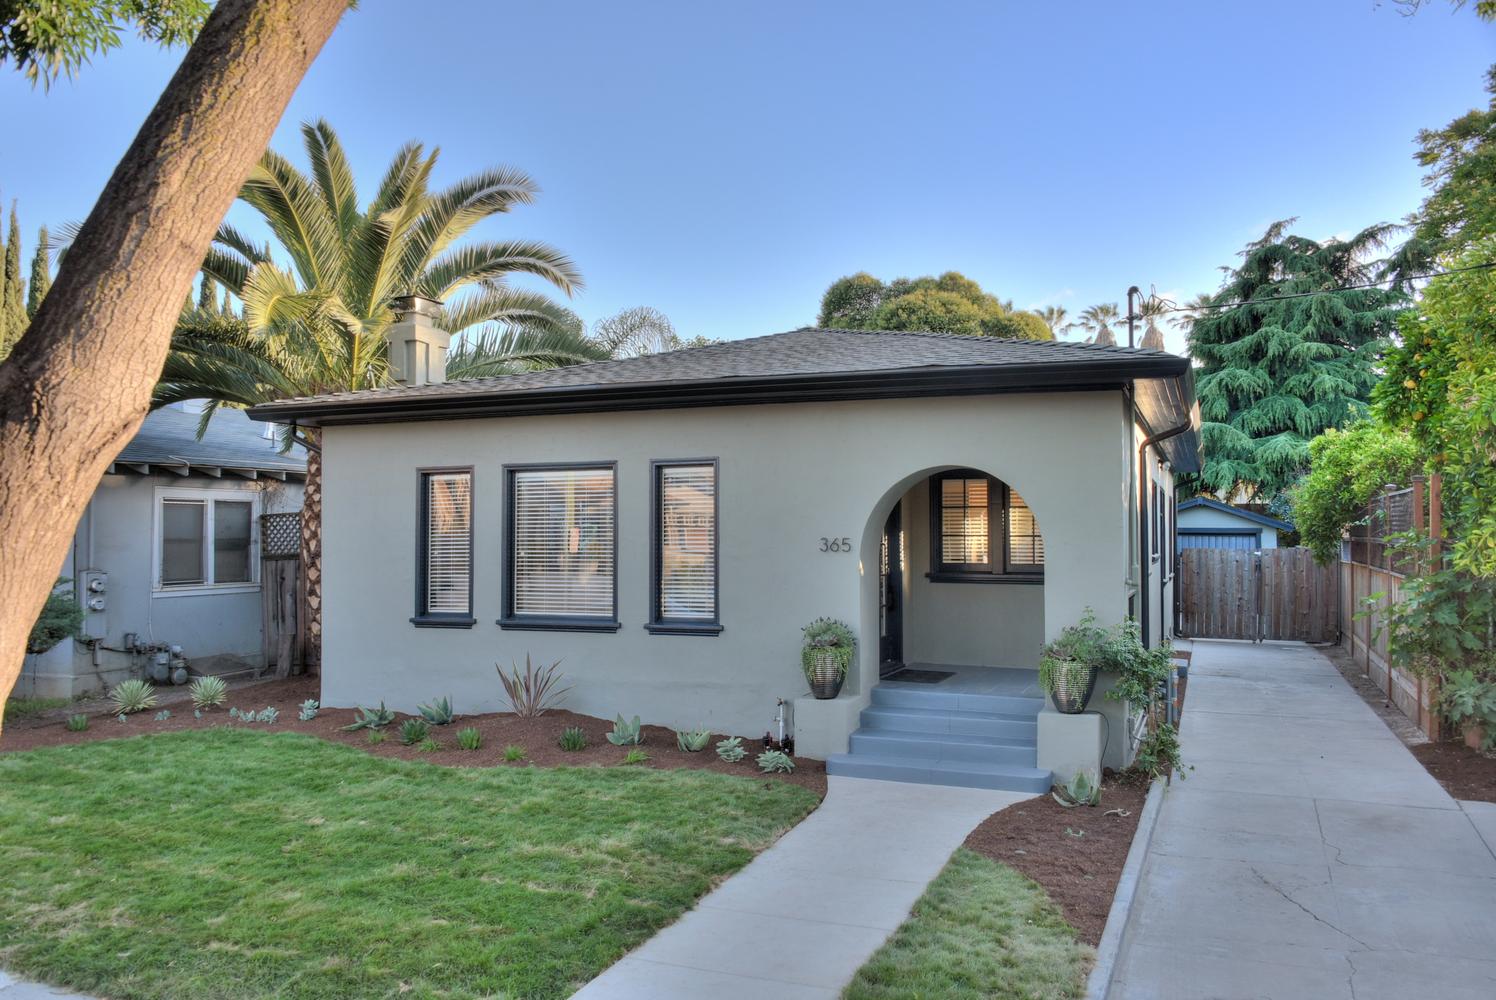
Here it is: 365 6th Street
We just thought this little house was so charming and screaming for some help. It had some great architectural features (and a great palm tree). And over all curb appeal (or imagined that it would eventually). It also happened to be blocks from downtown San Jose, one of the fastest growing cities in the country.
We quickly realized that the hardest part of this business is actually finding inventory. We are in the Silicon Valley which is particularly challenging right now. After looking at a lot of dogs, we found this little gem. We were immediately drawn to some of the original architectural elements, like arched doorways. And it met our number one requirement of never having been touched or renovated. We don't want to pay extra for someone else's work and usually have our own vision that we want to execute.
WANT A TOUR?
I'm going to walk you through, space by space, so you can see it through our eyes when we first went to the open house (minus the bad staging!)
The living room
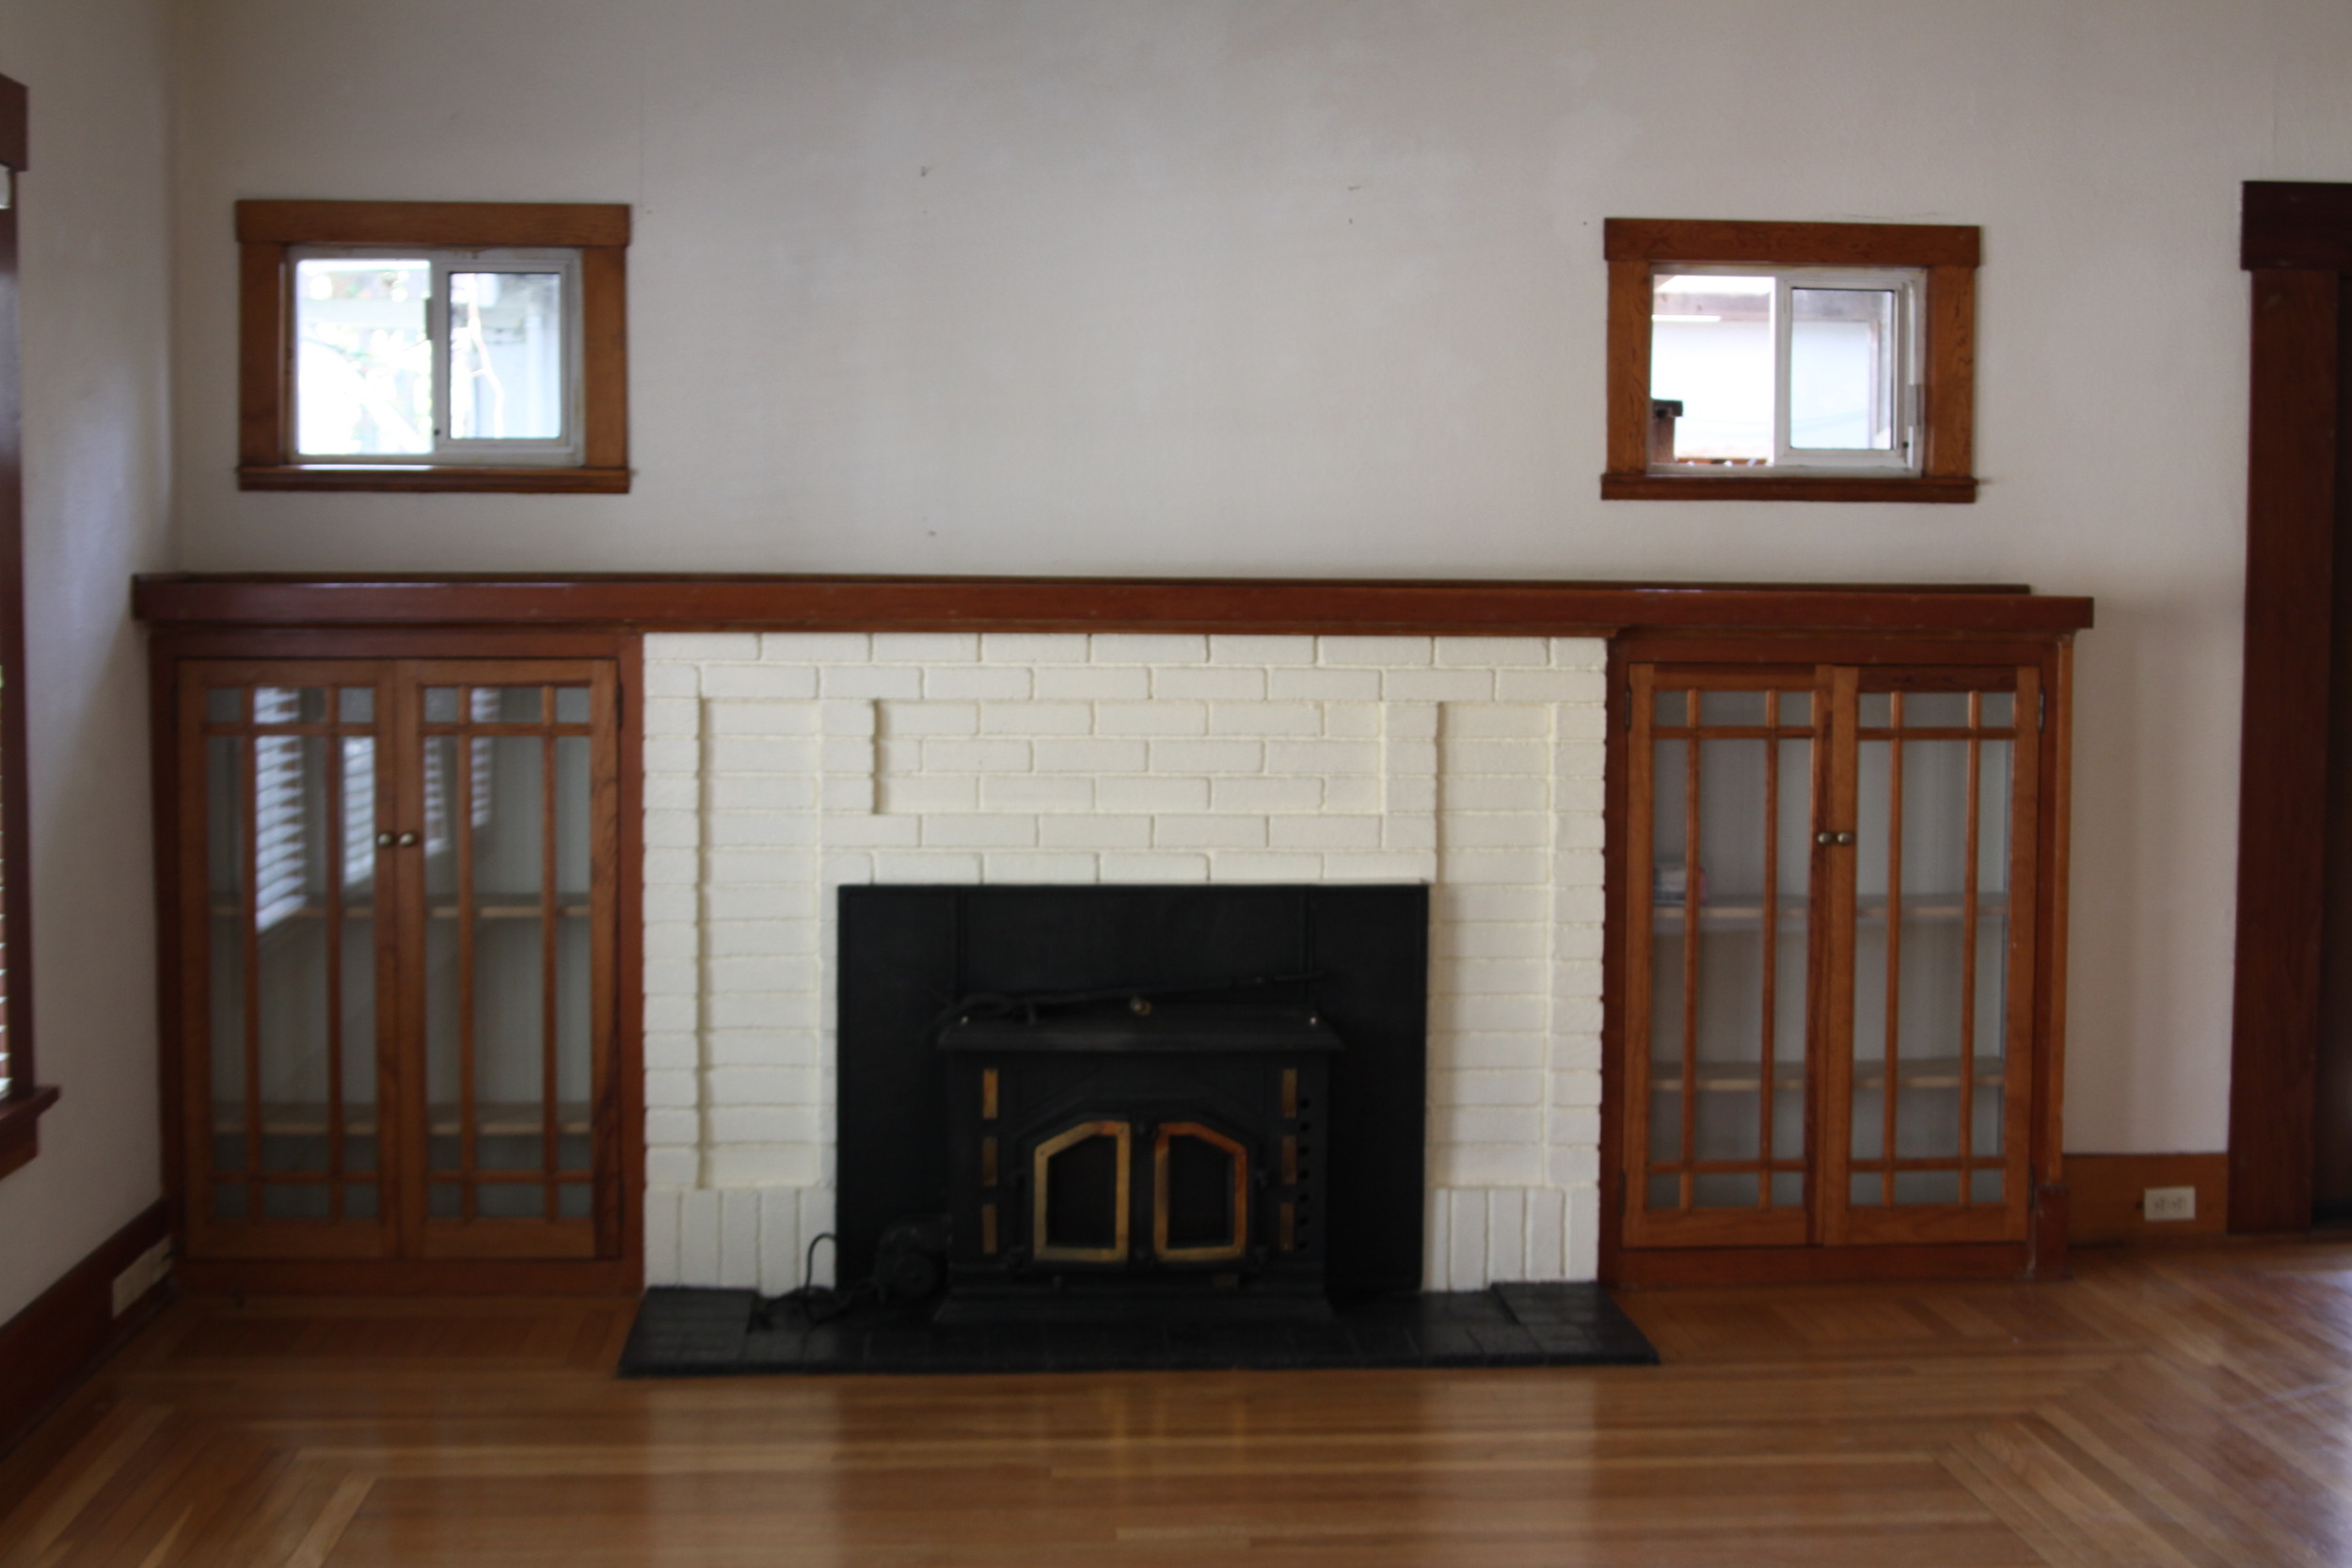
The colors might have been a bit heinous (oh, and the fan) but that's easy to change. We looked past this and marveled at the gorgeous built-ins. Why don't they make houses like this anymore?
The kitchen
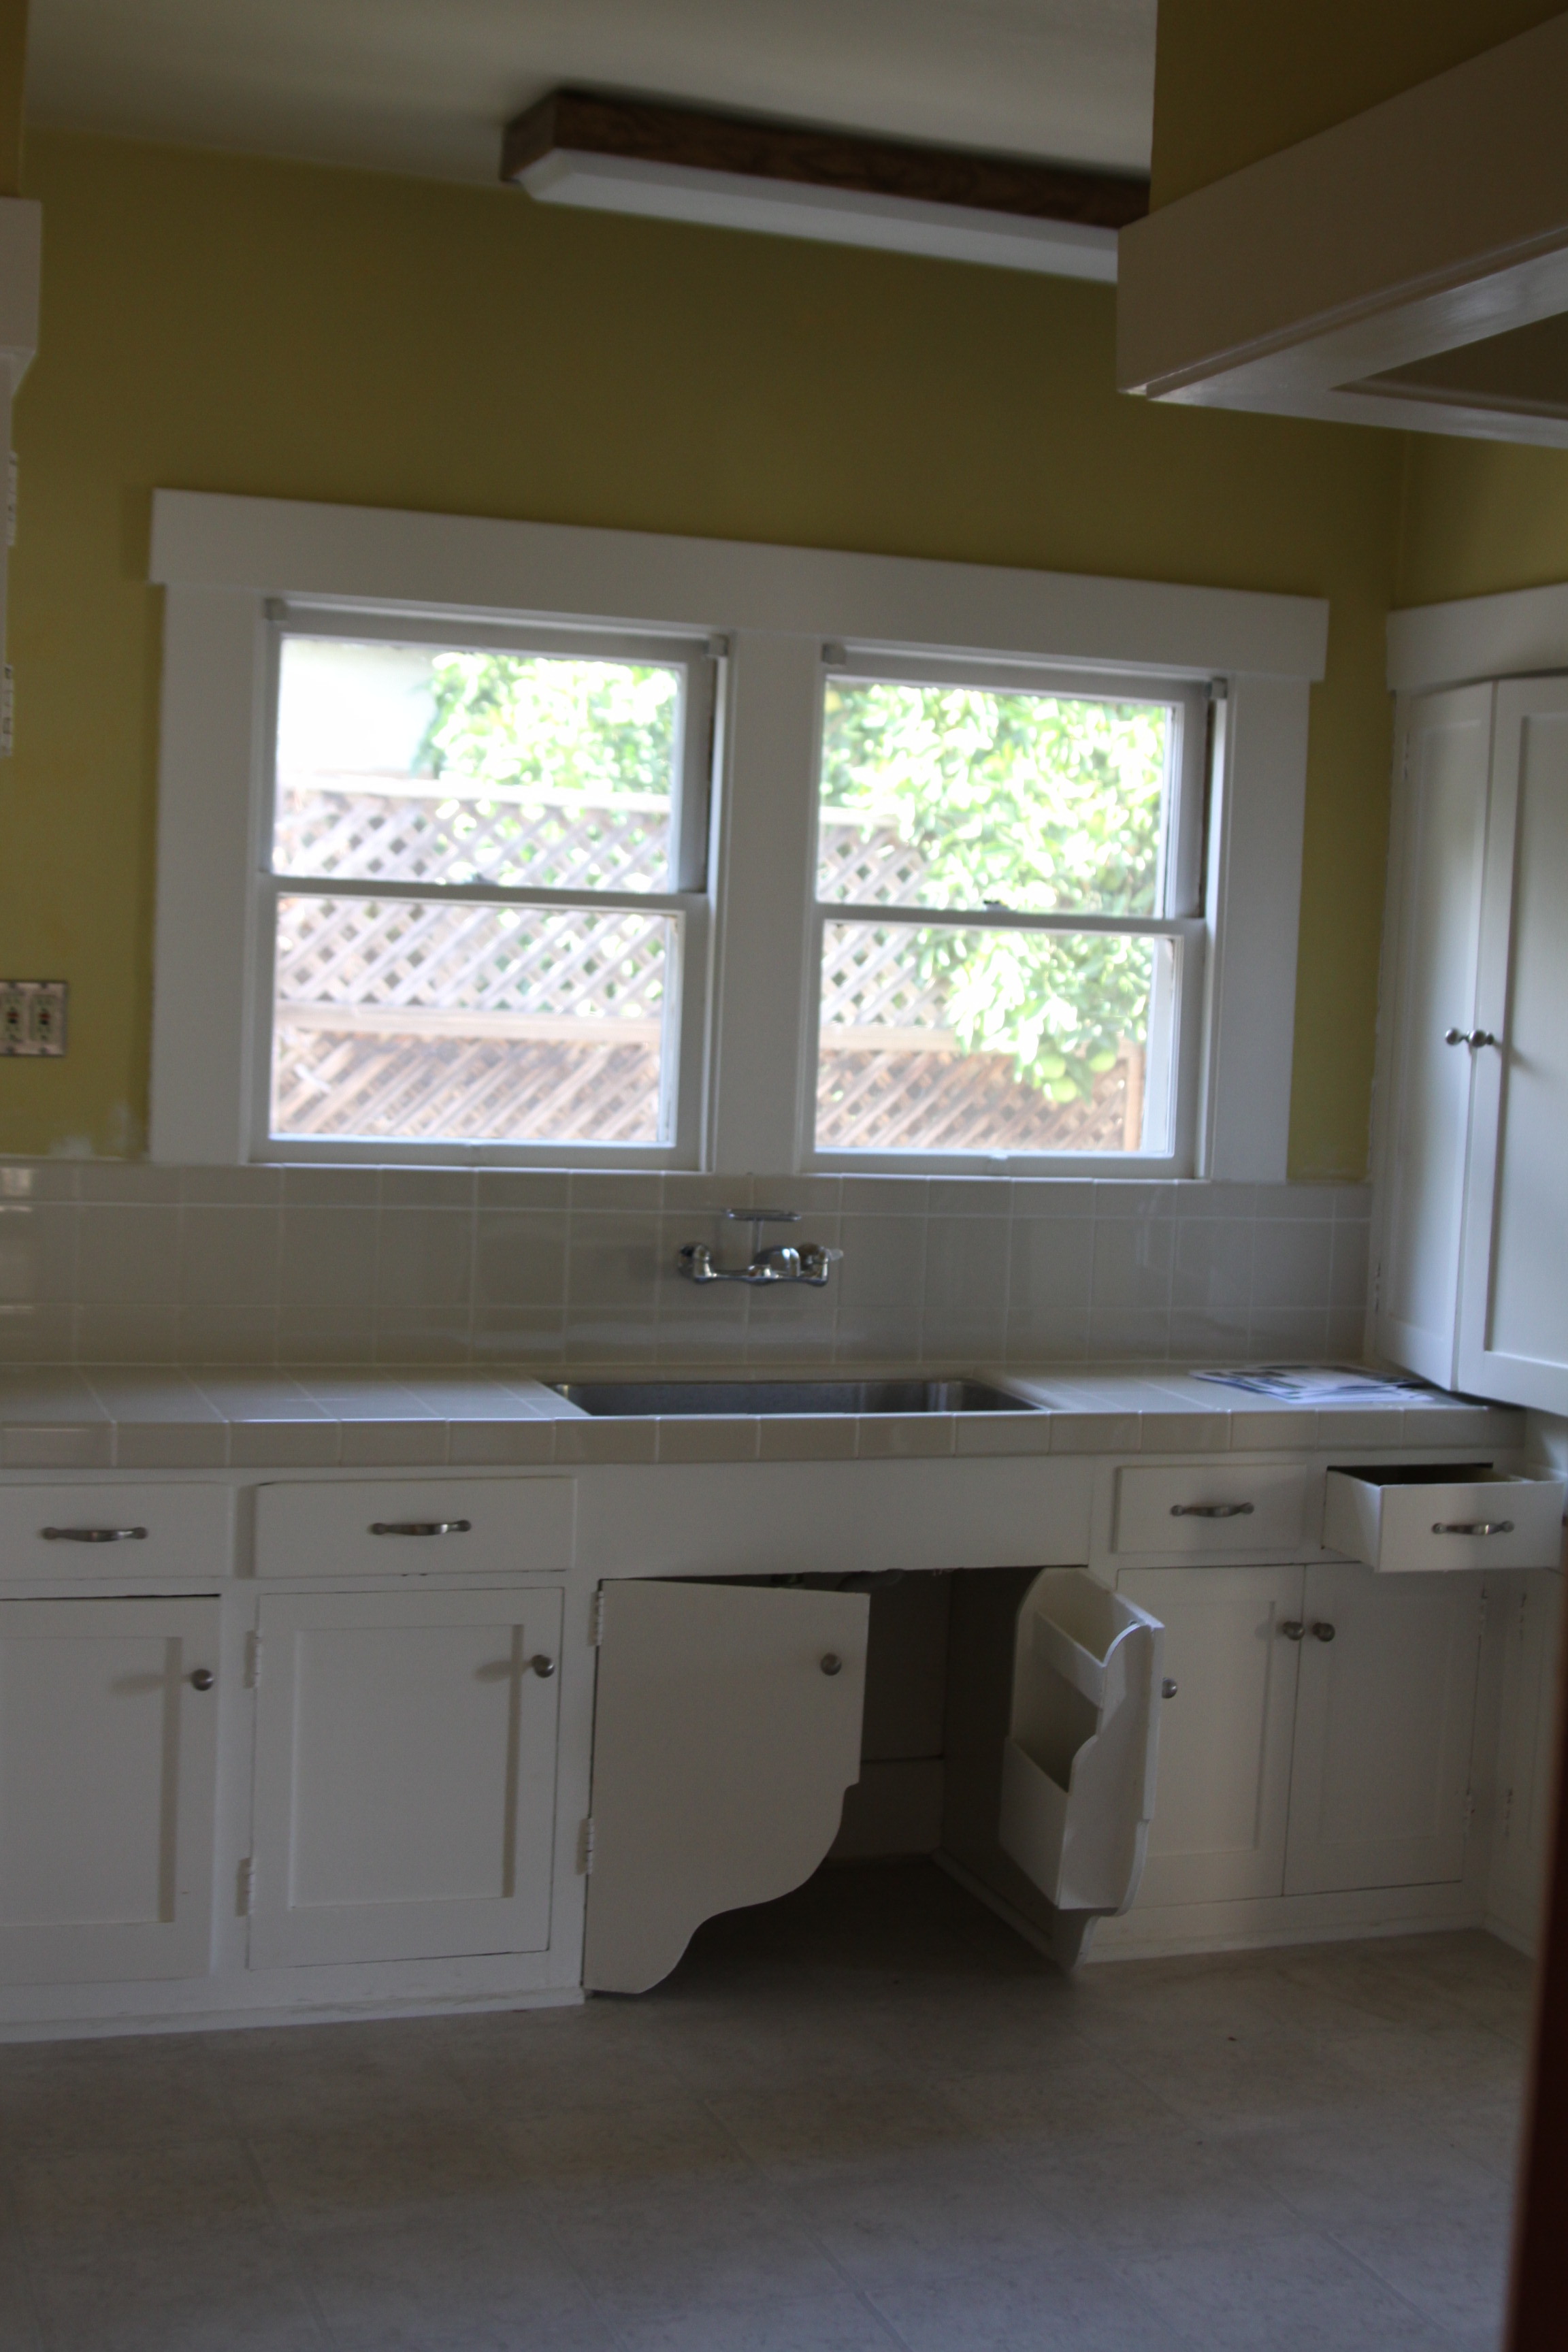
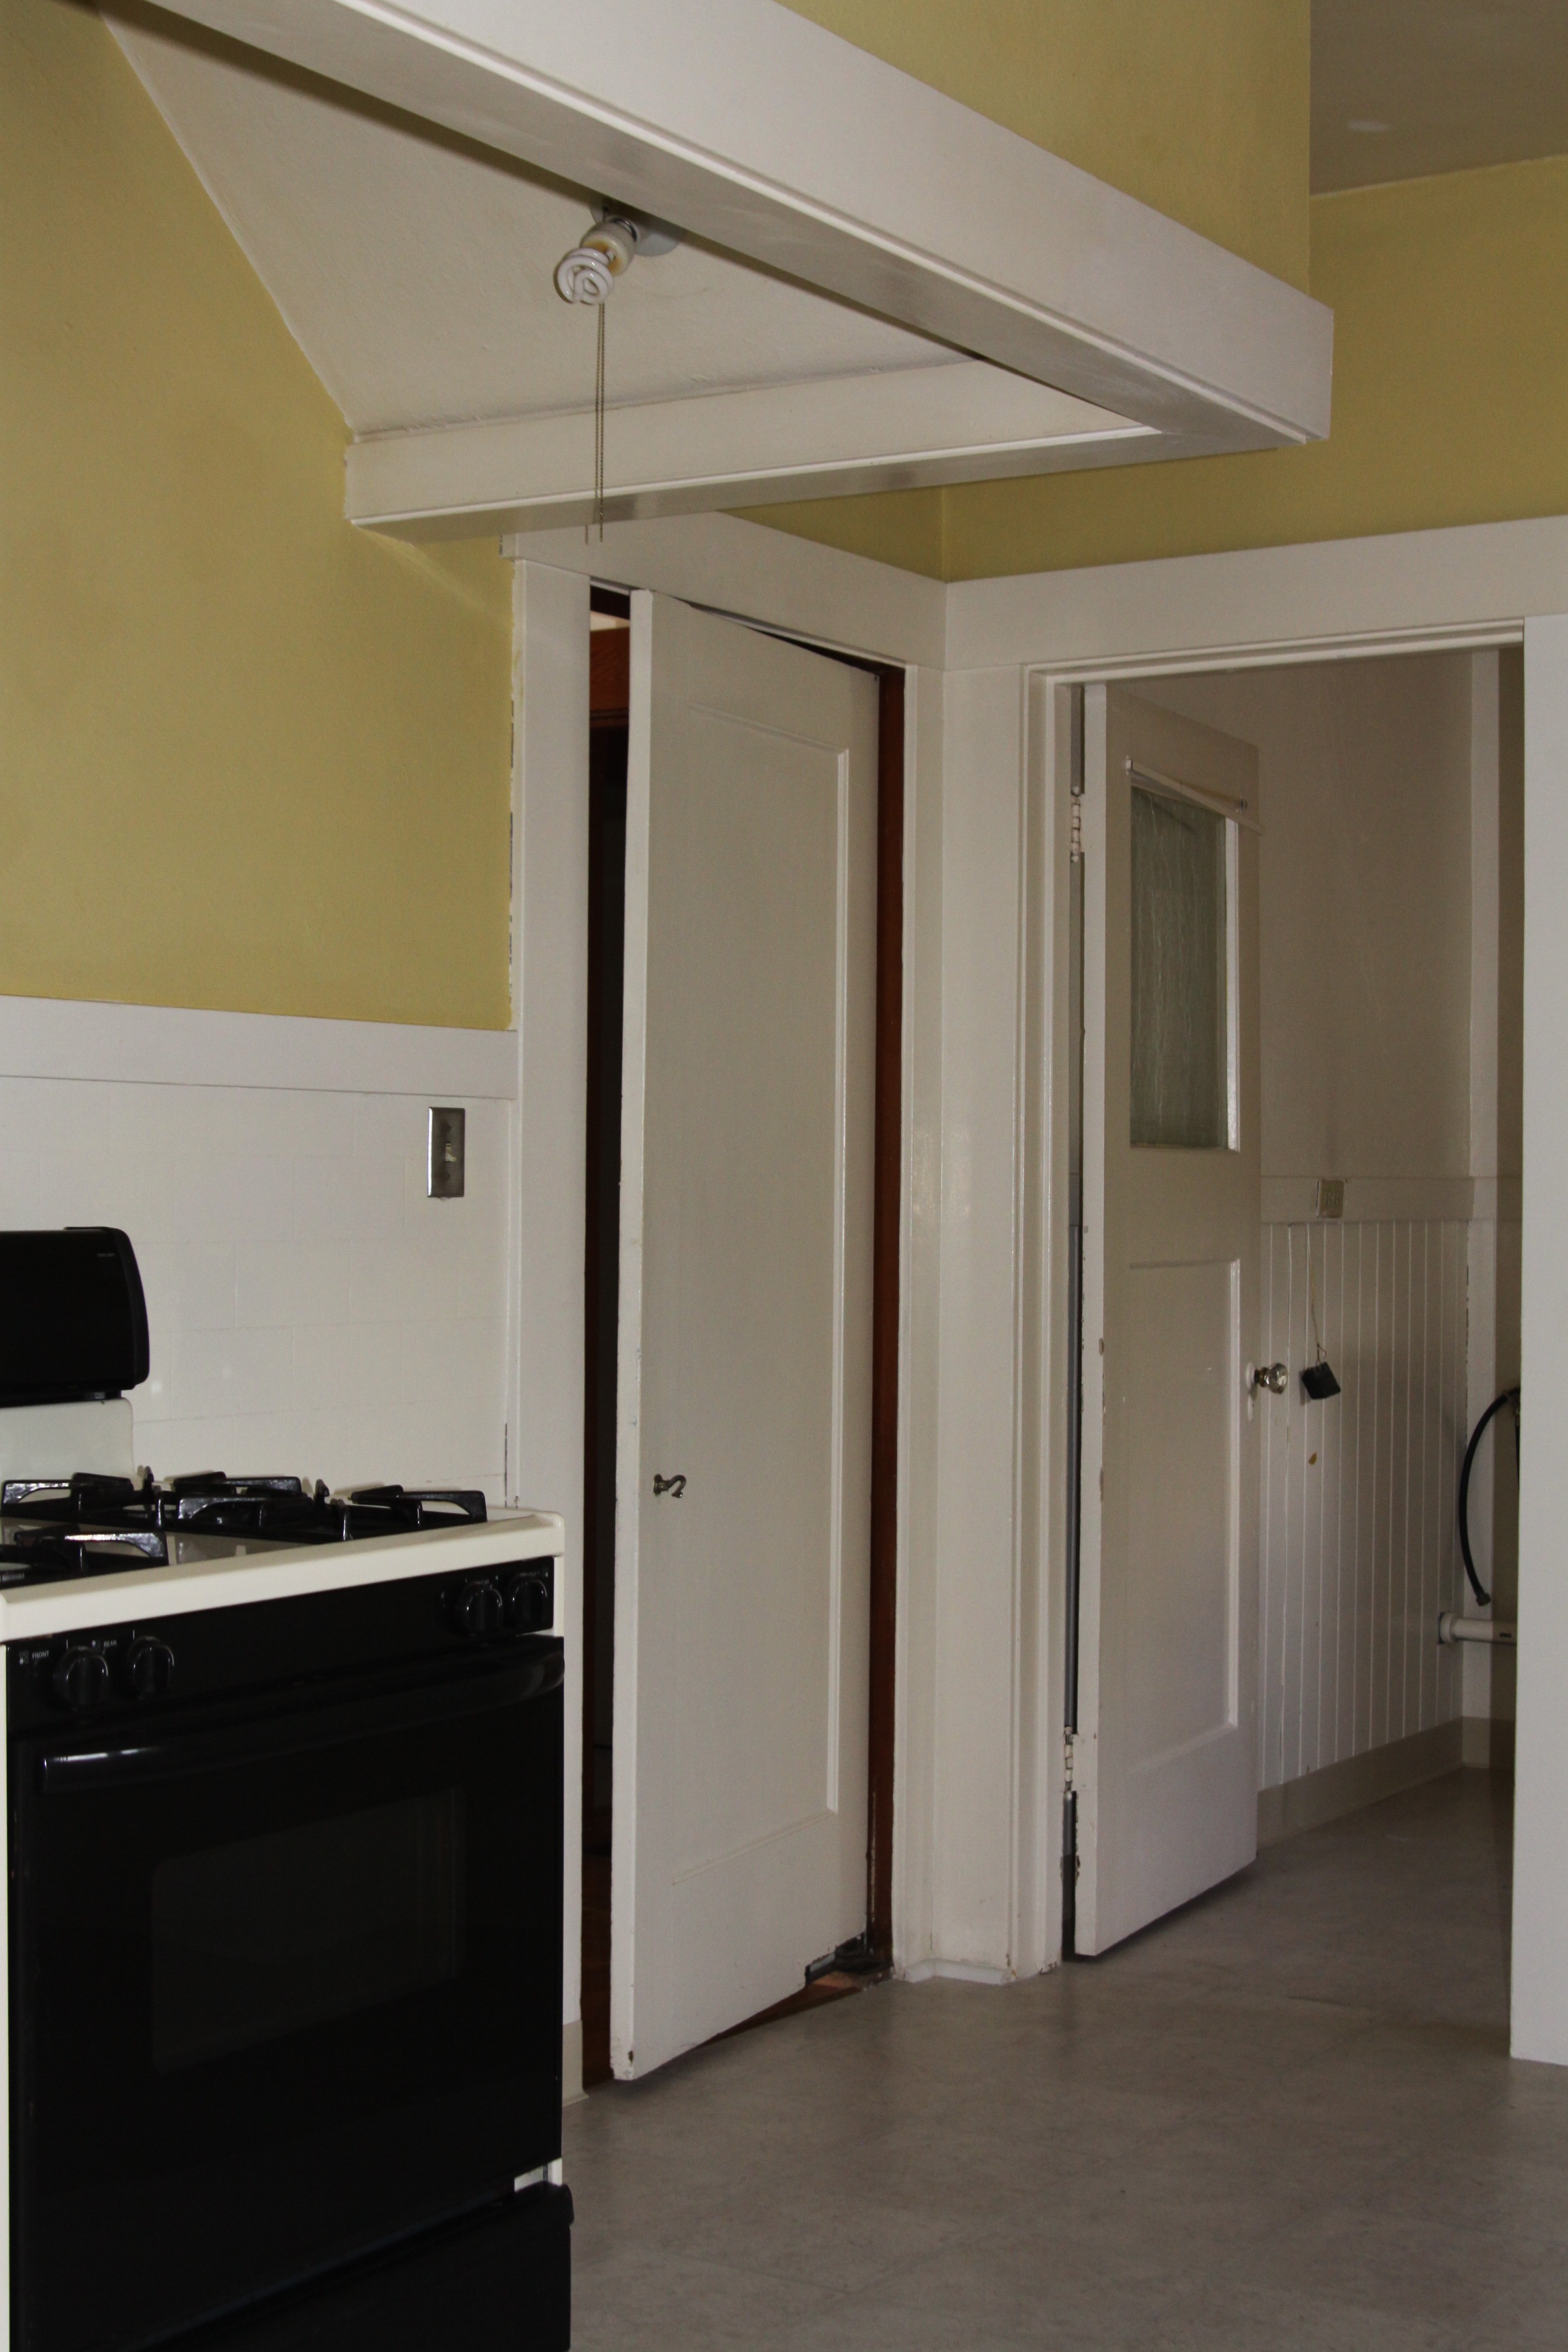
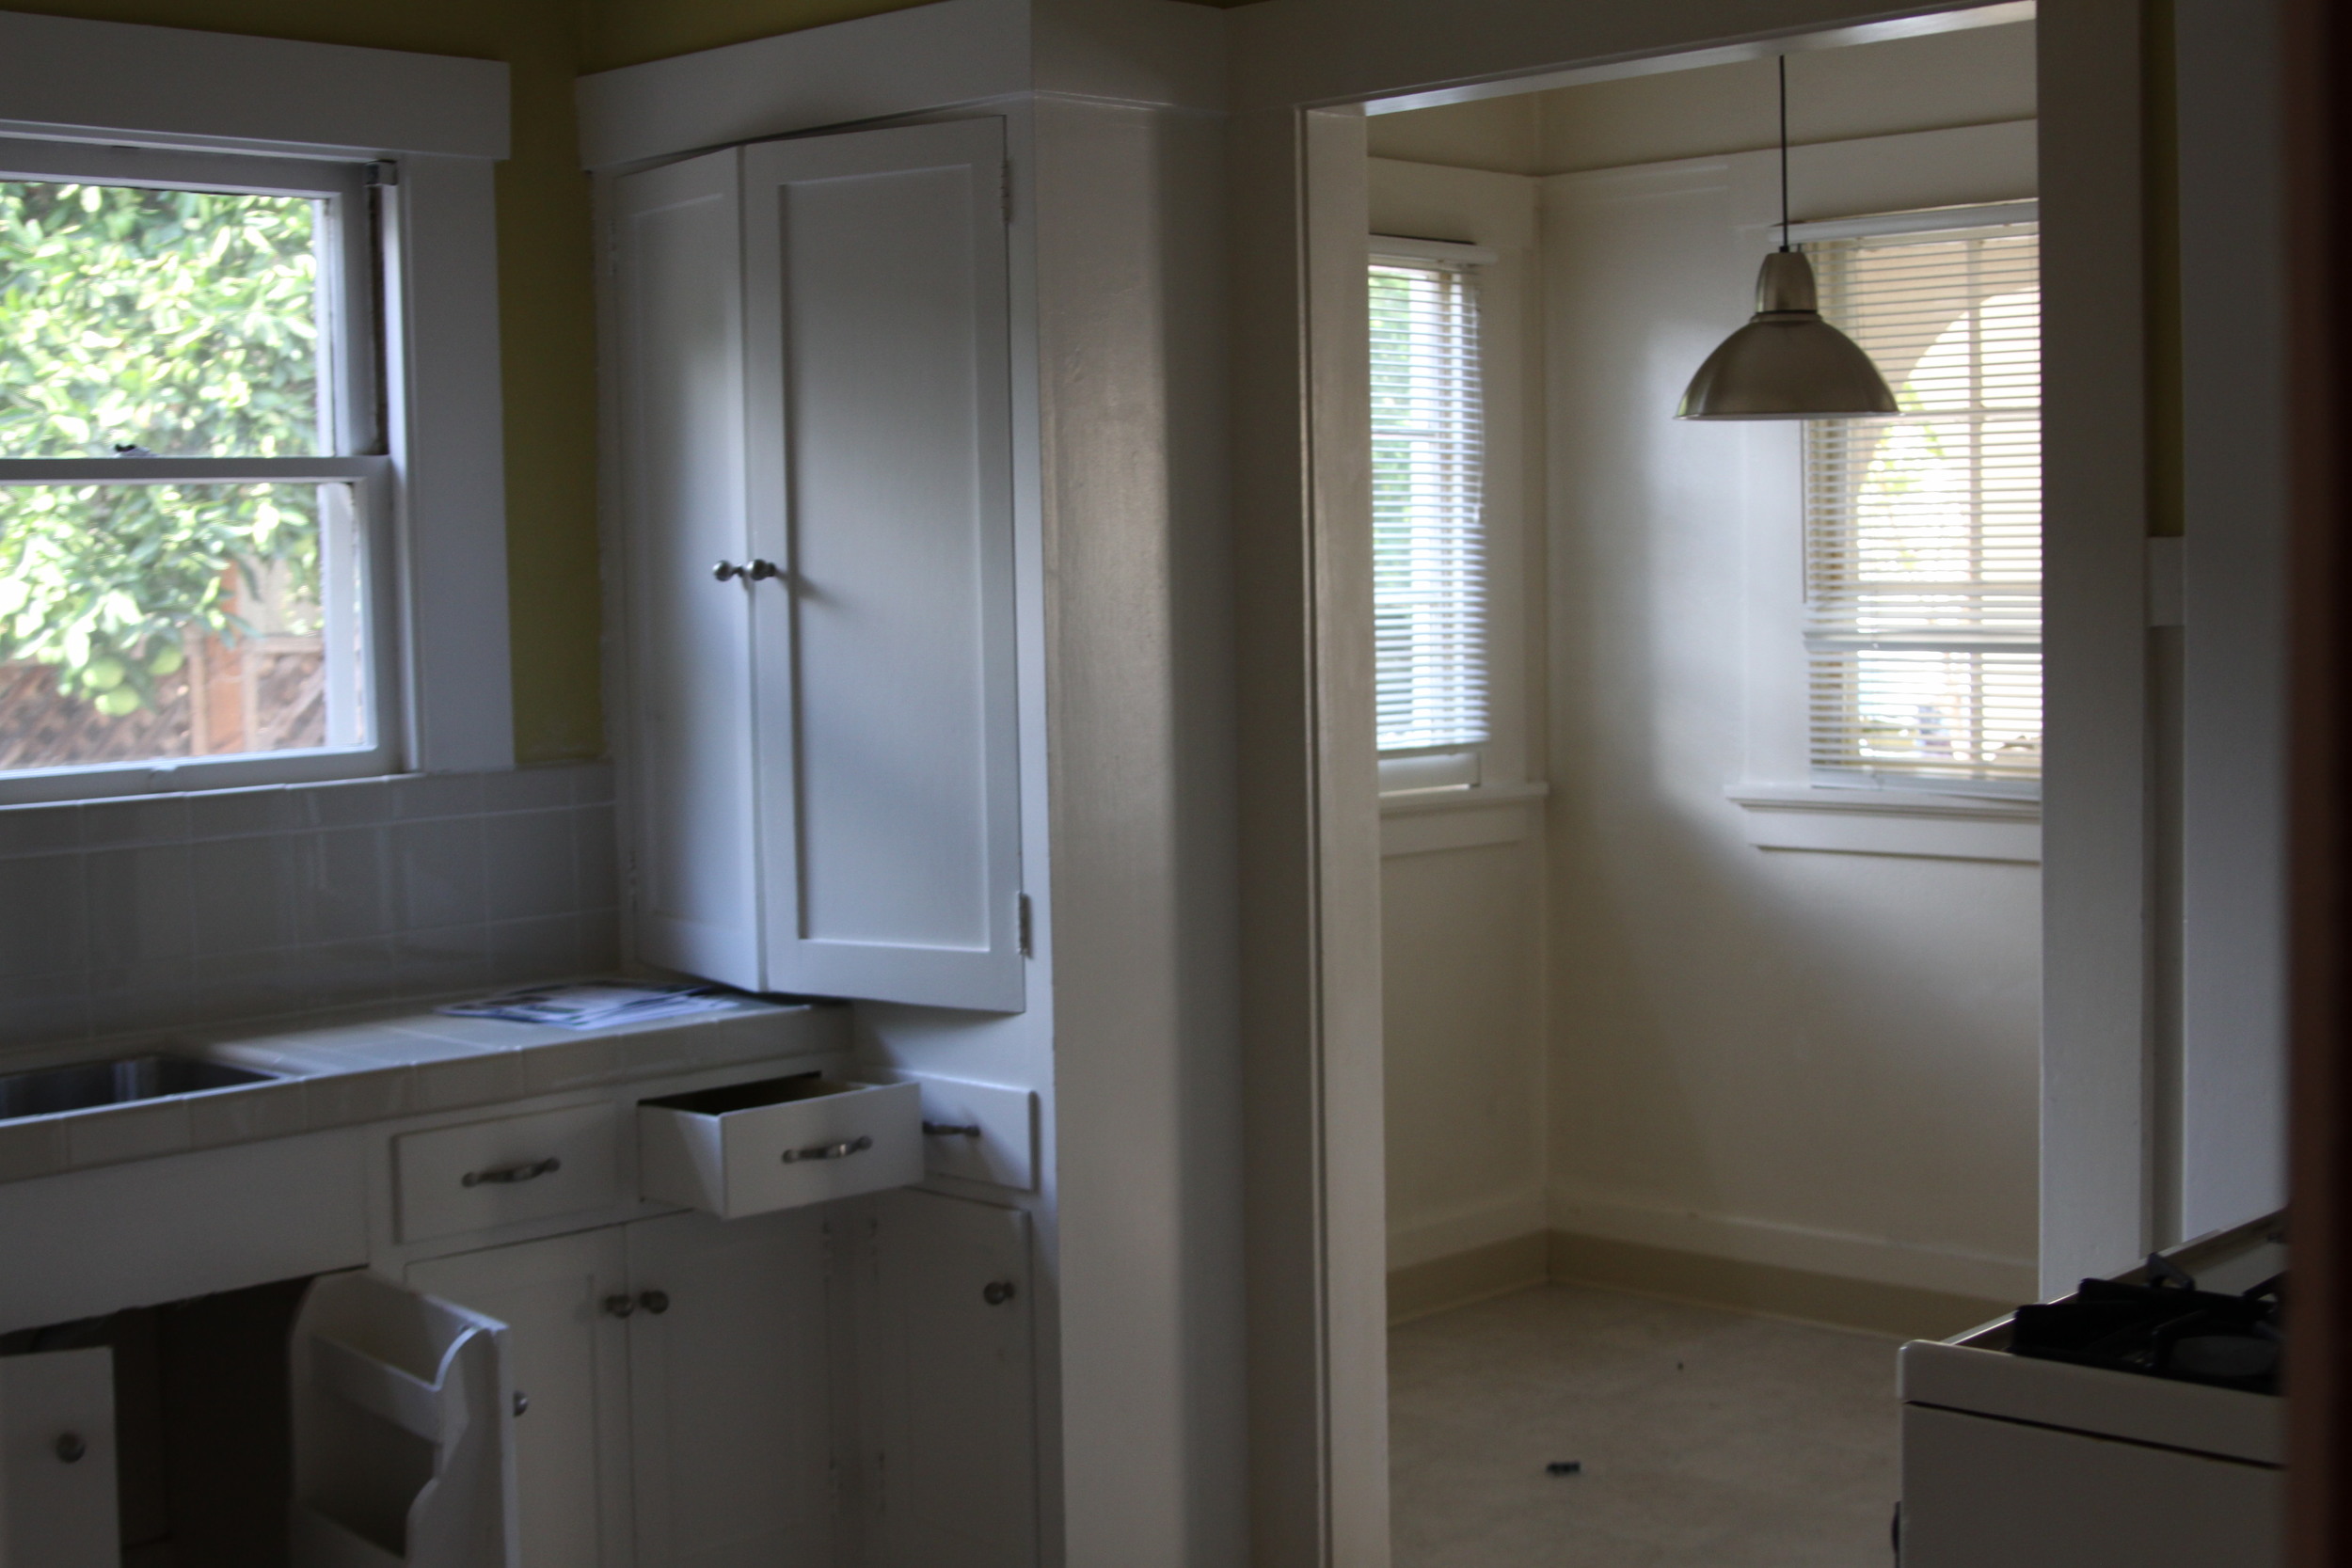
This kitchen was a piece of work! Not only did it have this built-in hood above the stove that took up half the room. But the kitchen was broken up into separate rooms; the cooking area and then an eat-in kitchen. Once we realized we were able to open the two rooms up, our options opened up as well. We could have a really spacious kitchen!
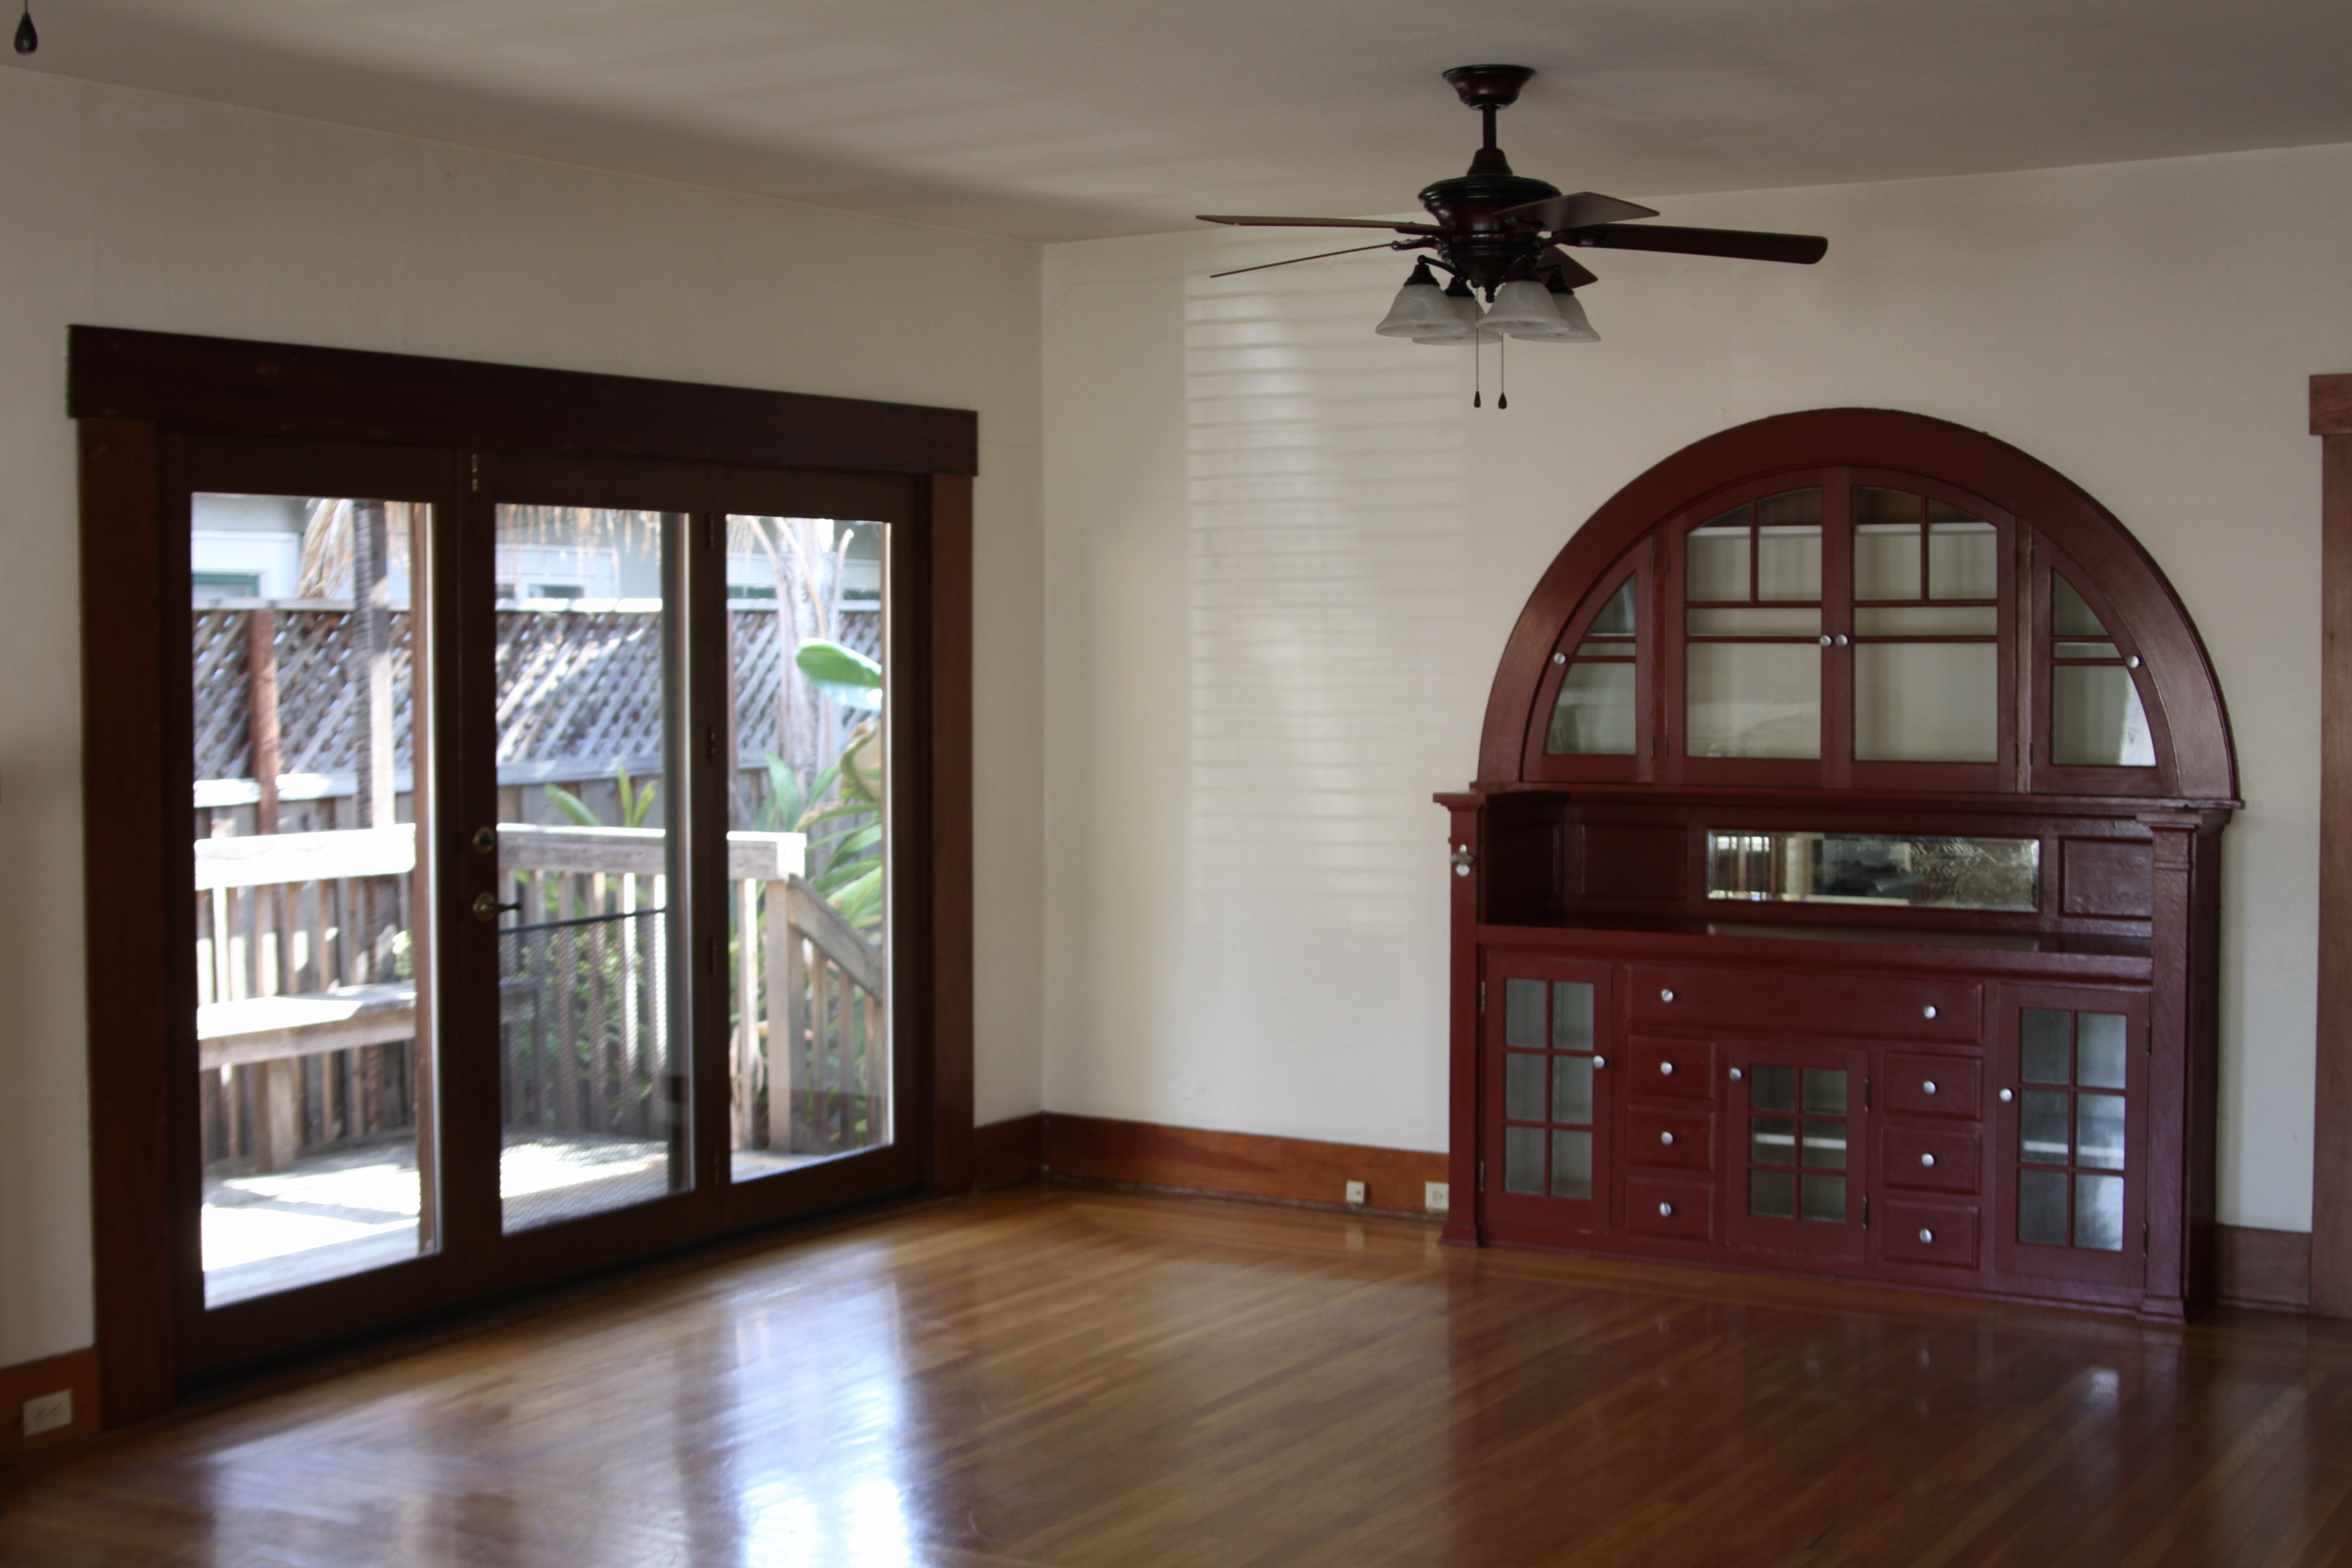
The yard
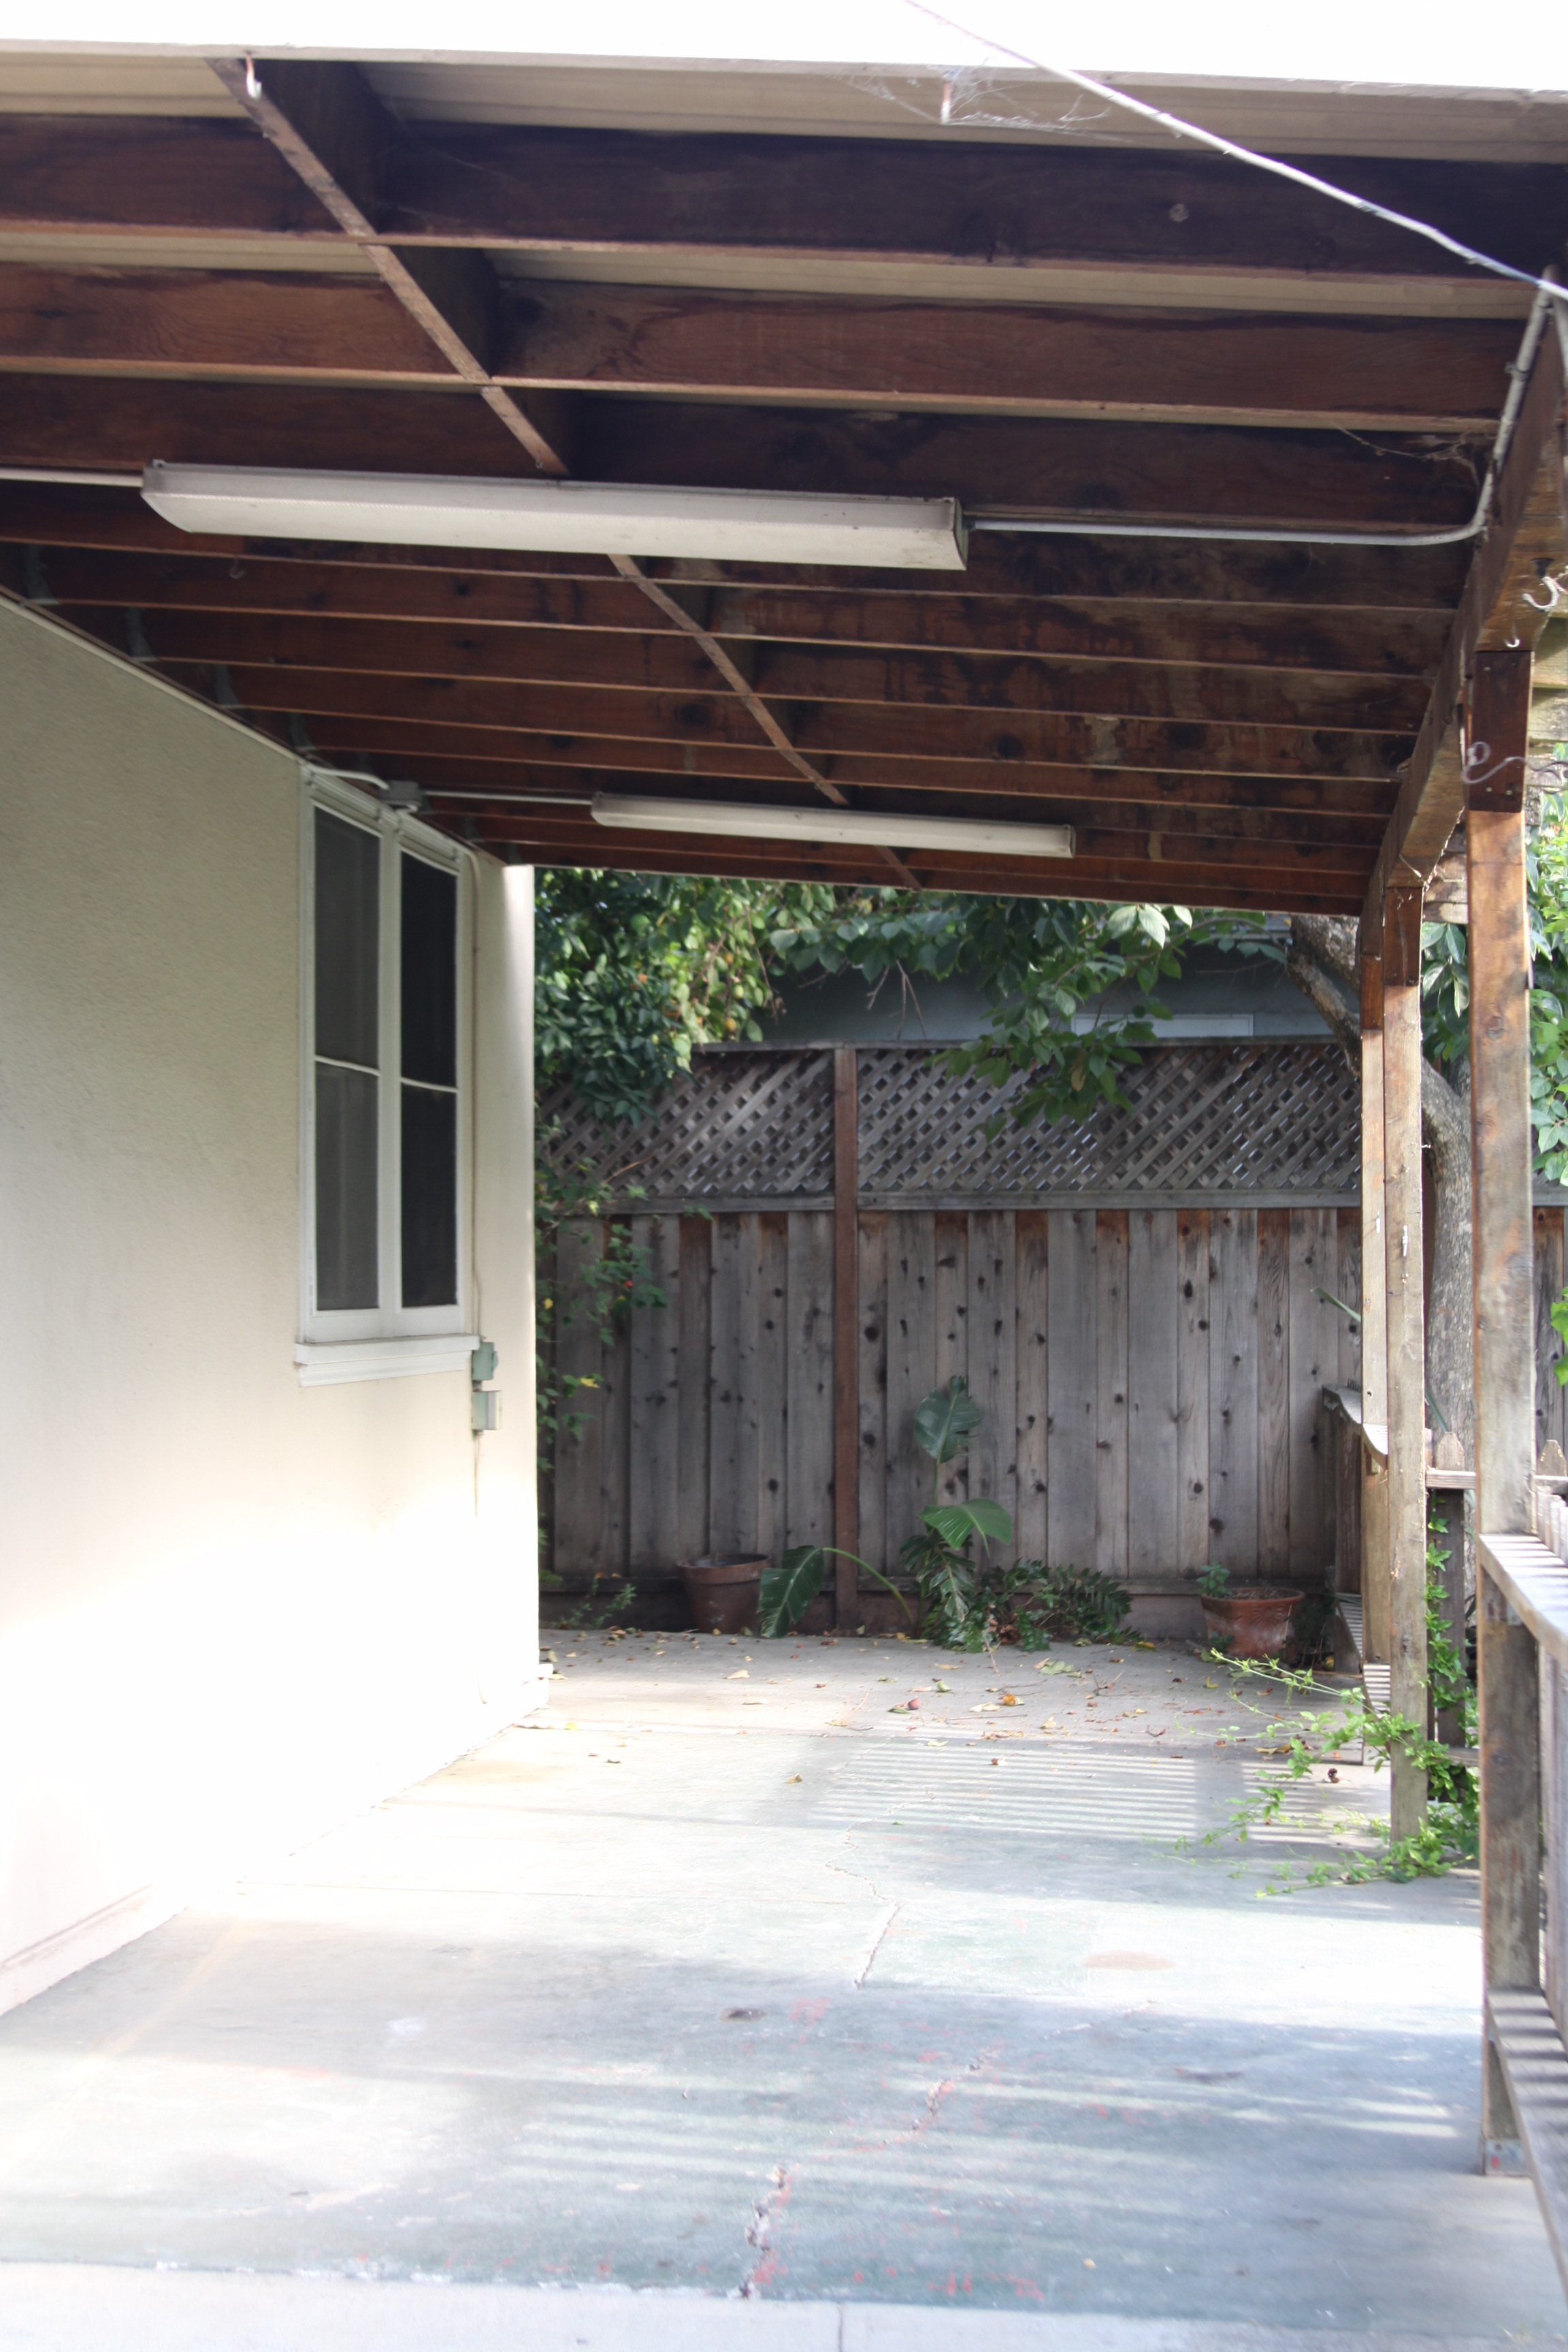
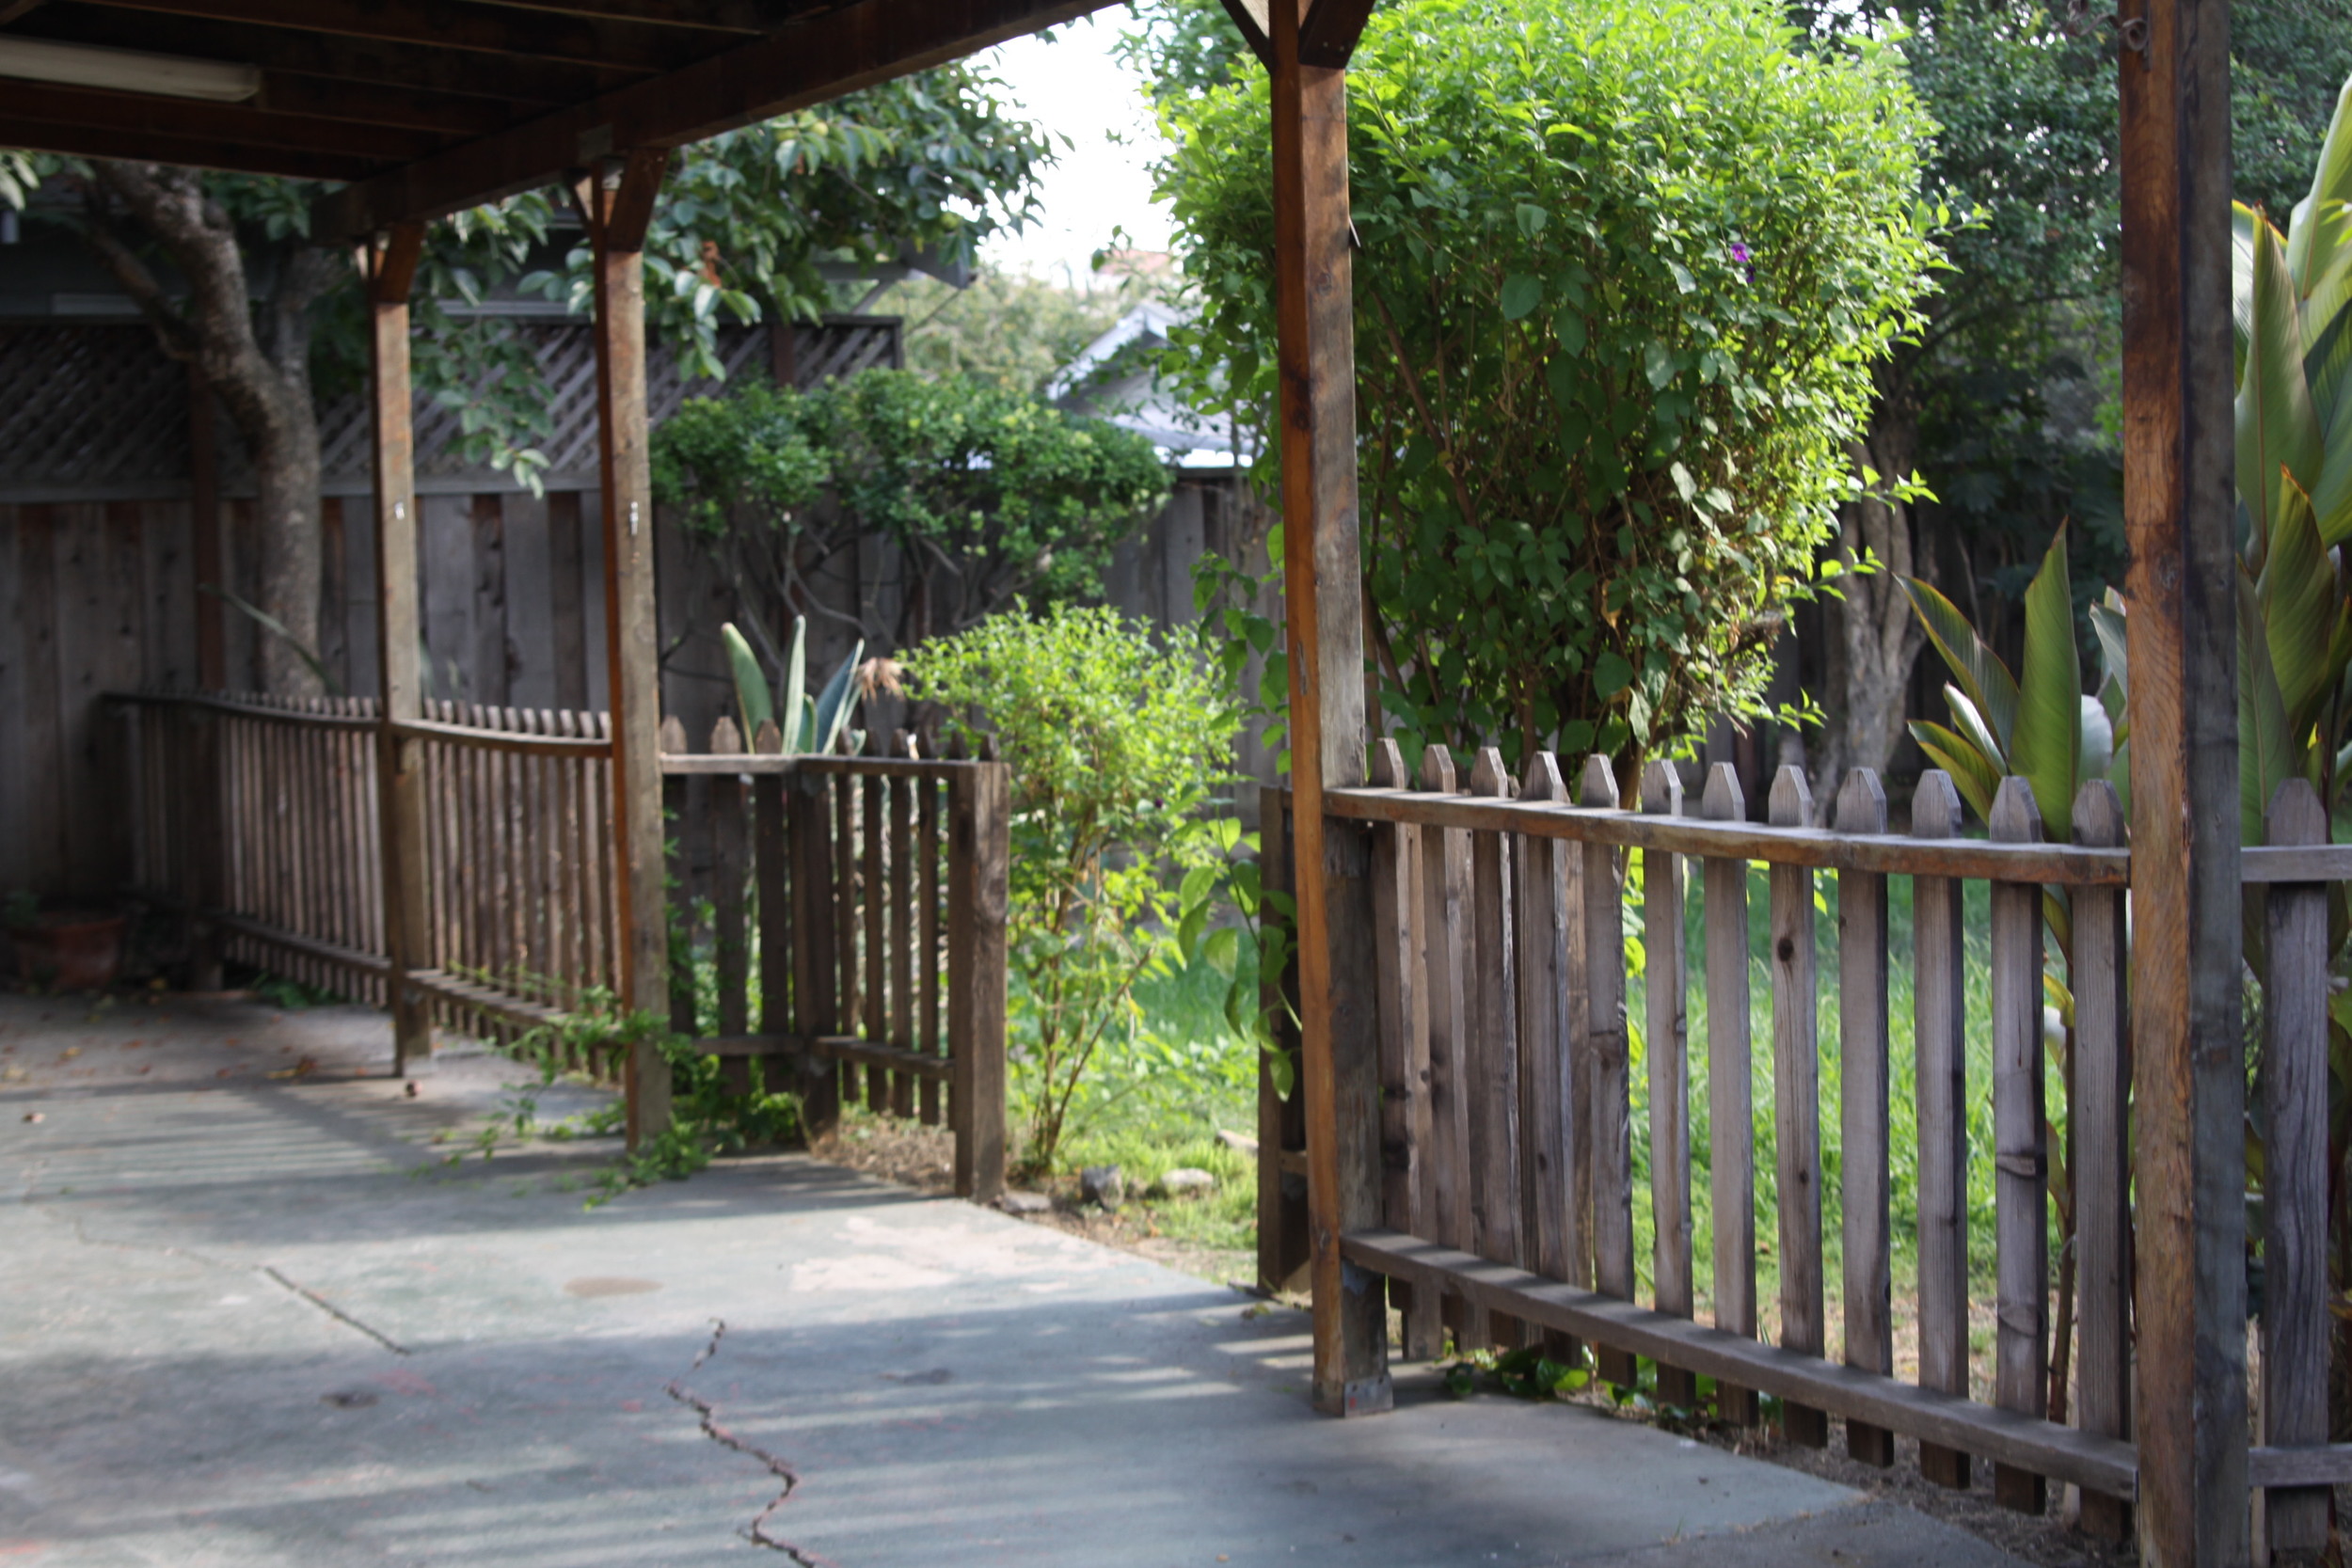
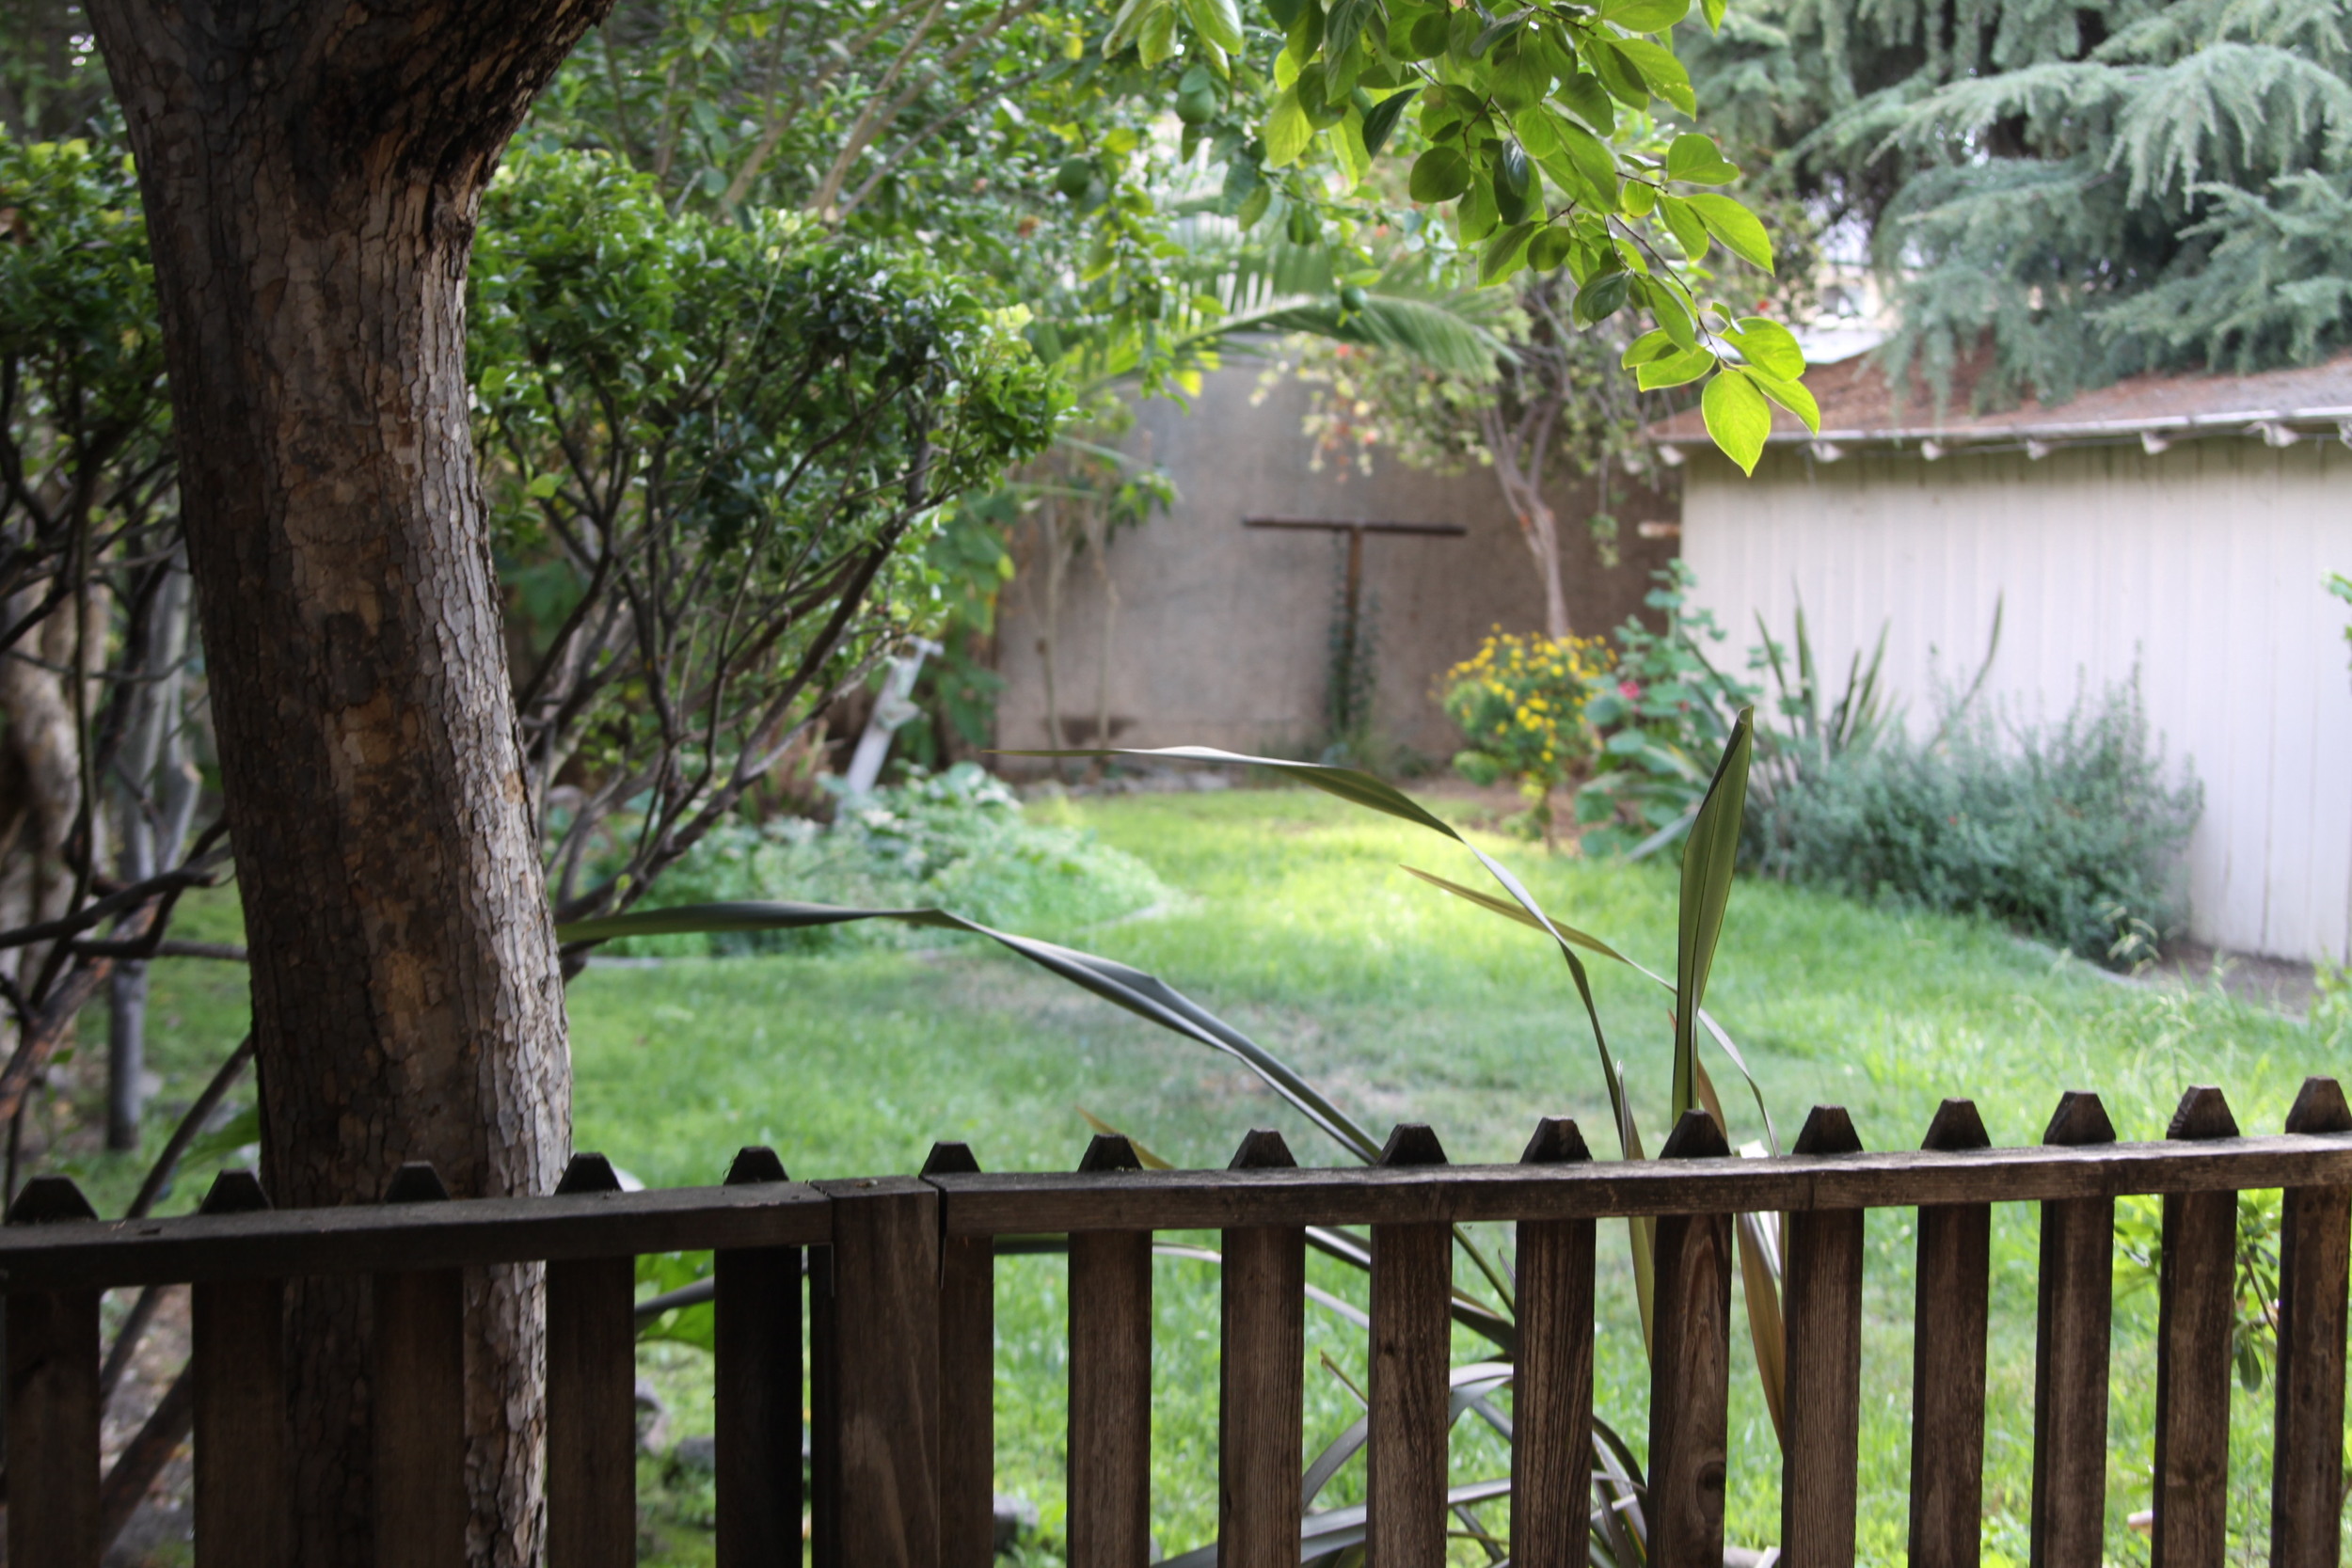
Can you say Ramshackle Shack?
OMG. this place was just a pit. Dude! We walked into the backyard and just started laughing. The yard was enormous, which was good. But someone has jacked up these metal structures over the back of the house as well as a carport which I don't have photos of, but it was beyond disgusting.
So, we focused on the big backyard and realized that if we took down on these ramshackle elements, we could have a fabulous backyard on our hards (and a lot of recycled material!)
DRUM ROLL PLEASE
And, what you've all waited for (us too)...Introducing 6th Street! Isn't she adorable? We chose a modern exterior color palette to offset the vintage charm.

As you saw above, the living room was in great shape. It just needed a coat of paint and some TLC. And I've gotta give a shout out to my stager Melanie at iDesignSpaces. She really helped bring this entire space to life.

The kitchen was taken down to the studs. This included taking out the wall and doorway which separated the eat-in kitchen (seen above). This added a ton of light as well as helped to create a really nice sized kitchen. We chose honed marble countertops despite being warned about it repeatedly. I don't know about you but I love the feel of a well-worn, used and loved kitchen. I don't mind subtle red wine stains. We love the soulful, elegant look of honed surfaces. And really can't stand shiny surfaces, unless they are connected with anything Jonathan Adler!

Can you say "backyard access", people?
The big transformation in the back bedroom was the addition of a french door. Besides the loads of light it let it, is also gave access to the backyard. Previous to this, you needed to got through the side door, through the mudroom and down the drive way to get to the backyard!

WHAT's better than a deck?
We decided on a "wedding cake" deck in order to avoid railings. In order to do this, we had to stay within a certain height and the stairs needs to be 2 feet deep. Wish i had more shots of this! Each time, I learn what I didn't do right!
Before and Afters
No project is complete with out the before and after shots. This is my absolute favorite thing to do and to look back at. I mean, this is why we do what we do. This is the ultimate satisfaction and the ability to see your vision to come light, as compared to where it started.


EXTERIOR:
This was a gorgeous Edwardian house on a darling street. We wanted to keep most of the original elements but give it a bit more of a modern flare. So, we went with a darker color scheme. The landscaping is also modern in terms of its sustainability. We used no-mow grass and also grasses and succulents that need very little water.


INTERIOR:
My overall vision for the interior of this house was to have dark, espresso floors and then light, calm colors throughout all the rooms. There were some super cool original features in the living room including a functioning brick fireplace and craftsman style built-in book cases.


It was painful to paint the built-ins and I struggled with it for a little while. But then just bit the bullet and did it. It really helped create more of a modern look while maintaining these features that brought some soul to the room.


SIDE DECK OFF DINING ROOM:
We really liked this feature which created an outdoor dining area off the great room. We took out the built-in bench and re-built the deck (which was falling apart). Then staged it with welcoming outdoor furniture and these fabulous hanging succulent planters (from Home Depot).


KITCHEN:
It's hard to capture the before and afters of this room and the enormous transformation. The original kitchen was broken up into a small eat-in area and then the remainder of the kitchen.


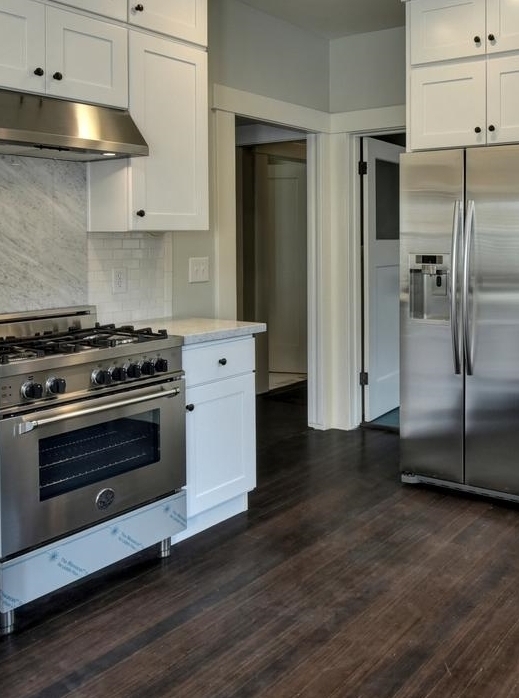
It's hard to really see this because I wasn't shooting with a wide angle lens. The original stove had this giant built-in hood that was a wall that came down from the ceiling. It took up so much space that it broke up the room even more. It was incredible how much roomier the space felt just removing that one element.


I had to include this. Just goes to show the difference with the security screen gone! And a good coat of paint! Lance always says that the paint is the least expensive thing we do but has the most impact.


BATHROOM:
We completely gutted this bathroom. There was nothing to salvage. Again, wish I had better "before" shots. We built a stem wall at the end of the tub just to give the toilet a bit more privacy (there is never enough, right?). We used traditional subway tile with piece of honed bullnose marble at the top.
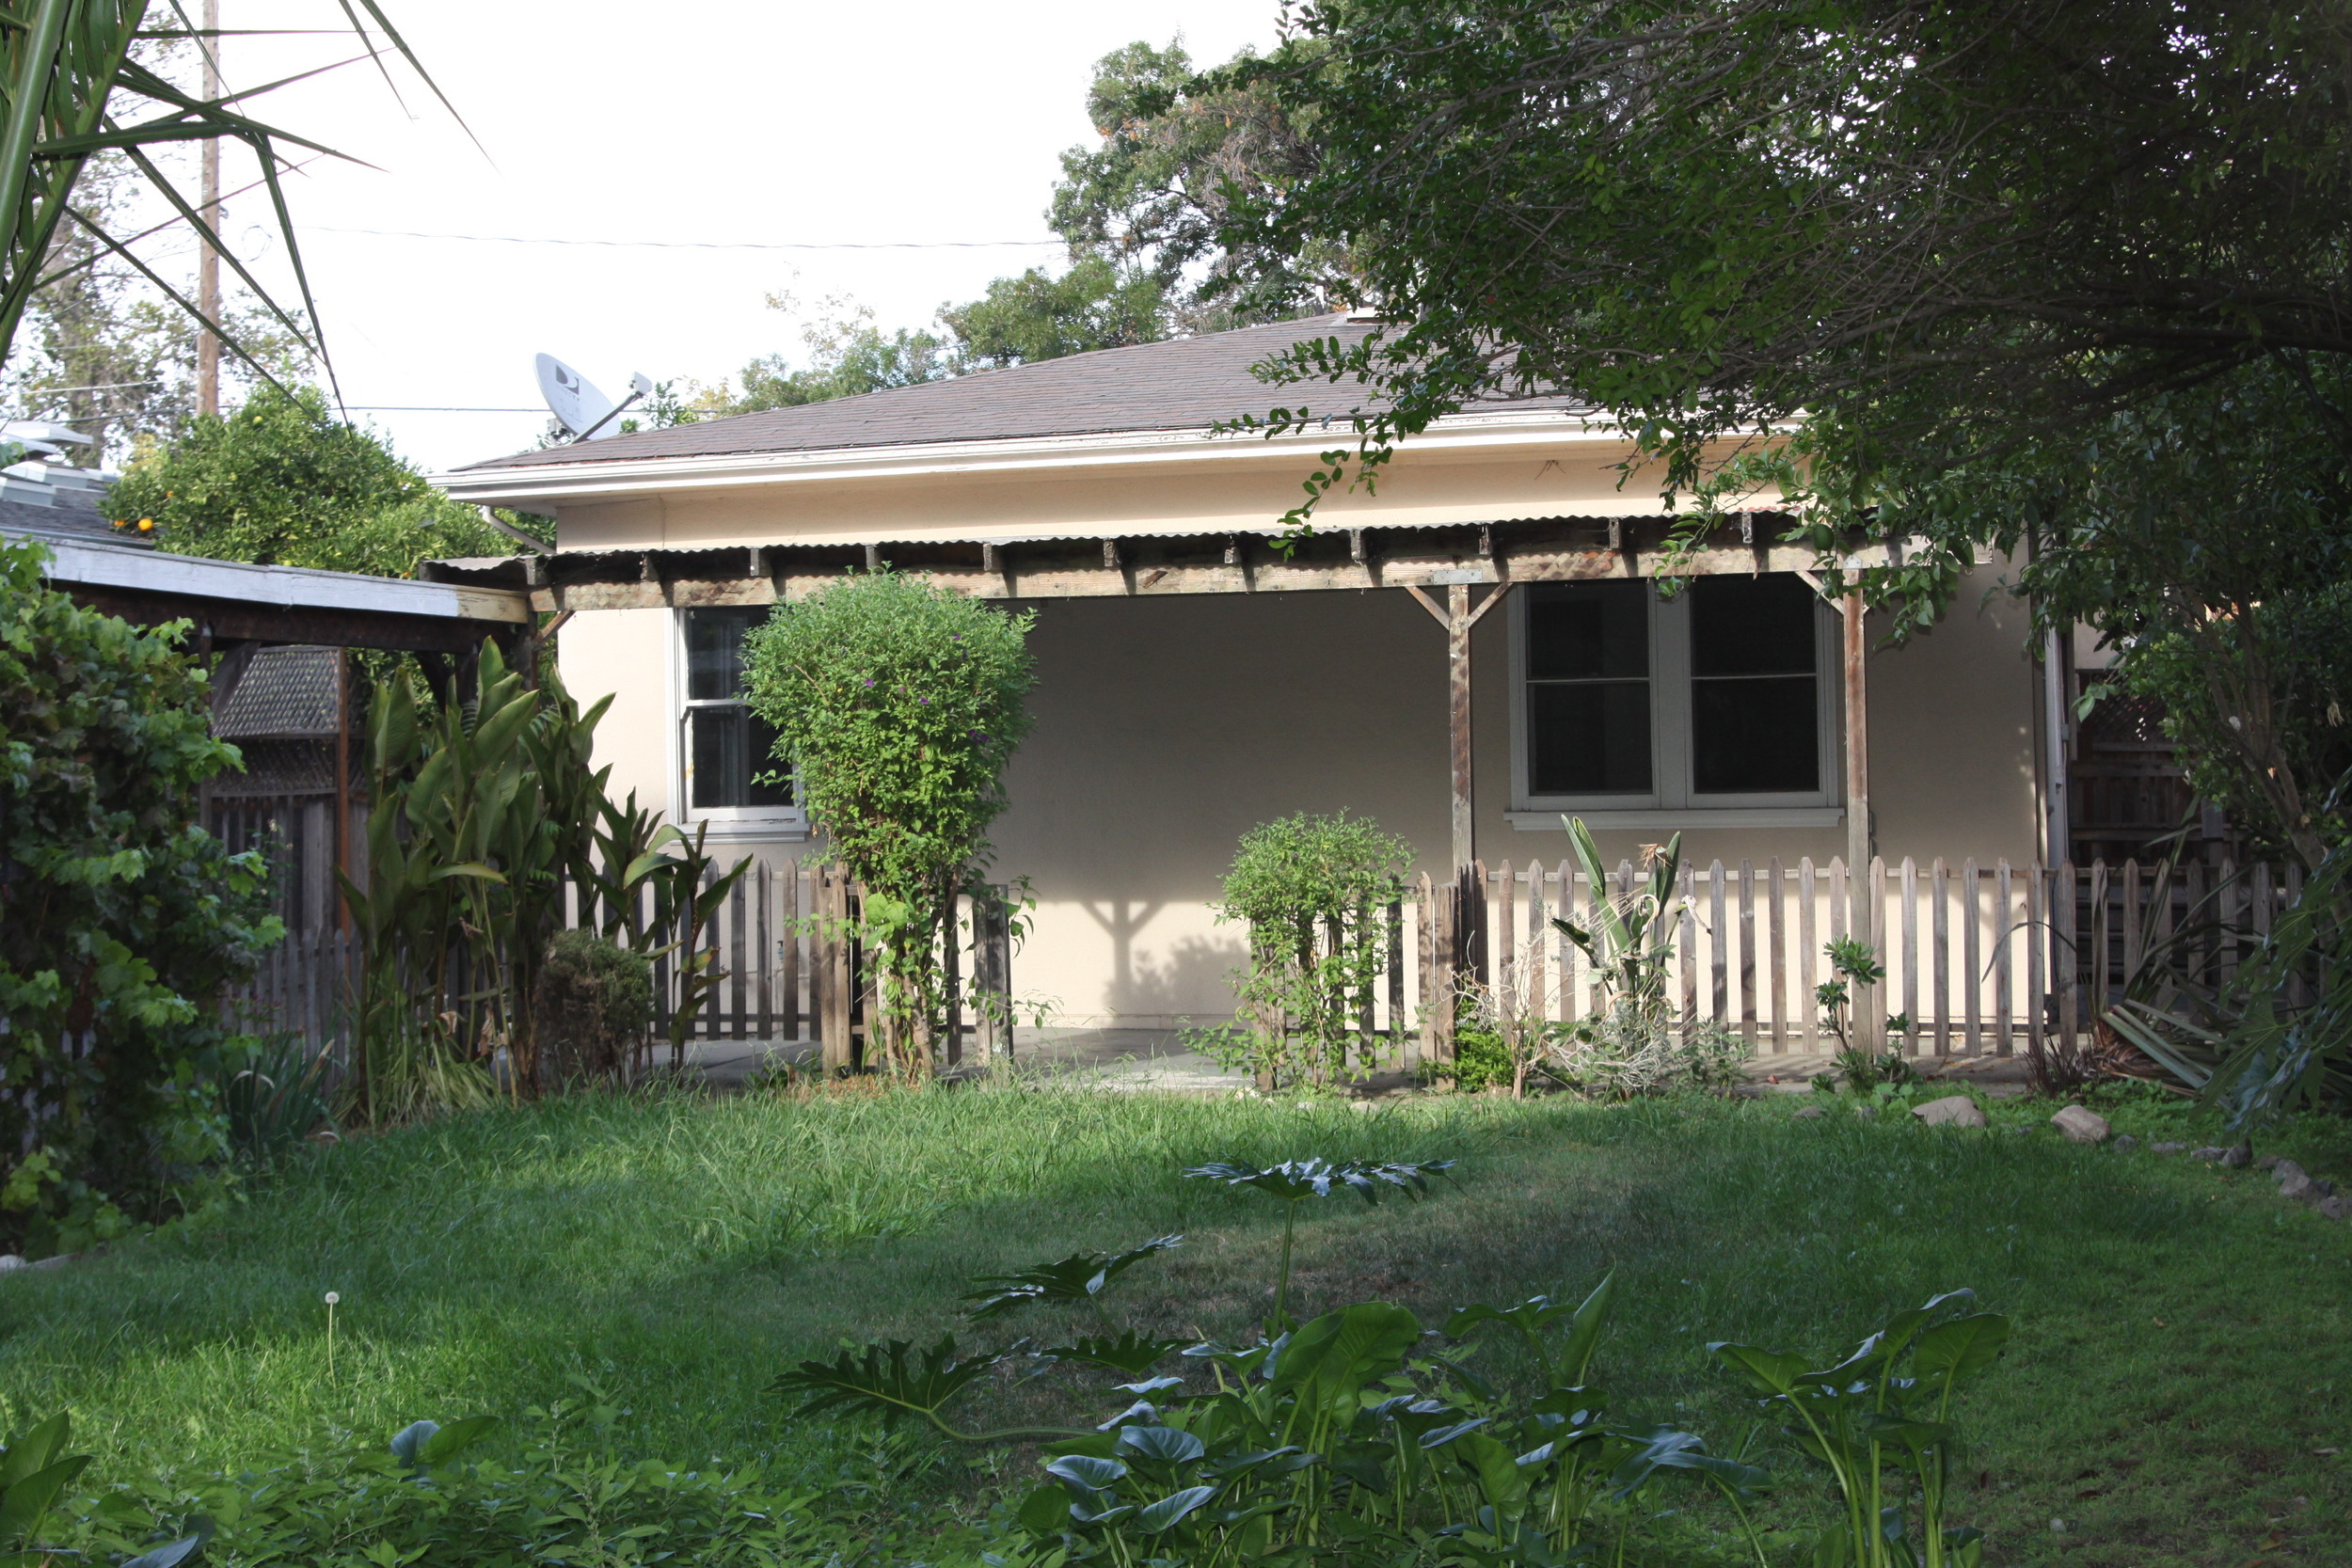
FRONT AND BACKYARD:
Here is a compilation of BEFORE and AFTERS. This was a pretty massive transformation. This poor backyard was covered in rinky-dink tin structures that were in complete disrepair. Just removing these breathed new life into the yard.


WHAT DO YOU GUYS THINK?
I'd love to hear your thoughts and/or answer any questions. If you want to see all the professional photos of 6th Street all in one place, take a look here.
LAST BUT NOT LEAST
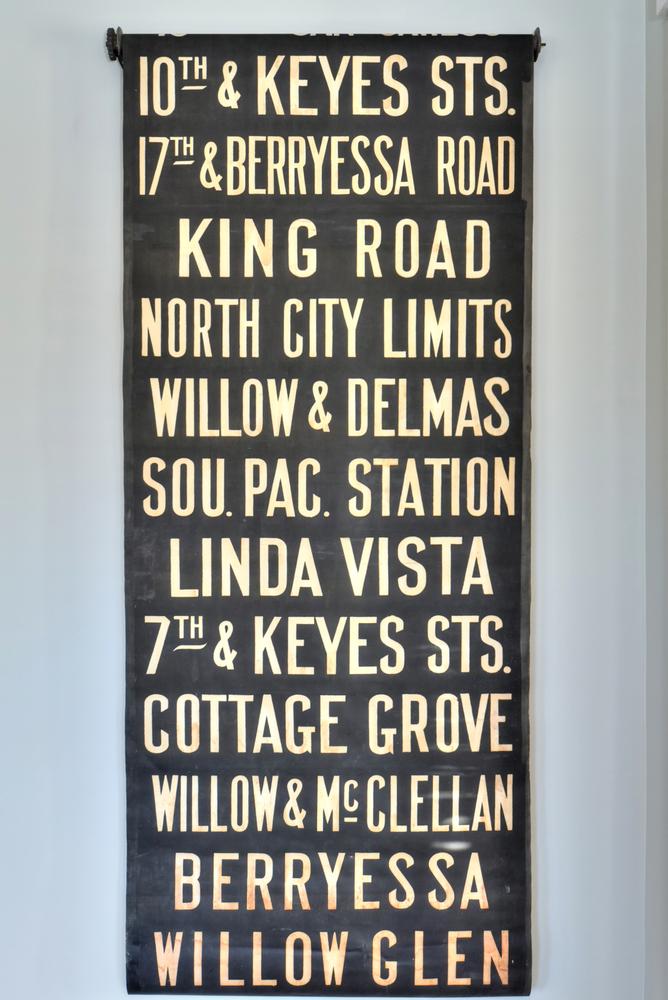
I know this is about the house transformation but I just have to share this with you. We found this old trolley sign at the Alameda Flea Market (favorite place ever). And, as you can see, the bottom stop is Willow Glen, where I live. LOVE this sign. And I loved that it was the first thing people saw when they came in the door.
AND MAKE SURE YOU DON'T MISS ANY OF THE PROCESS ON LINCOLN AVENUE
1. Flipping Lincoln Ave: Be brave...begin
2. Flipping Lincoln Ave: Yikes, this place is a mess
3. Flipping Lincoln Ave: Fun with tack strips
4. Flipping Lincoln Ave: Demo Day
5. Flipping Lincoln Ave: Starting to visualize. Can you see it?