
From Blah to Bam!
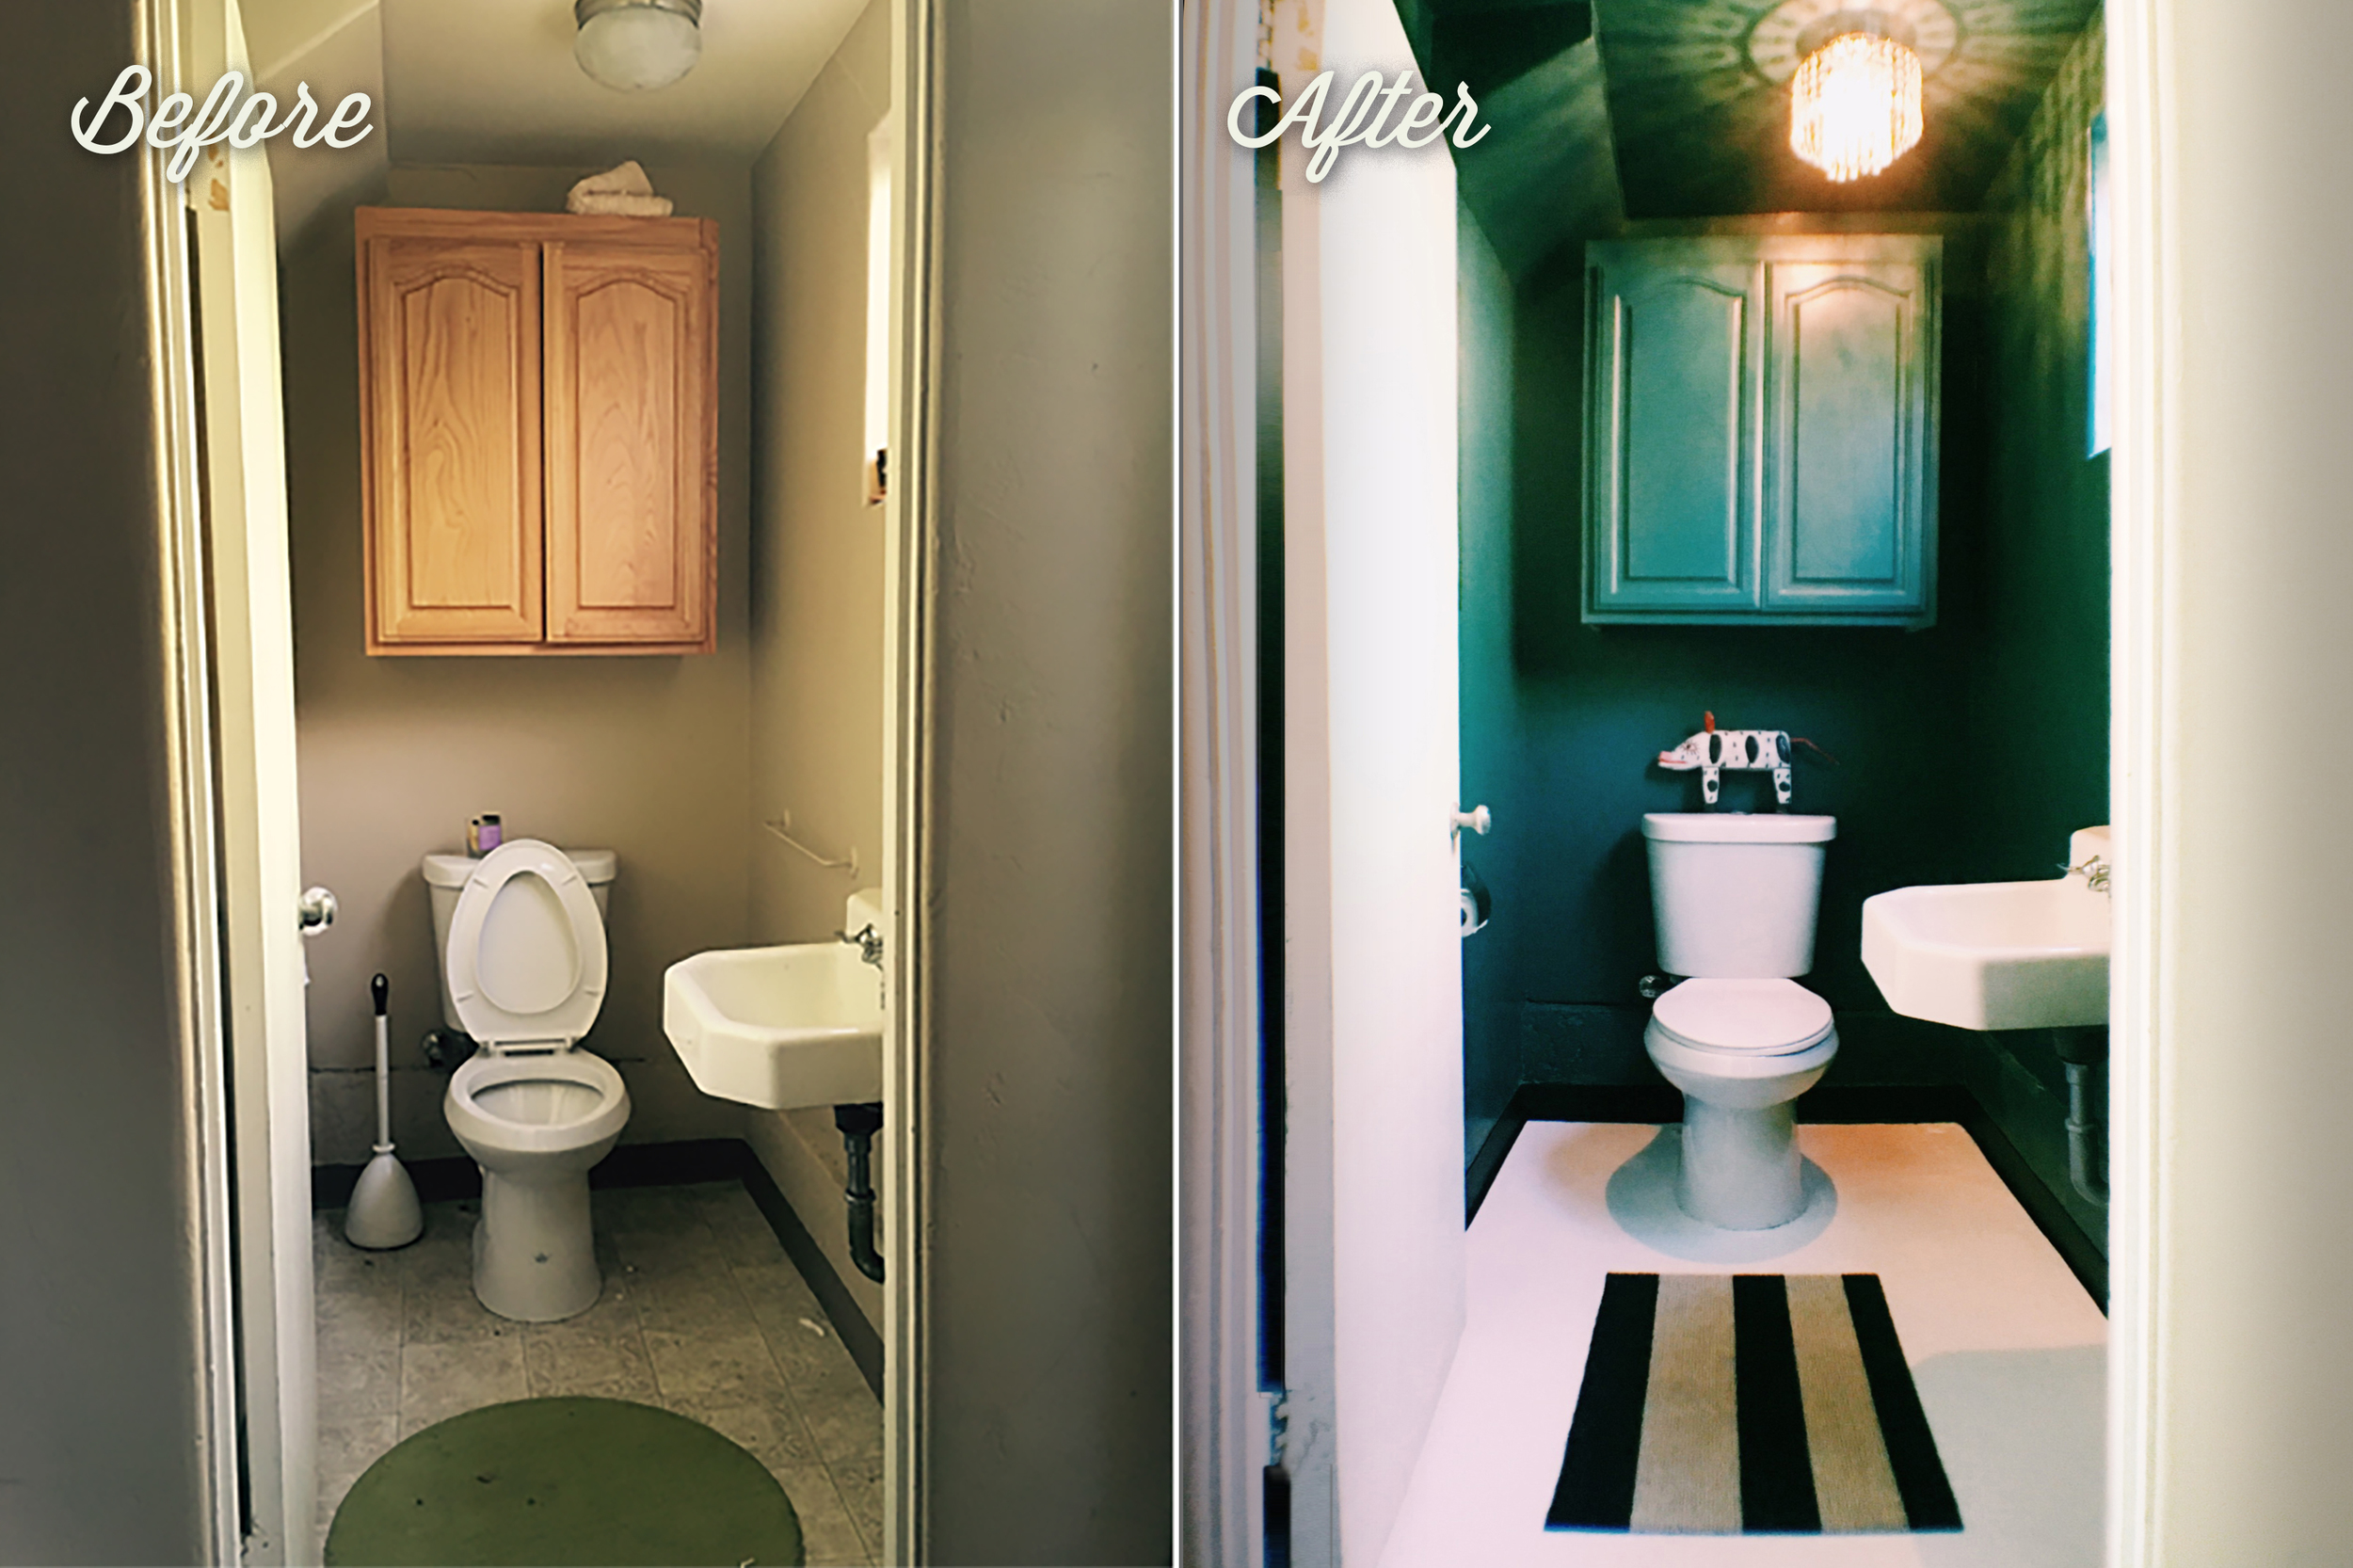
HOW MY SMALL, UGLY, LINOLEUM BATHROOM BECAME A GEM.
So, I have this little bathroom in my garage. It's sort of a utility bathroom. I call it the "Pool Bathroom" and encourage kids to use it instead of pee-ing in my pool.
God knows why I took this on right now because it was was lowest on the priority list. But, guess what? It was something I could do. On my own. With little money. More importantly, it made me feel like I had a bit of control over my life. For a moment. So, I dove in.
I've been seeing all these luscious jewel-tone rooms on Pinterest. My whole house is white so this seemed like the perfect place to get my jewel-tone on.
There are a million images on Pinterest that got me super turned on to this dark teal color. But check out this Teal mood board. If you are still on the fence, it might push you over.

I knew I wanted a dark teal but which one?

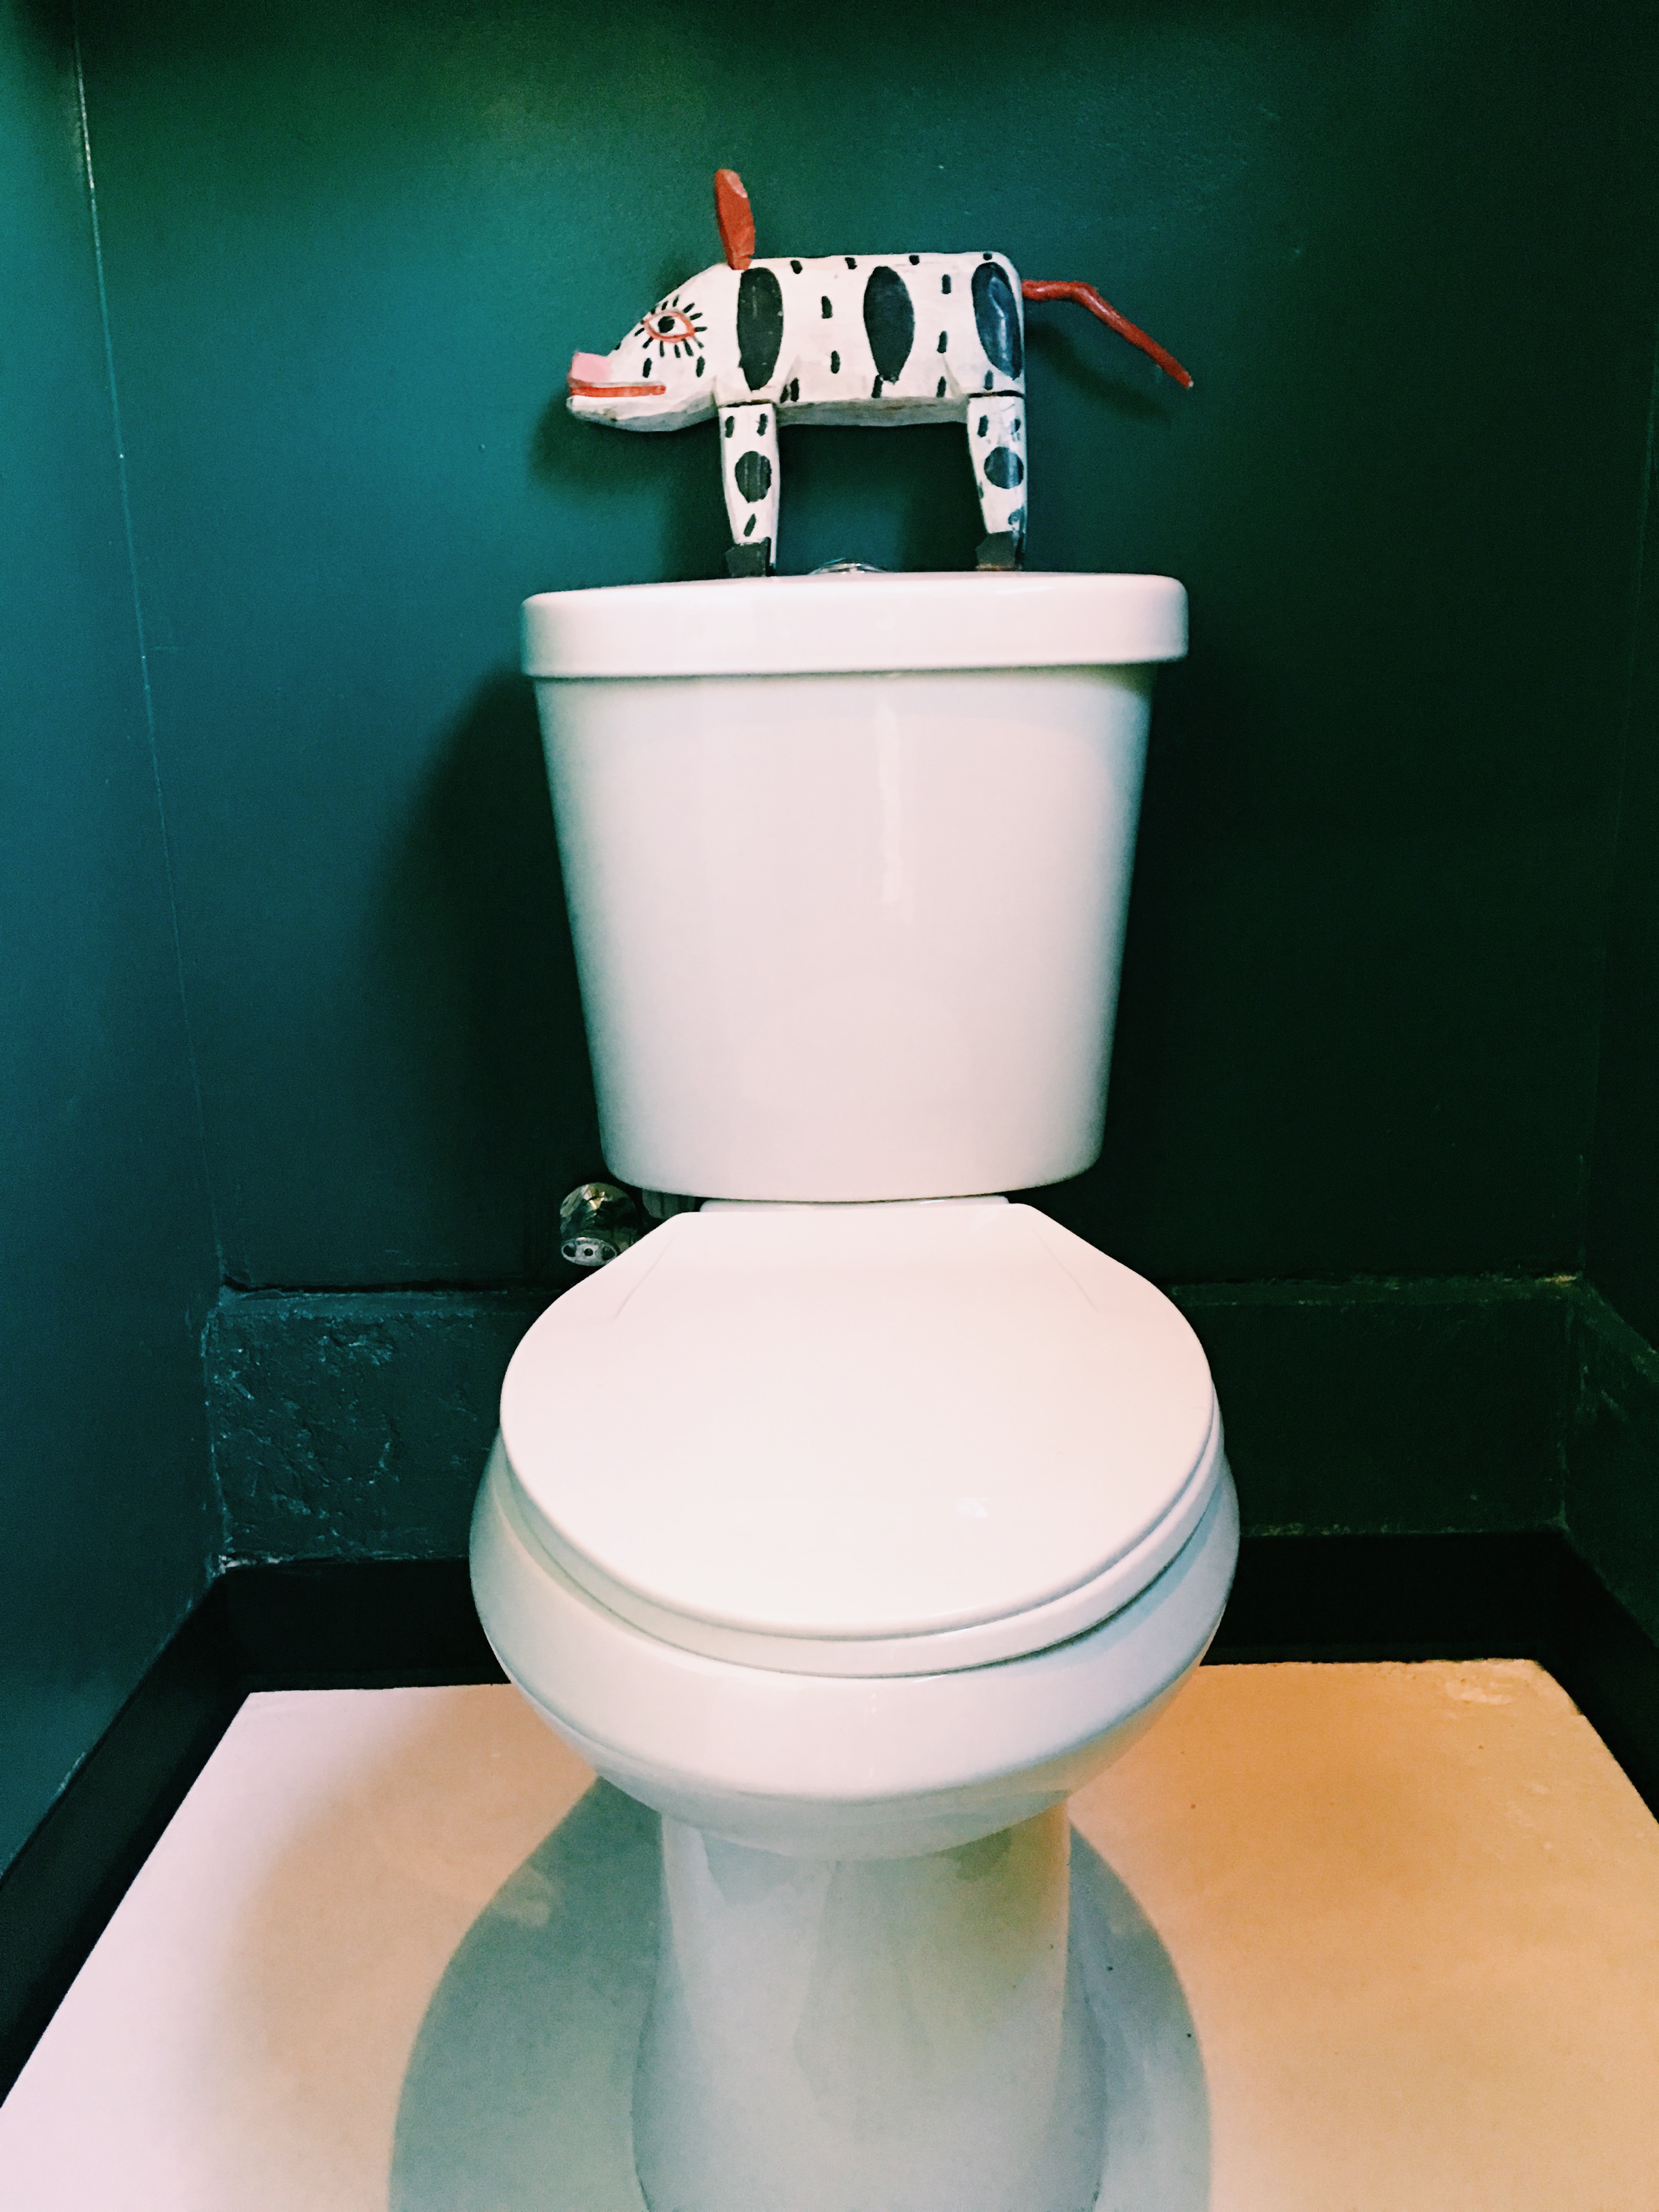
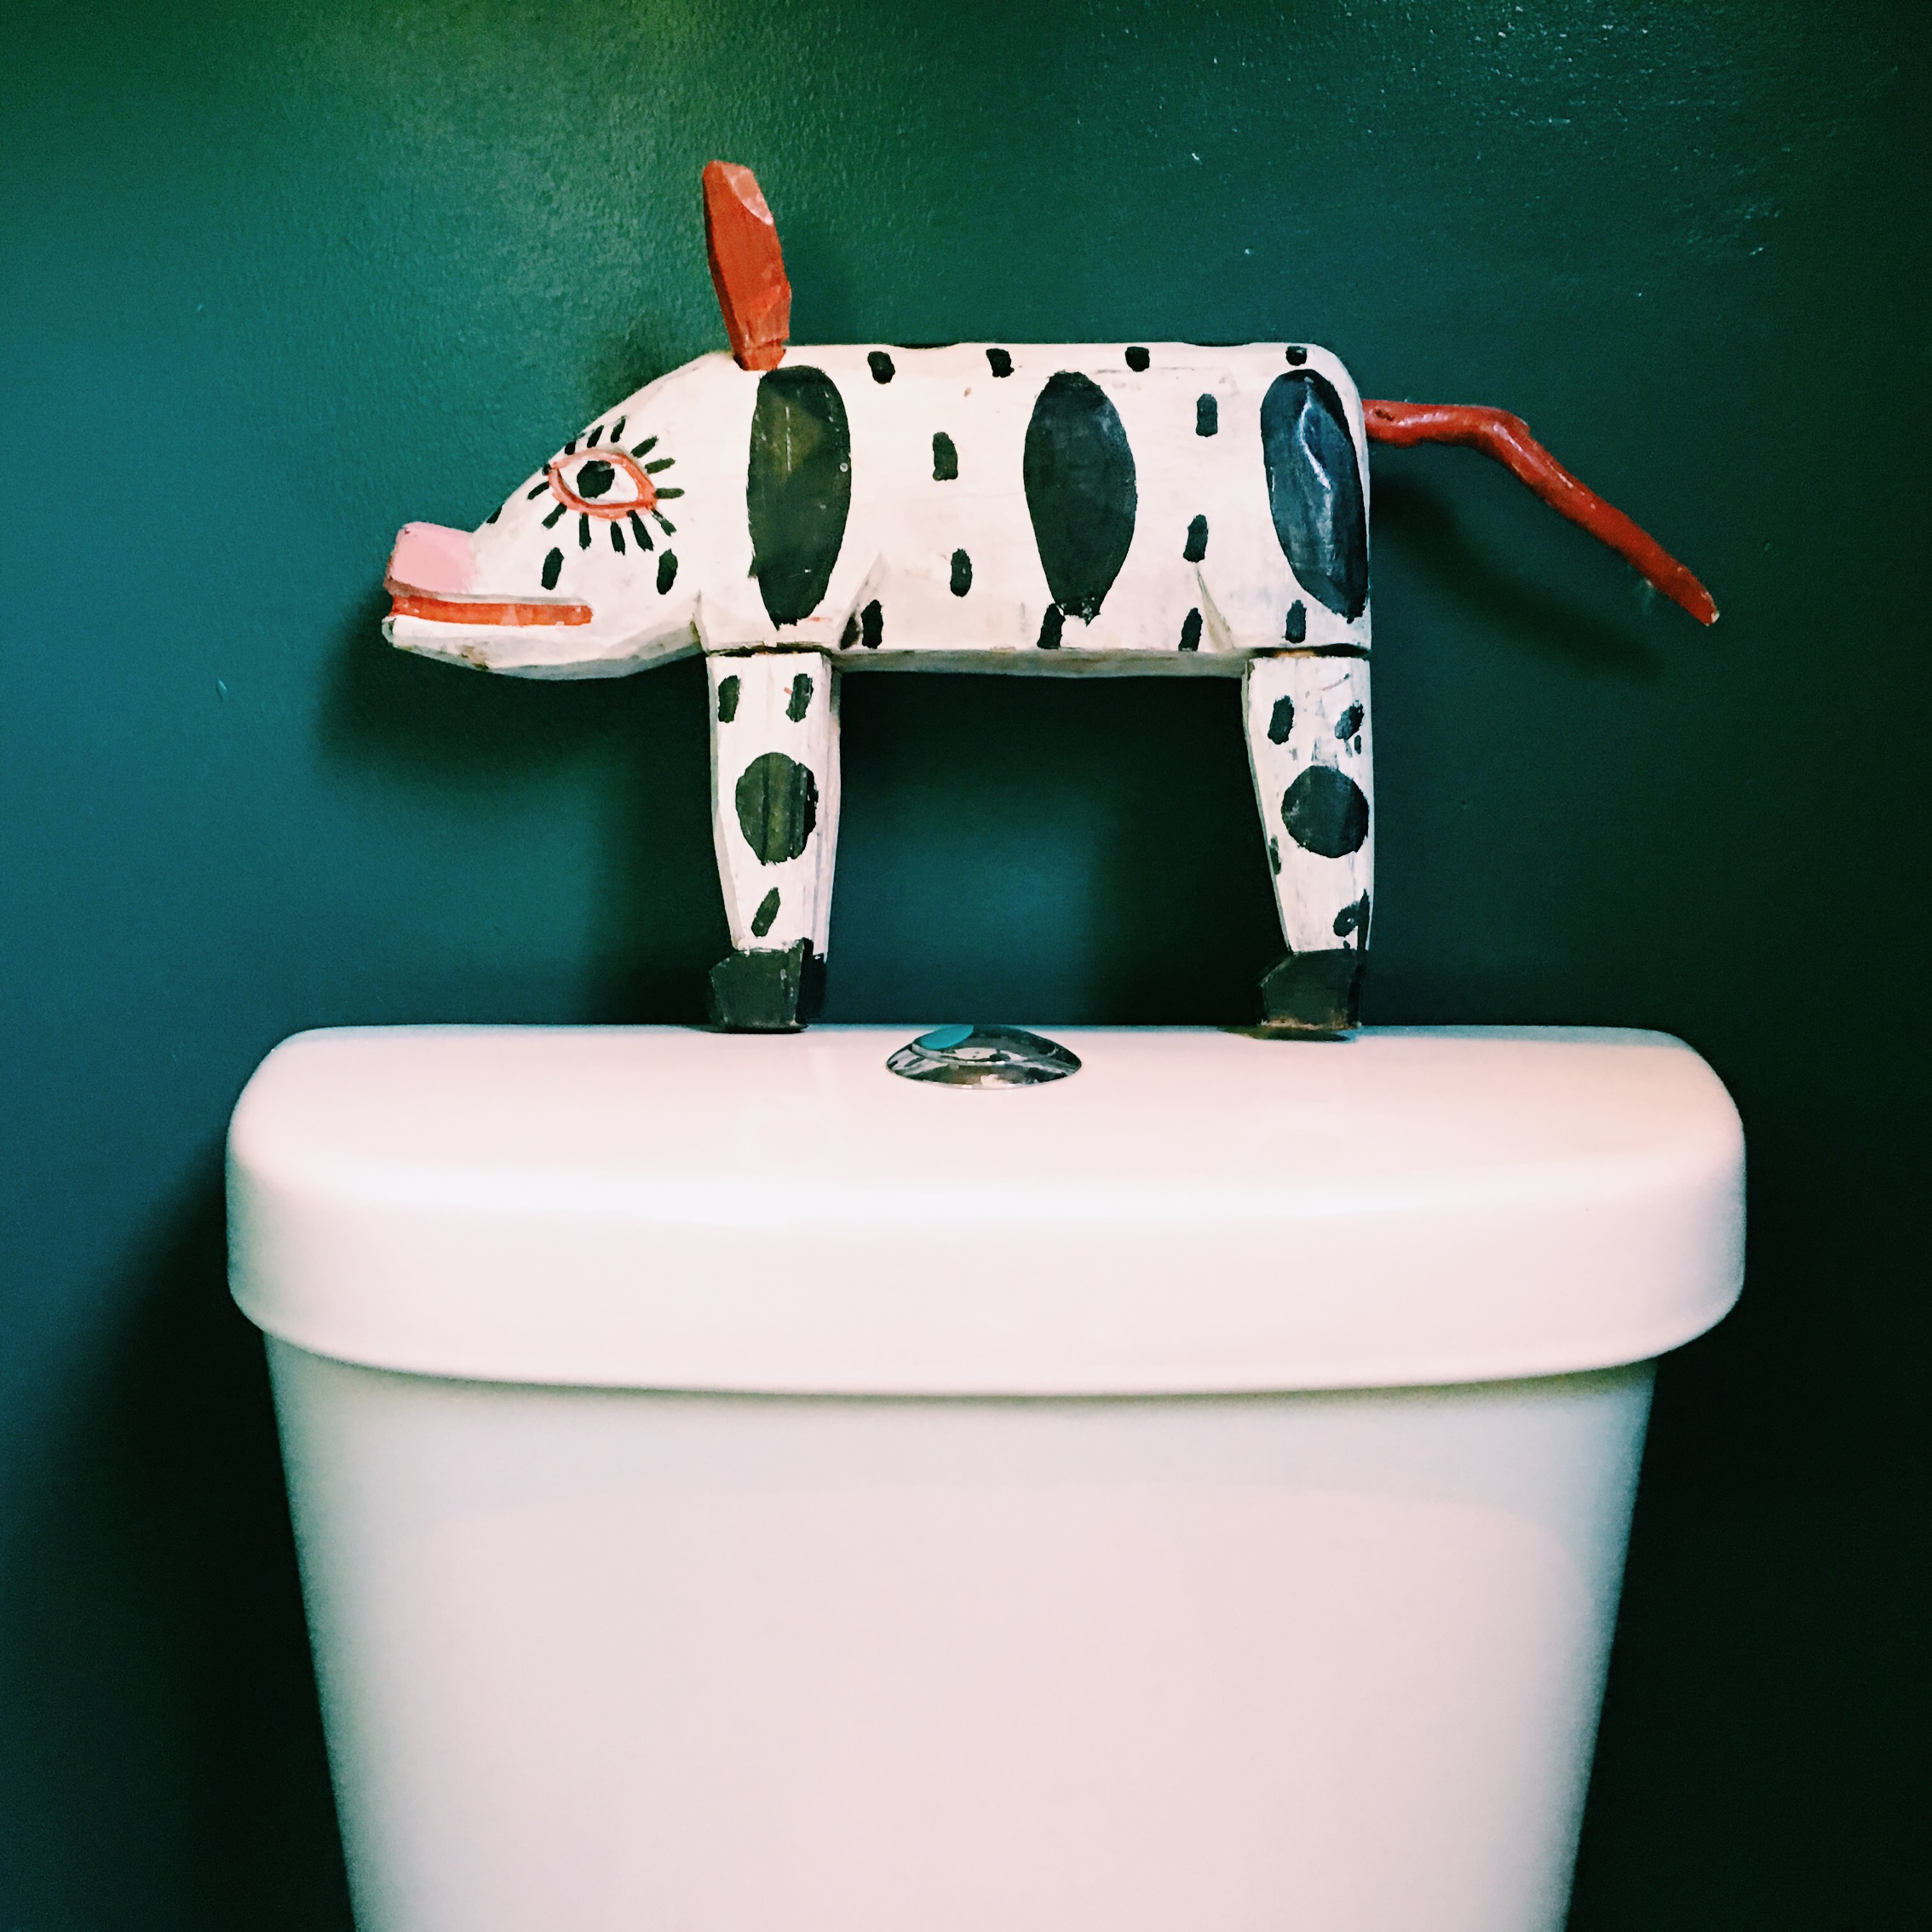
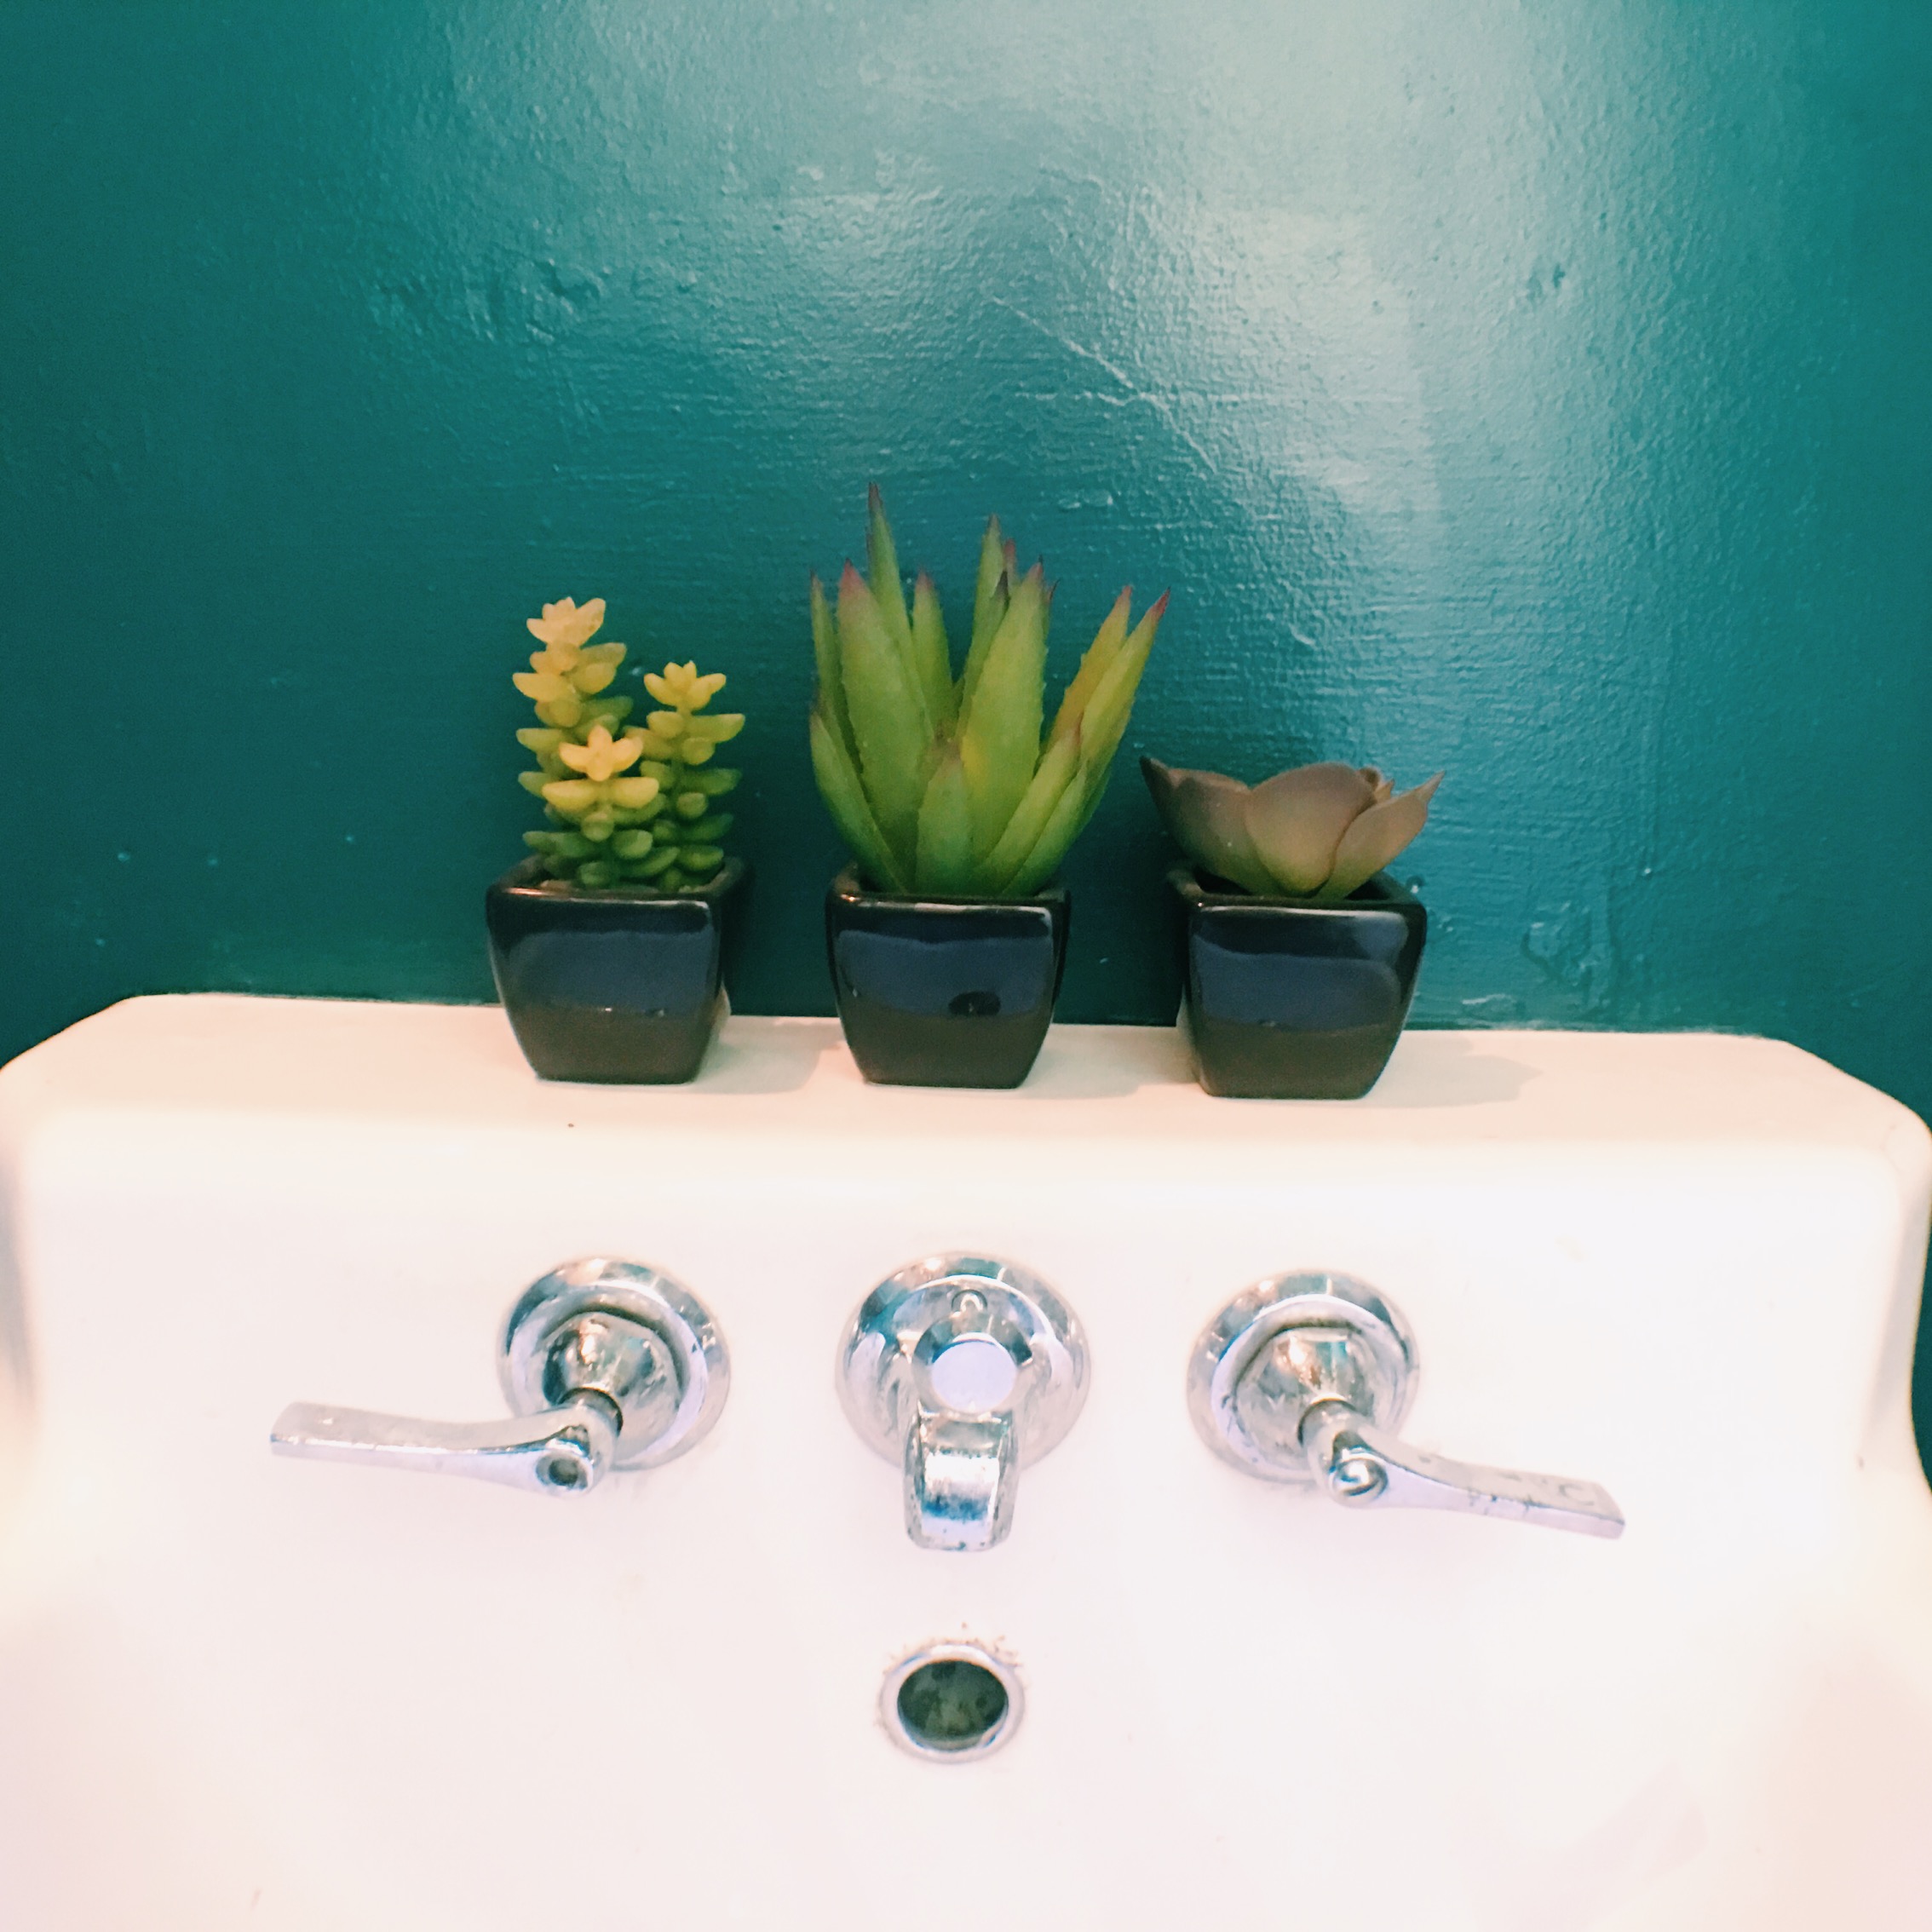
I ended up with Benjamin Moore North Sea Green. It feels rich, jewel-like and had the right amount of green in it.
Watch the video (BELOW)

Small Bathroom Renovation.
Painting Cement Floors
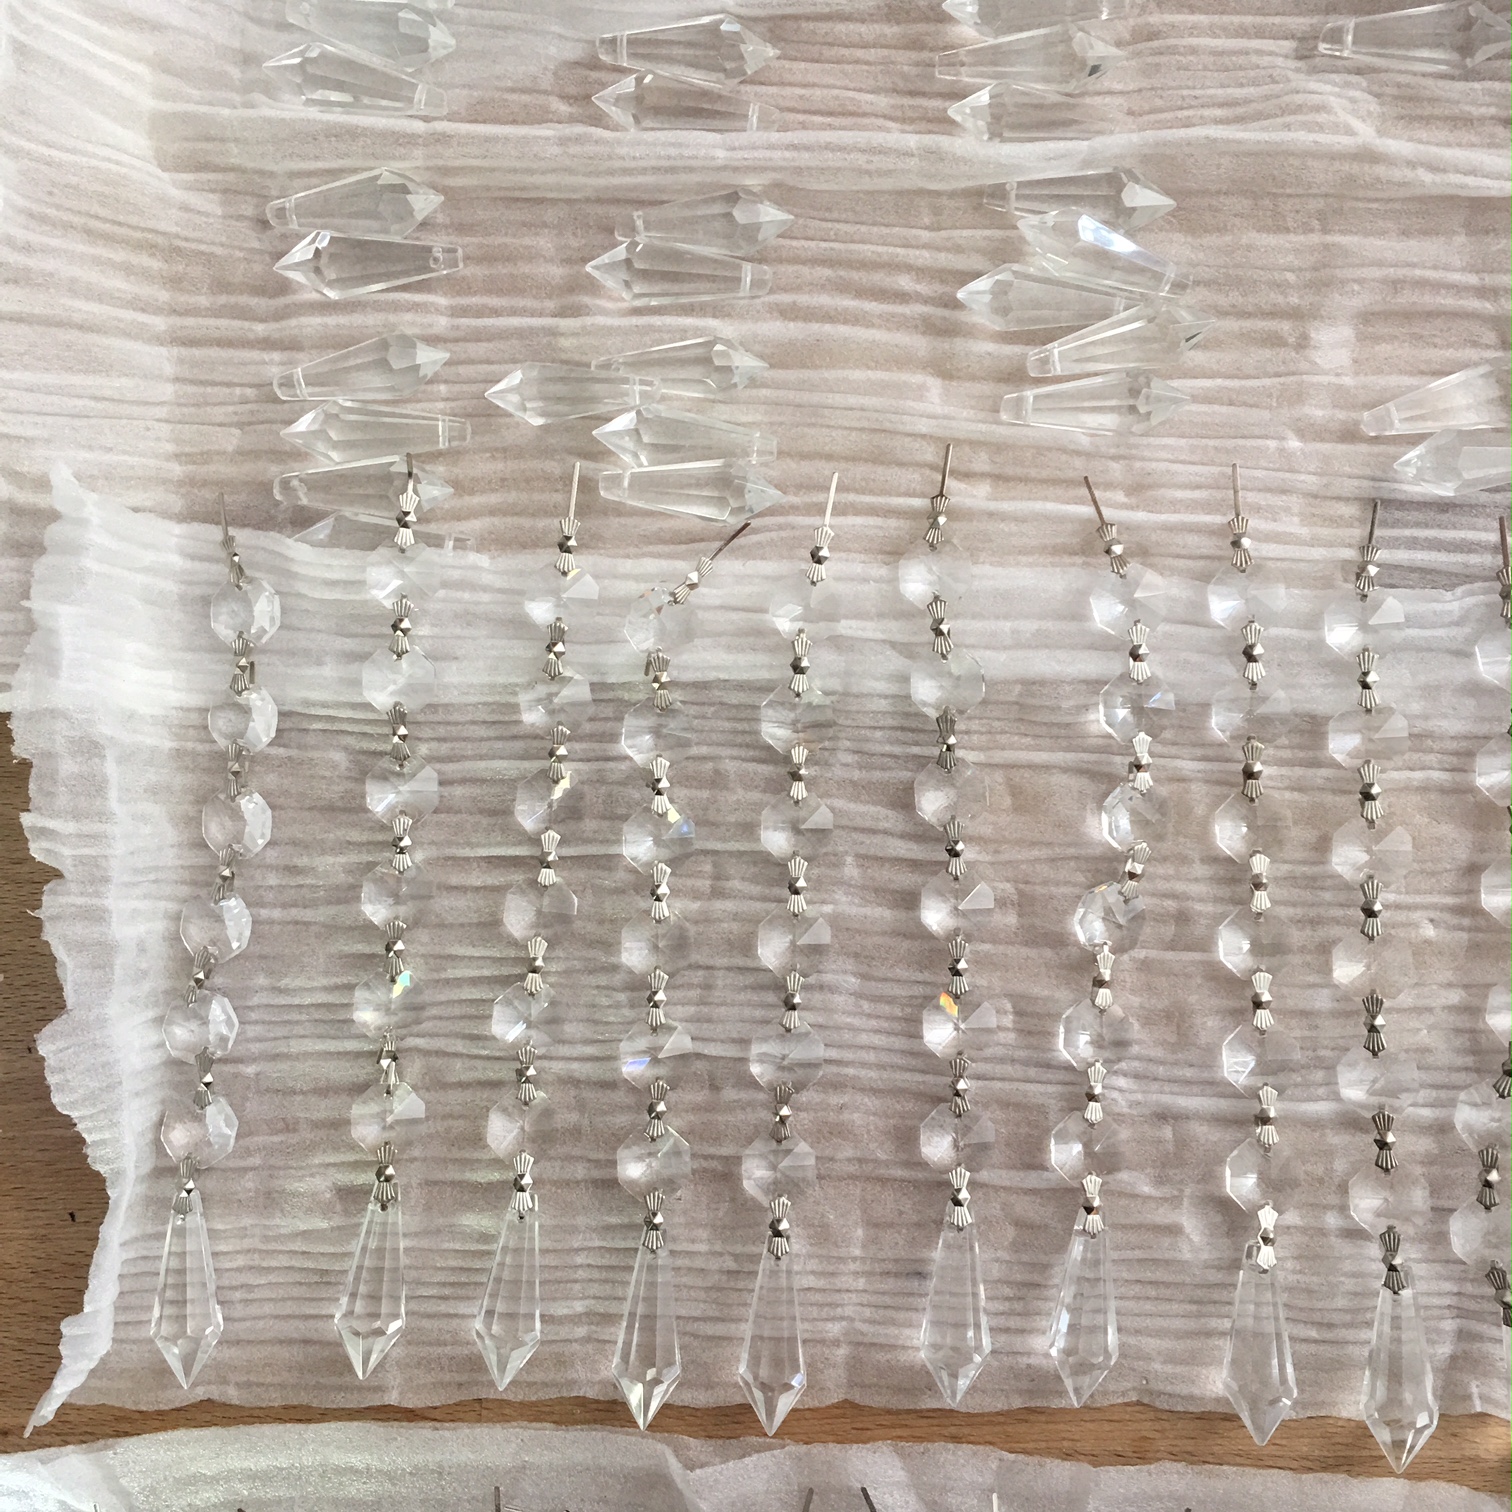
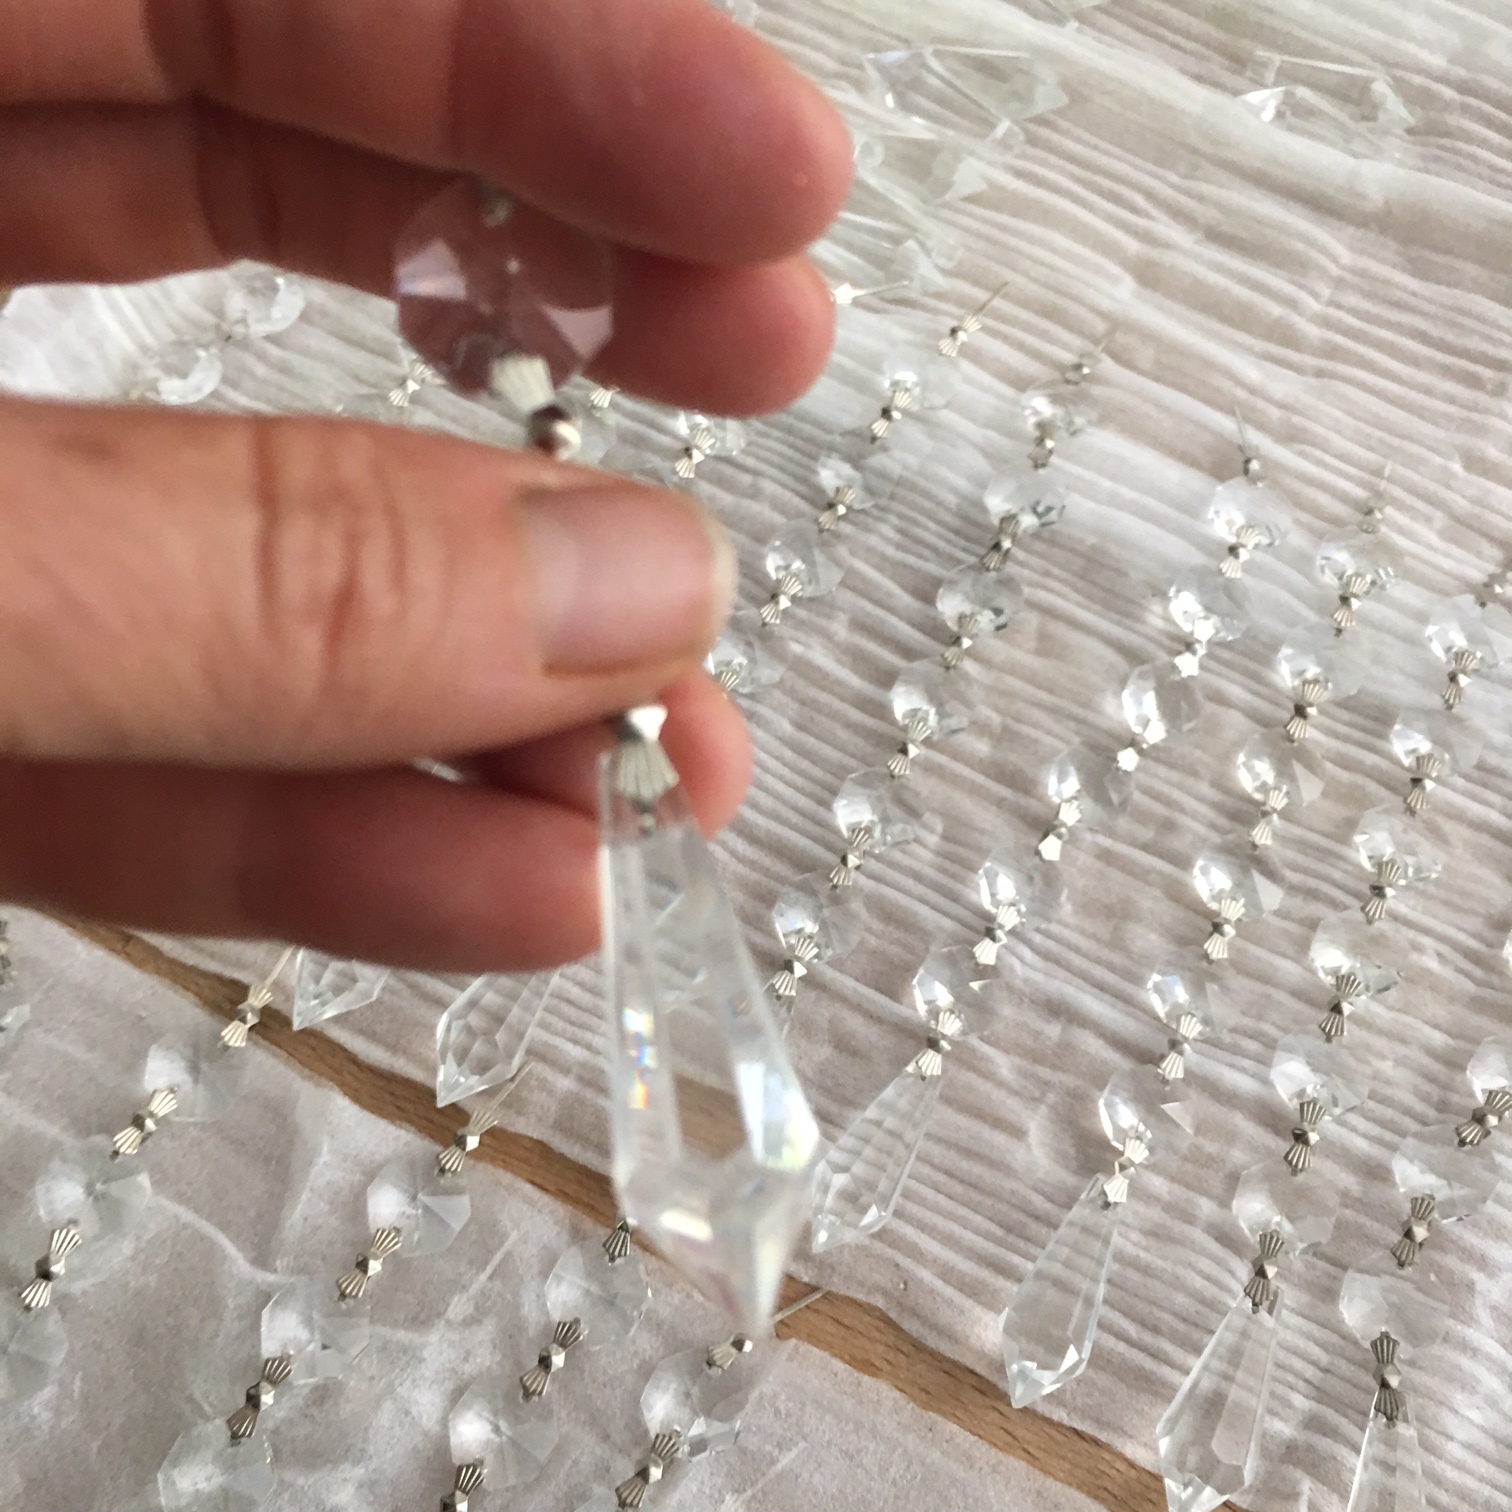
Given the jewel-tone walls, I thought a little bling was in order.
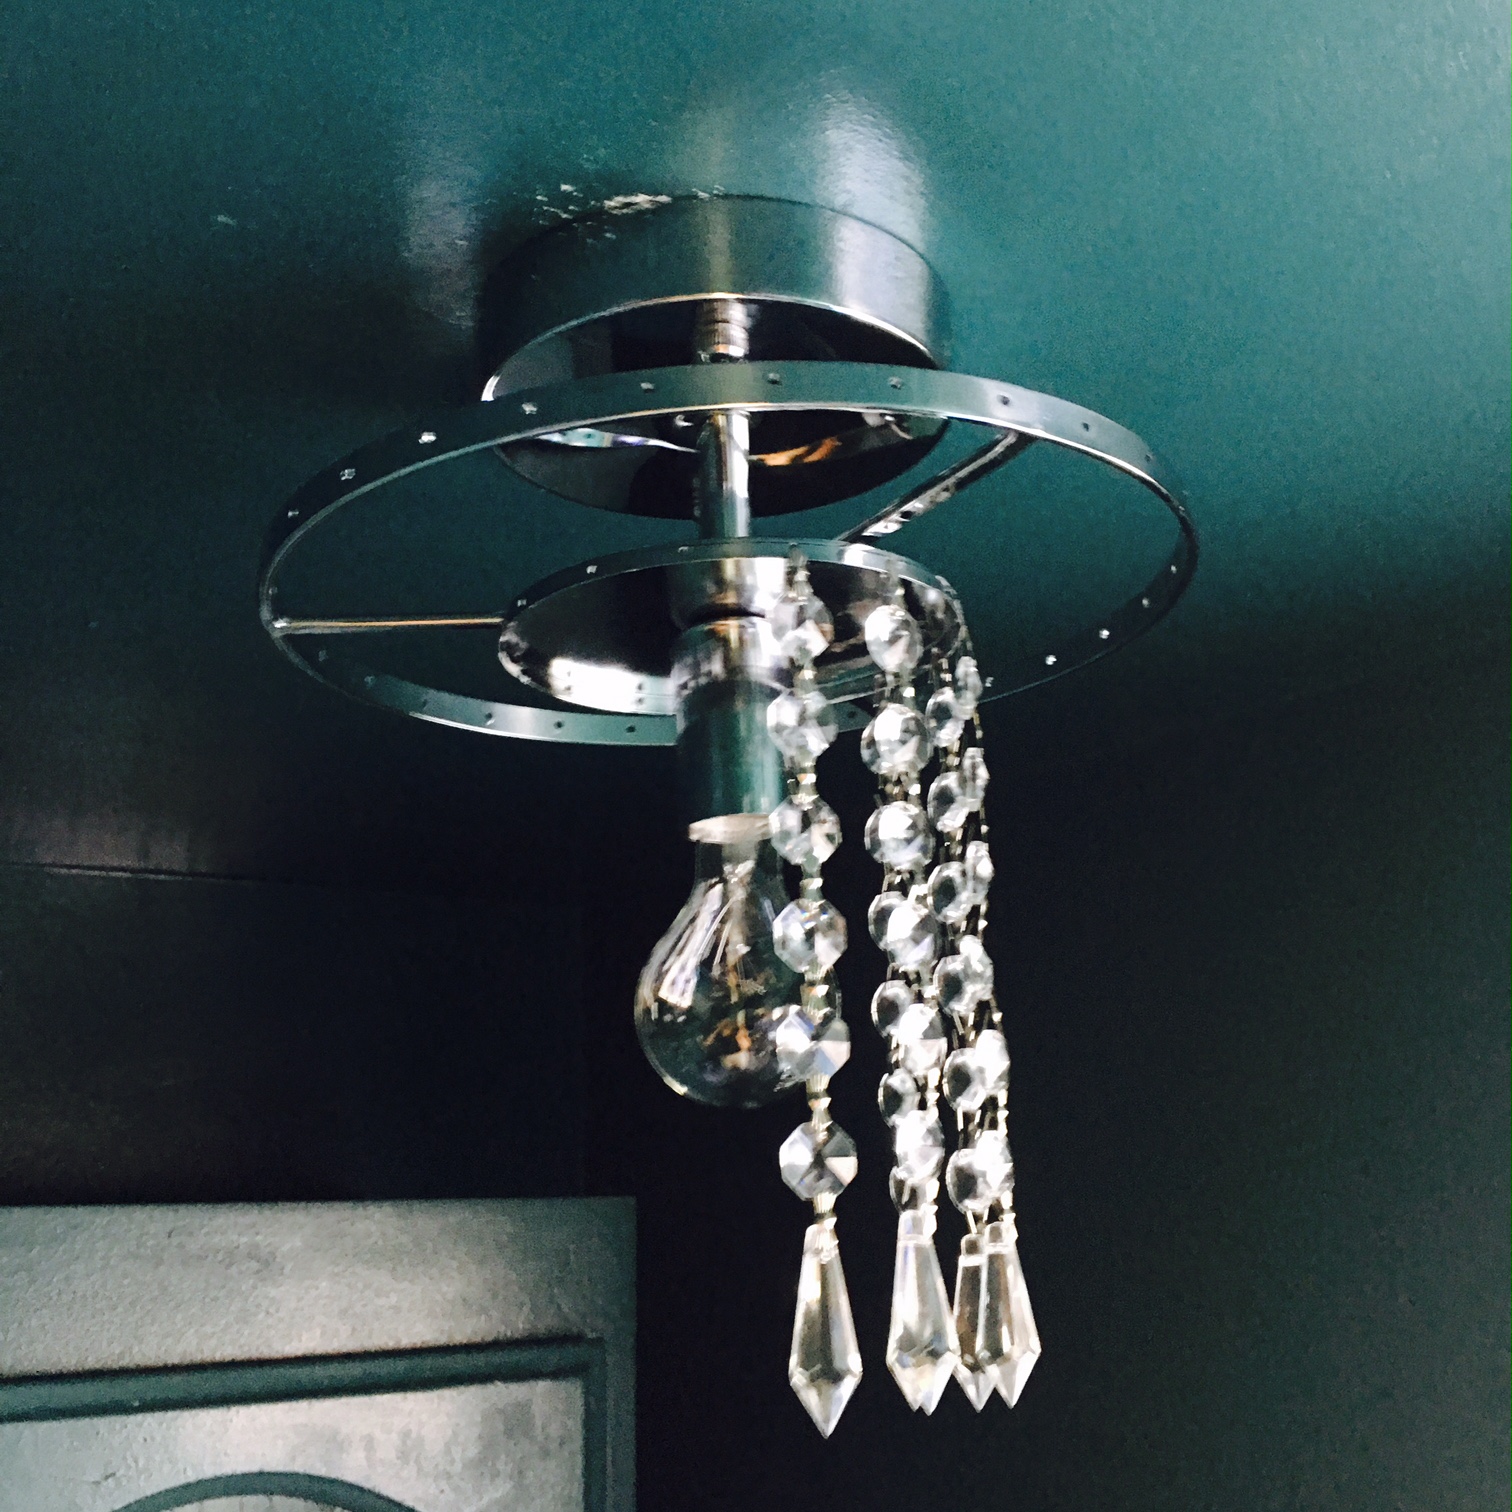

DRUM ROLL, PLEASE.

I found this lovely chanelier on Overstock for $69. It required a bit of assembly but didn't take more than 30 minutes.
And if you think that's a transformation, check out the floor.
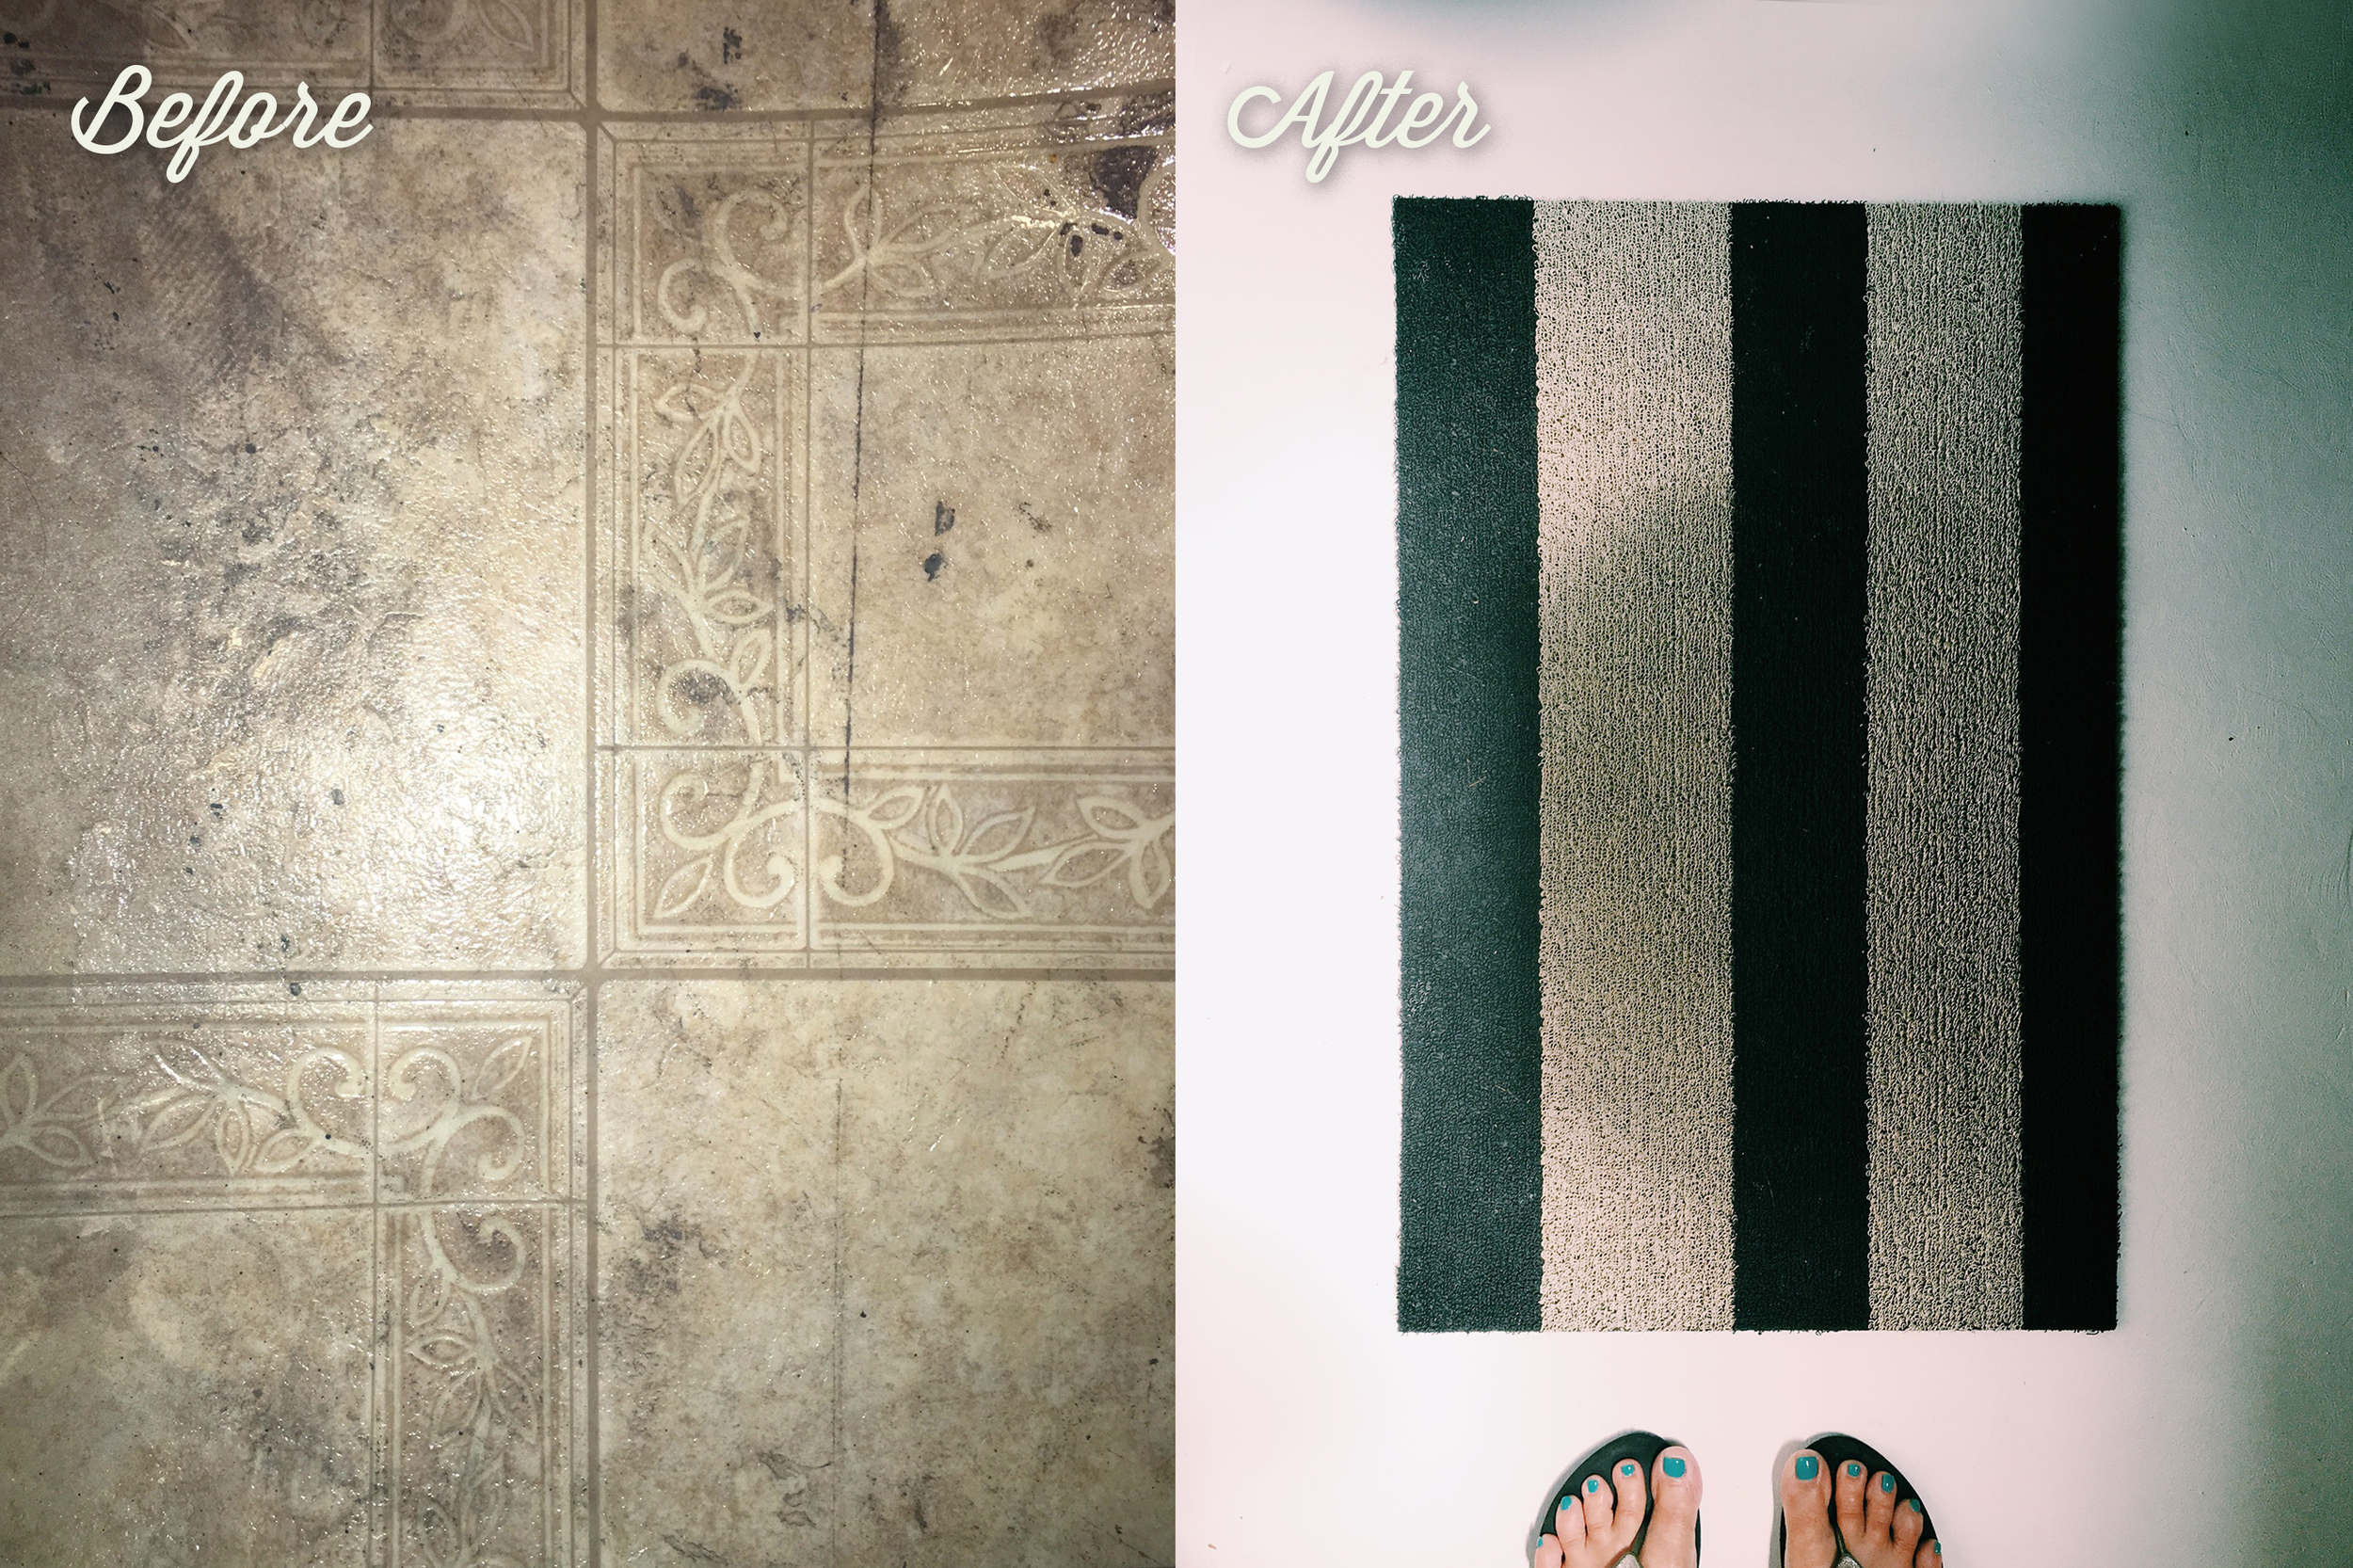
Look at that linoleum. Heinous, right? Right. Wanna know how I did it?
Here's what you'll need:
Mineral Spirits (buy the industrial size if you have a decent size space to do)
Large putty knife
Plastic wrap You can either cut up trash bags or buy a roll of plastic sheeting (what you put down when you are painting to protect the floor).

Here's how:
1. Pull up the linoleum. You might need to use the putty knife and hit the end with a hammer to get it started. After that, it should pull up easily. Otherwise, keep up with the putty knife/hammer.
2. Once the linoleum is up, you can do a little gig. However, the cement floor is going to be covered industrial adhesive. This sucks and removing it is the hardest part but WELL worth the work. I promise.
3. Now for the mineral spirits: I learned a trick on Pinterest that I'll pass along. Now, please learn from me since I went through about 5 bottles of mineral spirits. This shit dries fast. So just work in small areas and don't try to do the whole floor at once.
Generously coat a small area of the cement floor with mineral spirits and immediately cover with plastic. Walk over it so the plastic it's adhered pretty good. Set the timer and come back in 10 minutes.
4. Discard the plastic and, with a chalking knife, start scraping the glue off like your life depended on it. It should come off with some elbow grease. Here's a video to watch if you're that type.
4. Repeat steps 3 and 4 until the floor is smooth. Then vacuum like crazy. If you use water, you need to wait for it to dry so best to vacuum.
5. Lastly, it was painted in Kelly Moore White DuraPoxy. Check it out here. I must admit that I hired someone to do this. But they just used a roller and rolled it on. So, you can too!
And here are more pictures of our glam and now WELL-LOVEd pool bathroom.

The Chilewich floor mat was the cherry on top!

Here's my fancy, bling-y, yet inexpensive chandelier in place. Cute, eh?
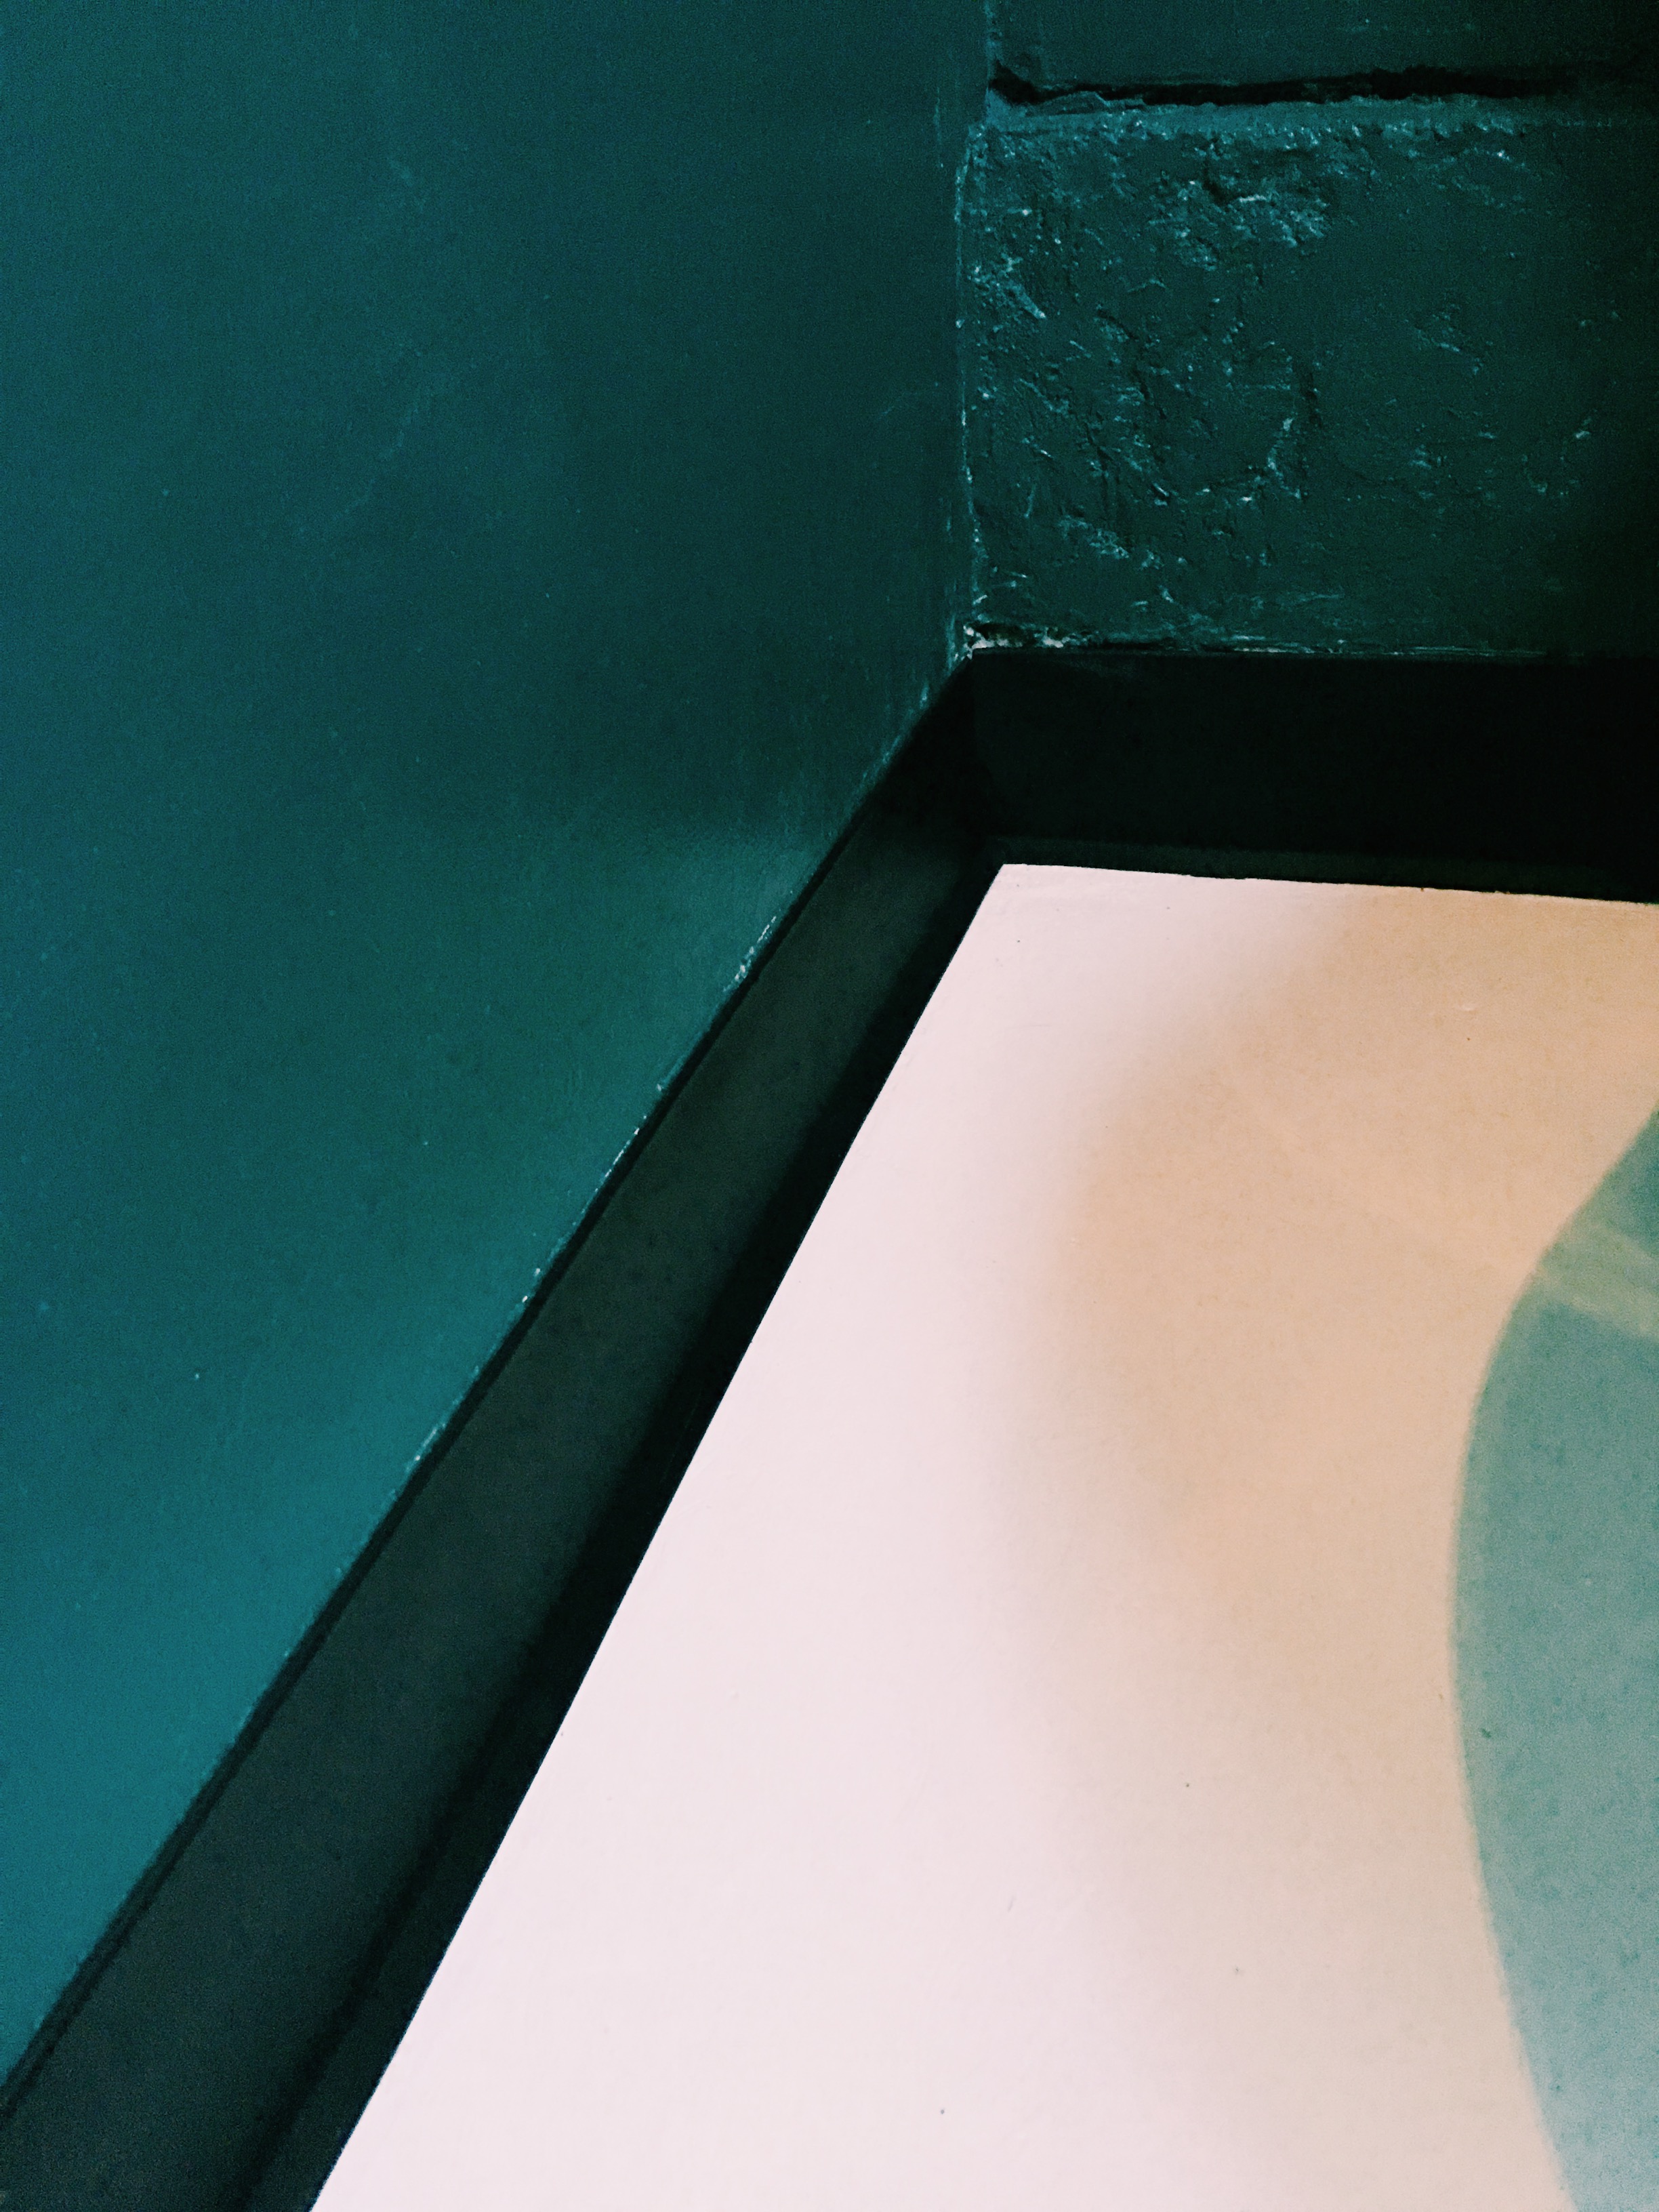
This is Thermoplastic Rubber Wall Cove Base Coil. It really helped finish off the walls (and hide all lot of unpainted crap)
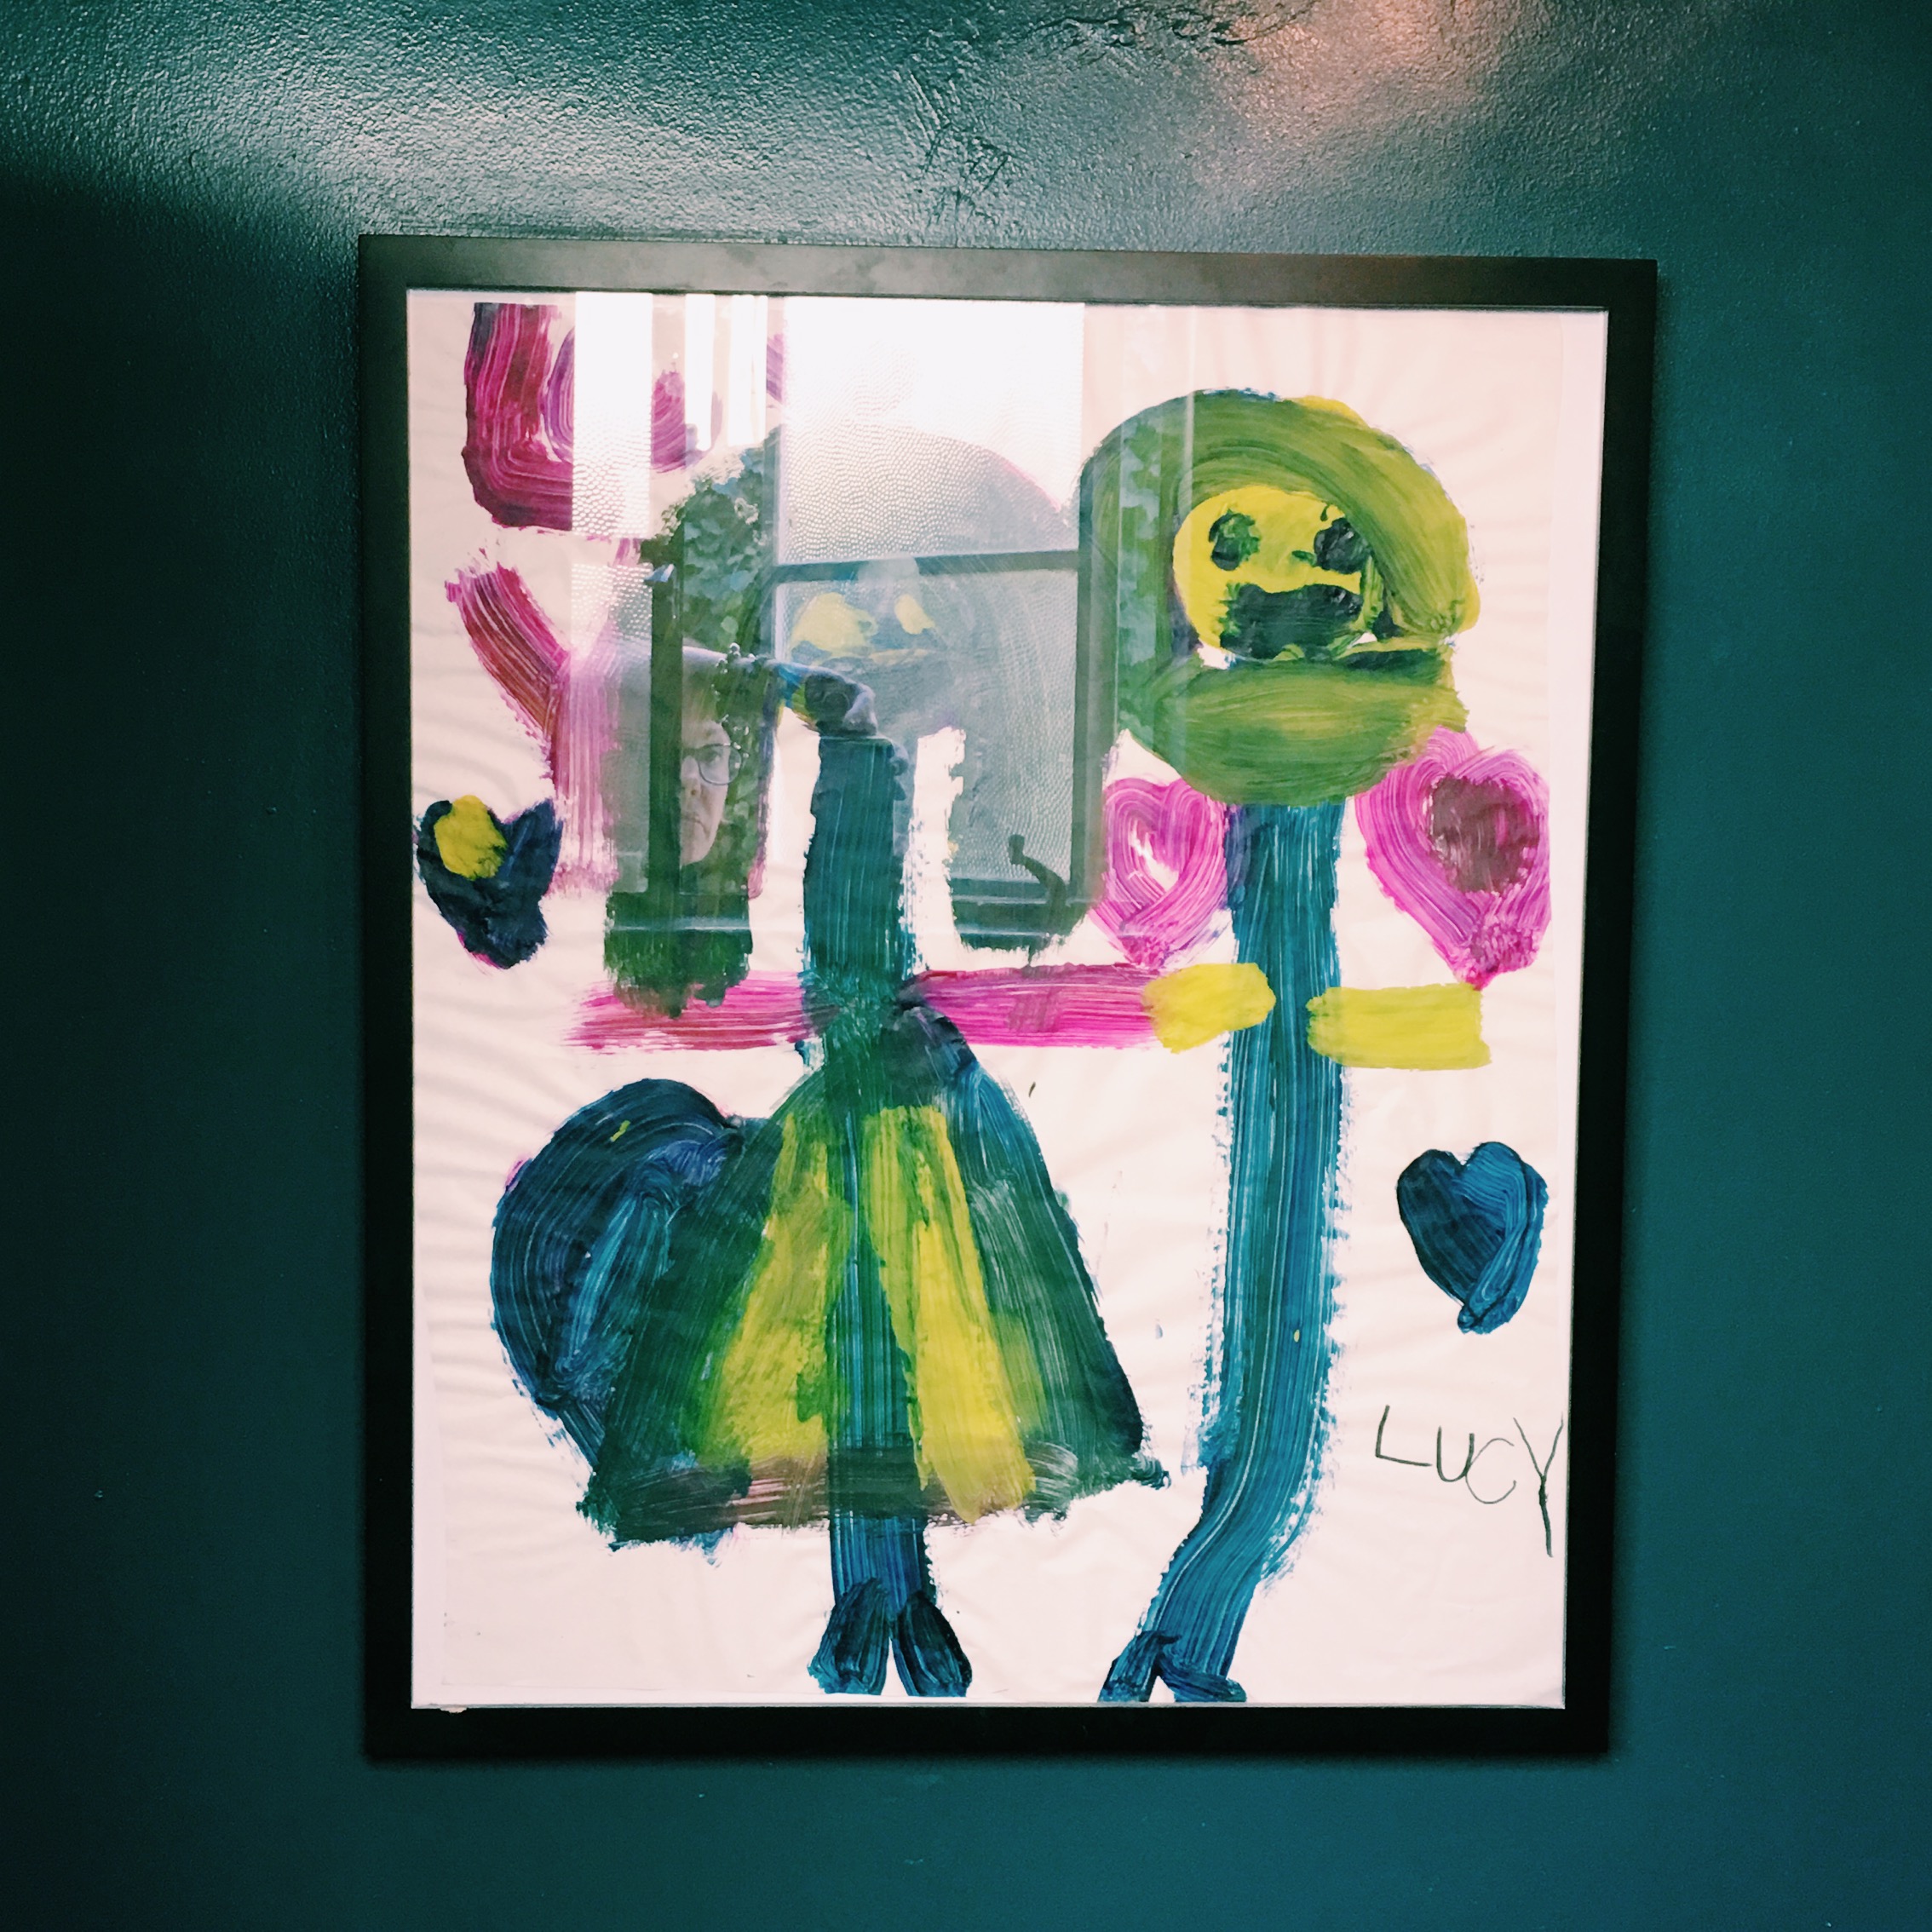
This is my daughter, Lucy's, artwork. I frame the pieces that are extra special. This one really wanted to be in here.
AND HERE'S A SNEAK PEEK AT THE LINCOLN ATTIC.
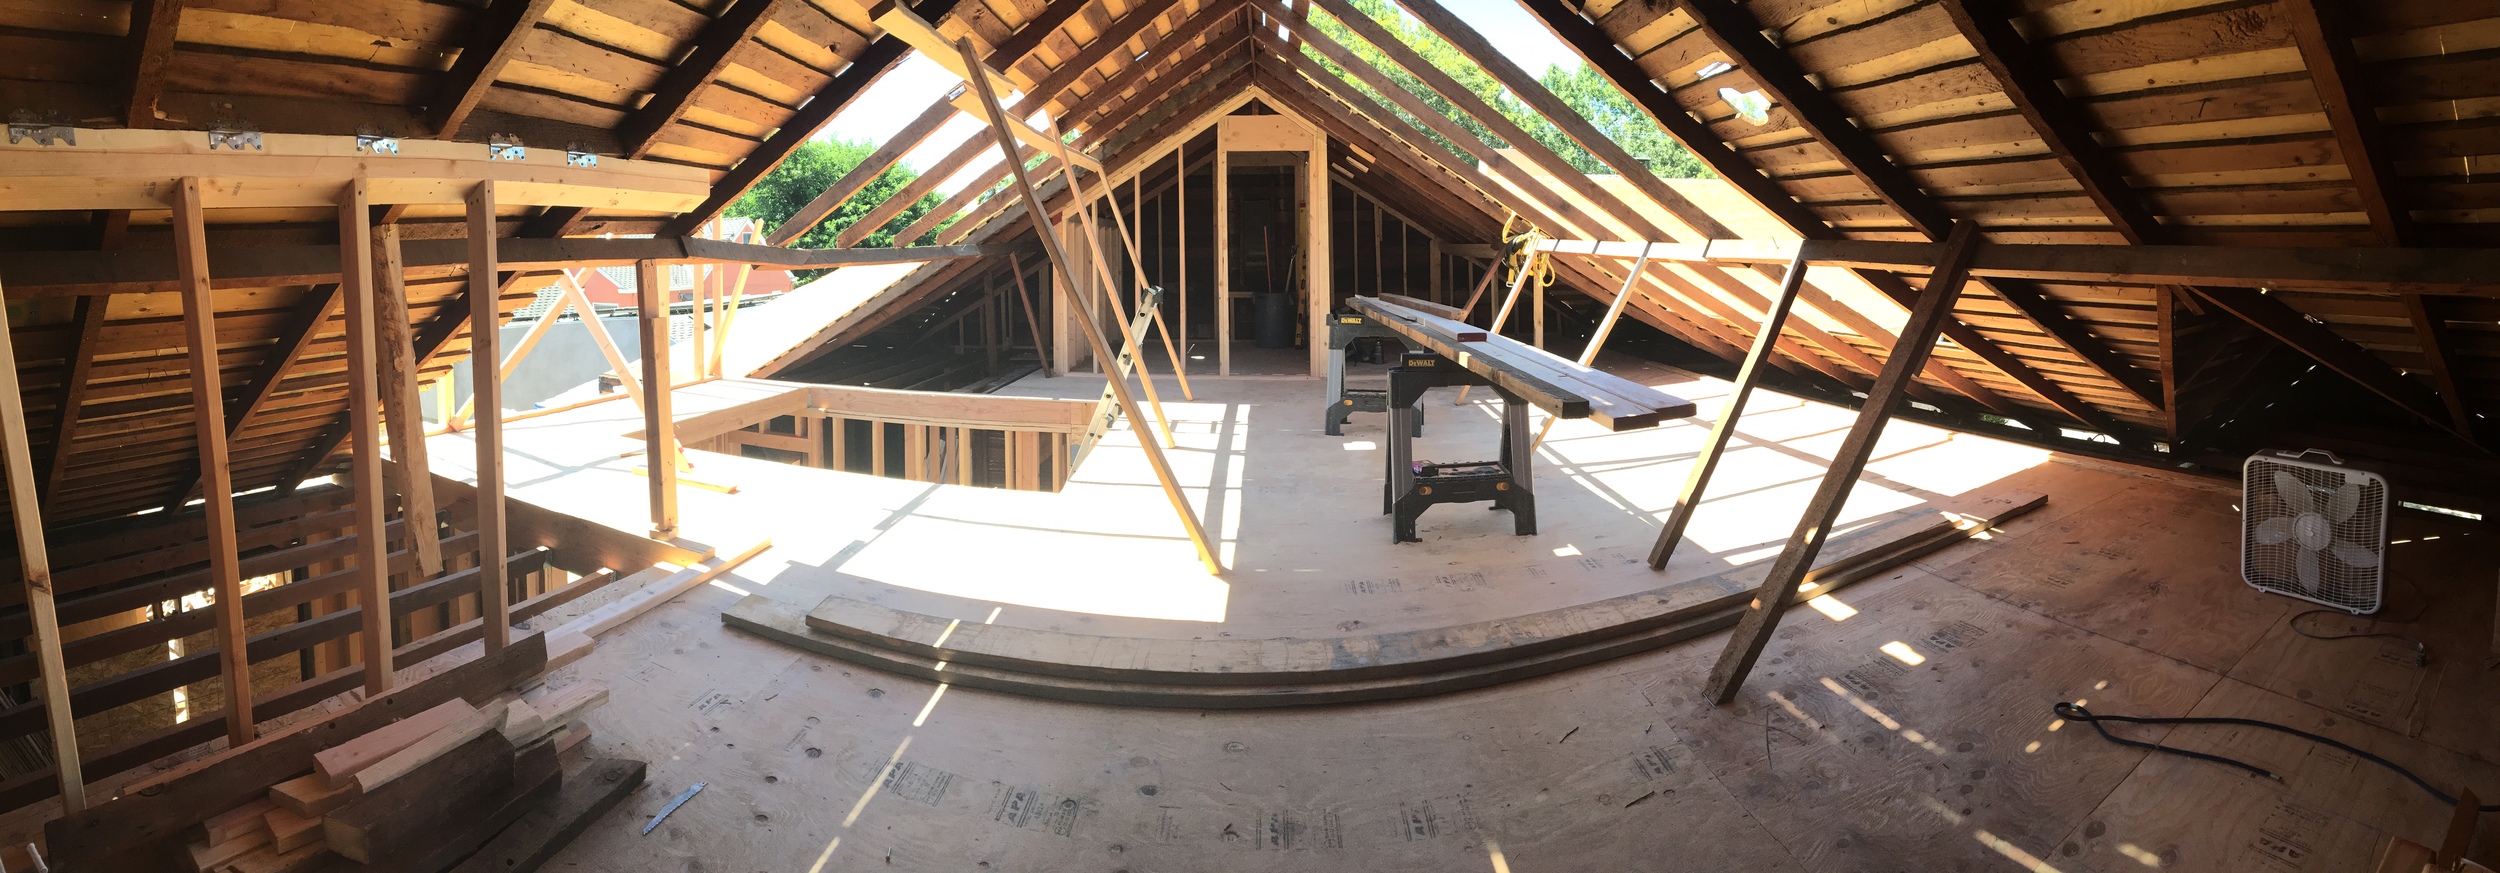
Here's a pano shot of the attic. The master bathroom is what you are looking at. It looks tiny but it won't be. The openings in the roof are where the dormers will be! Big stuff, friends.
KNOW ANYONE THAT'S INTERESTED IN FLIPPING HOMES? SHARE THIS WITH THEM.
1. Flipping Lincoln Ave: Be brave...begin
2. Flipping Lincoln Ave: Yikes, this place is a mess
3. Flipping Lincoln Ave: Fun with tack strips
4. Flipping LIncoln Ave: Demo Day
5. Flipping Lincoln Ave: Ready Set Go!
6. Flipping Lincoln Ave: Up You Go
Thank you so much for your support.

5 Likes