

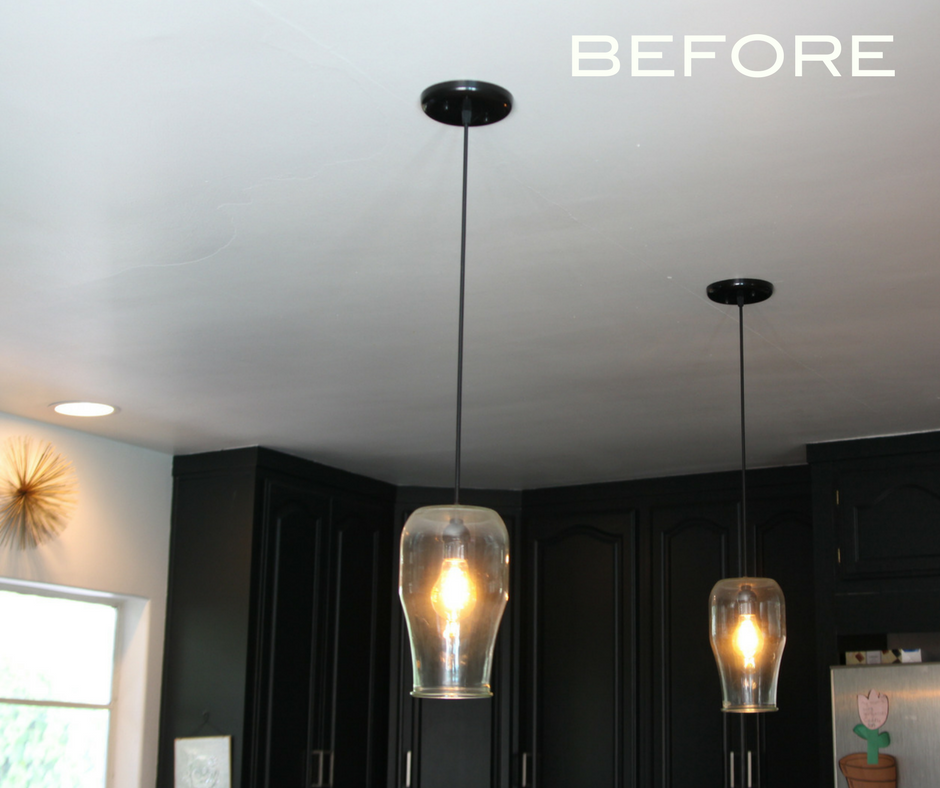
Look at what we just made!
We have been so focused on the Weaver project, and felt like doing a project that we could actually finish in a few days. I was really uninspired by our existing Weck jar lights that we had made a few years prior. So, off we went!
So, here's how we did it.
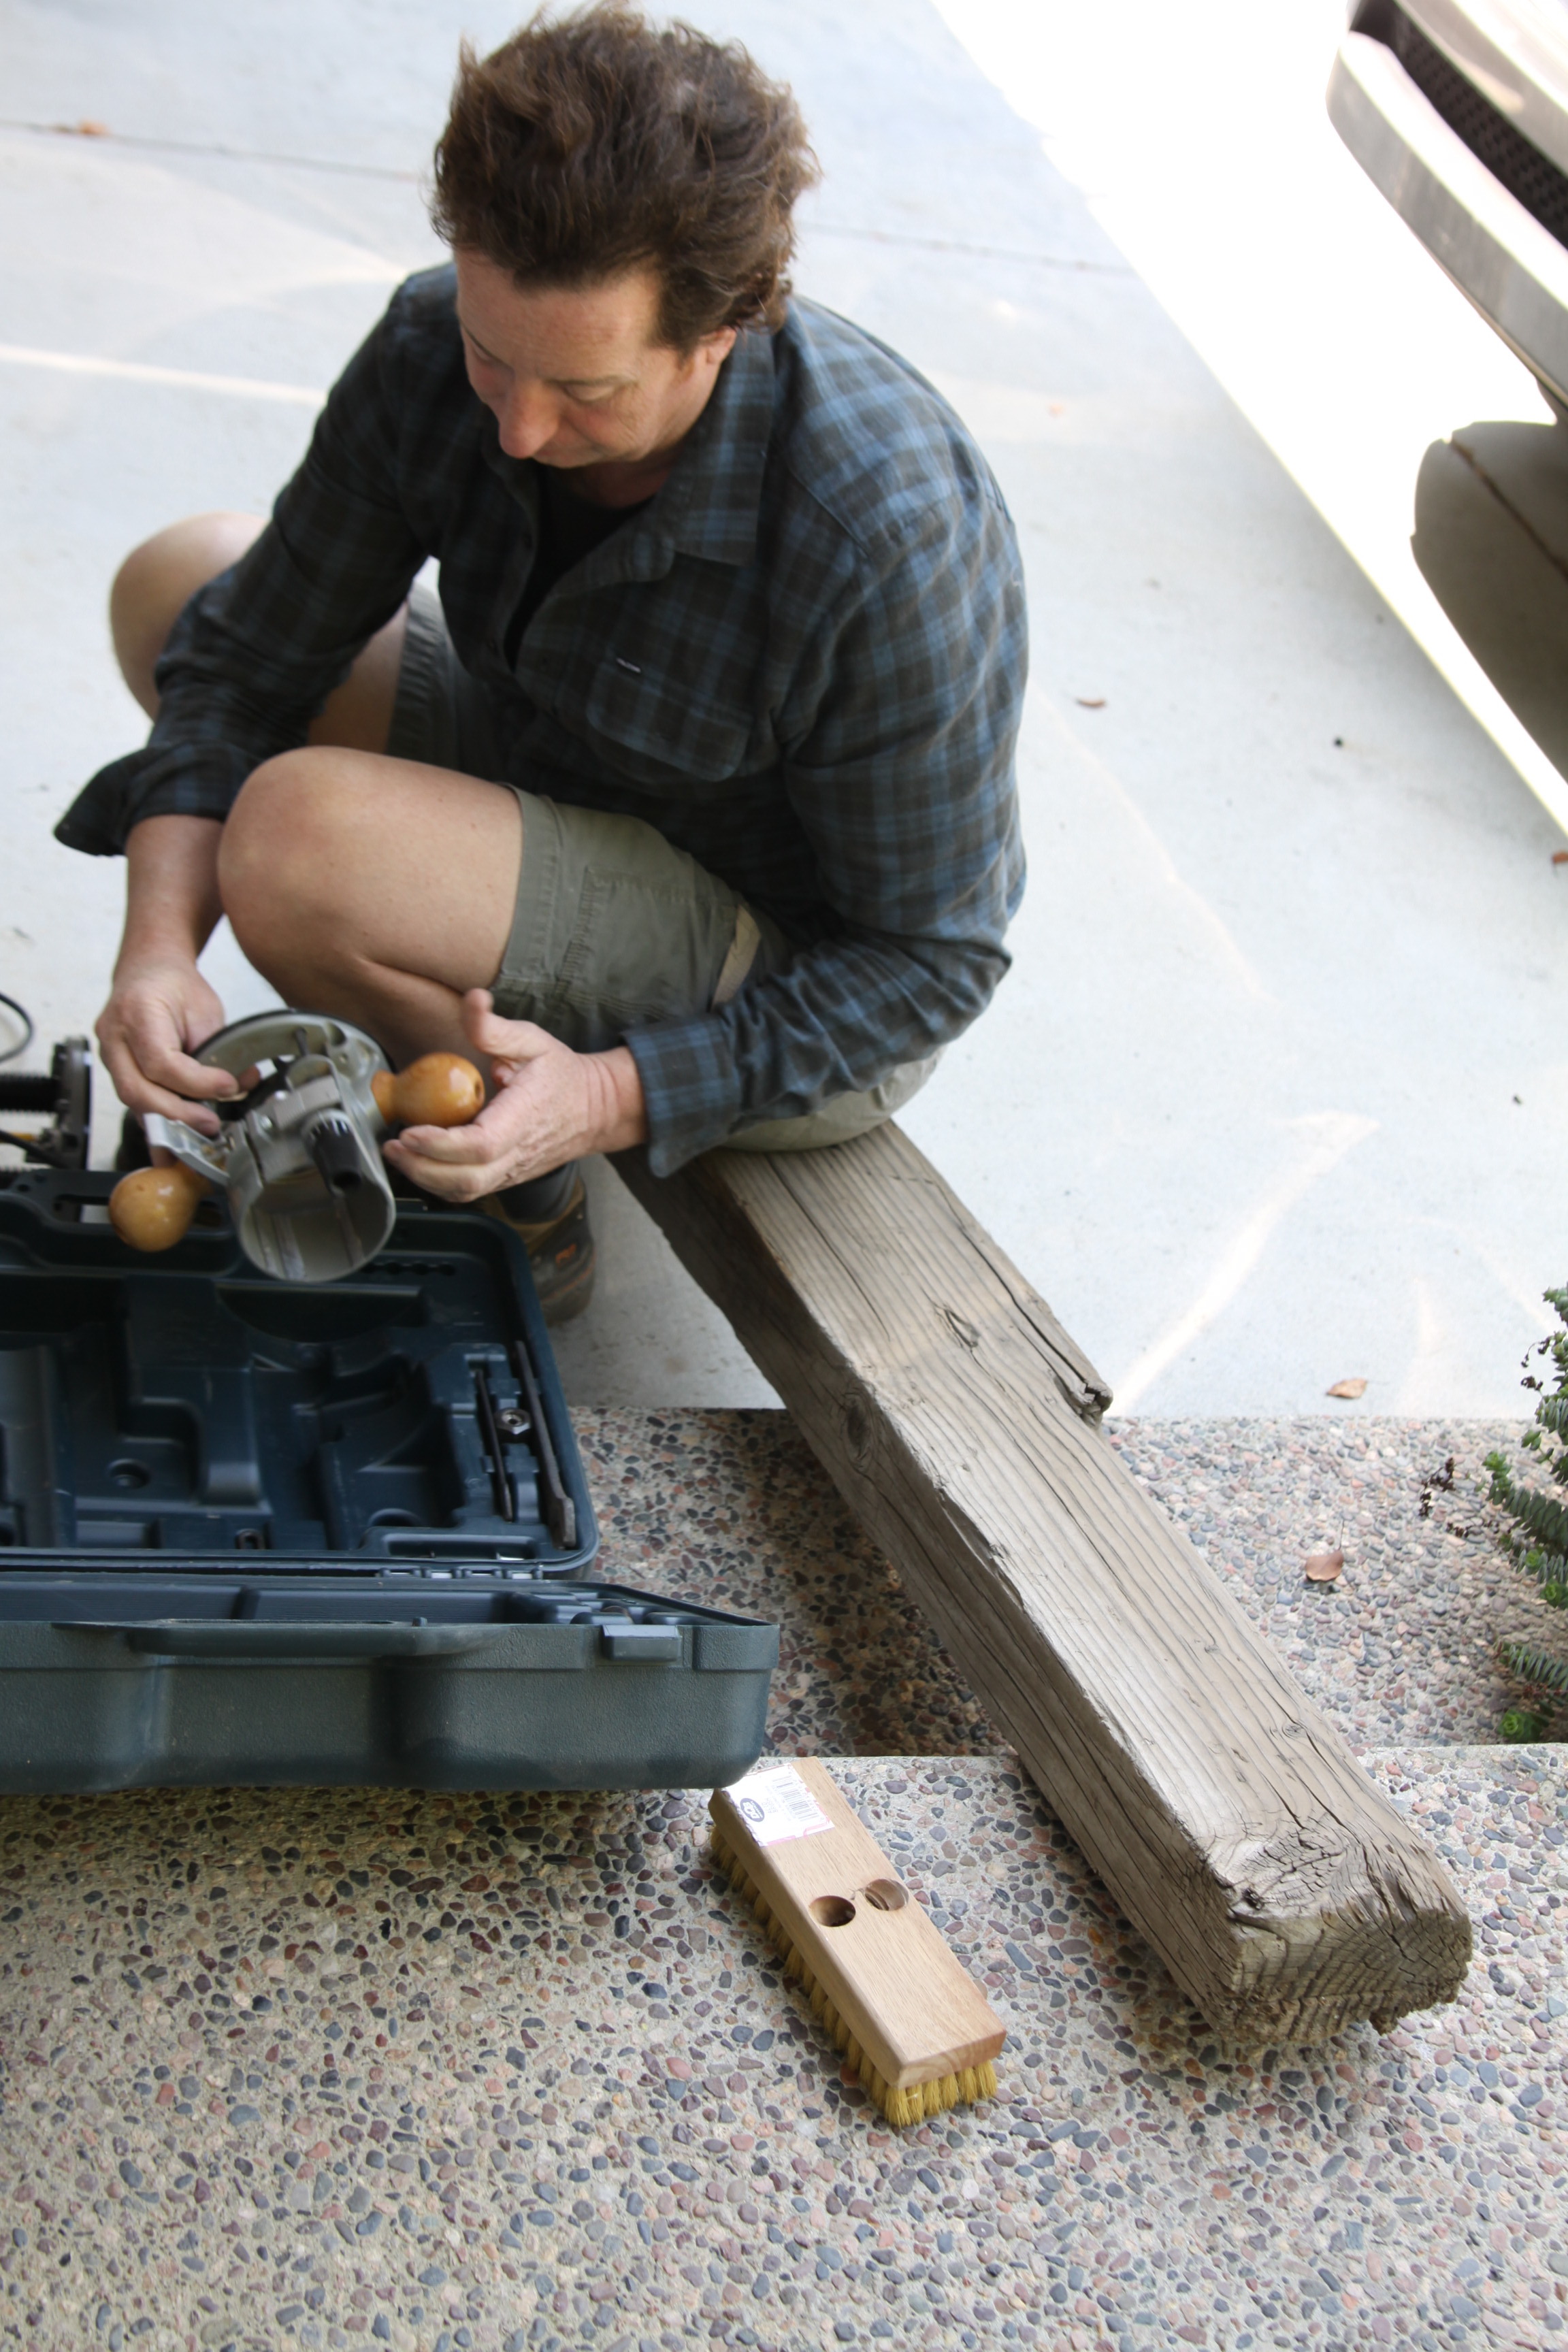
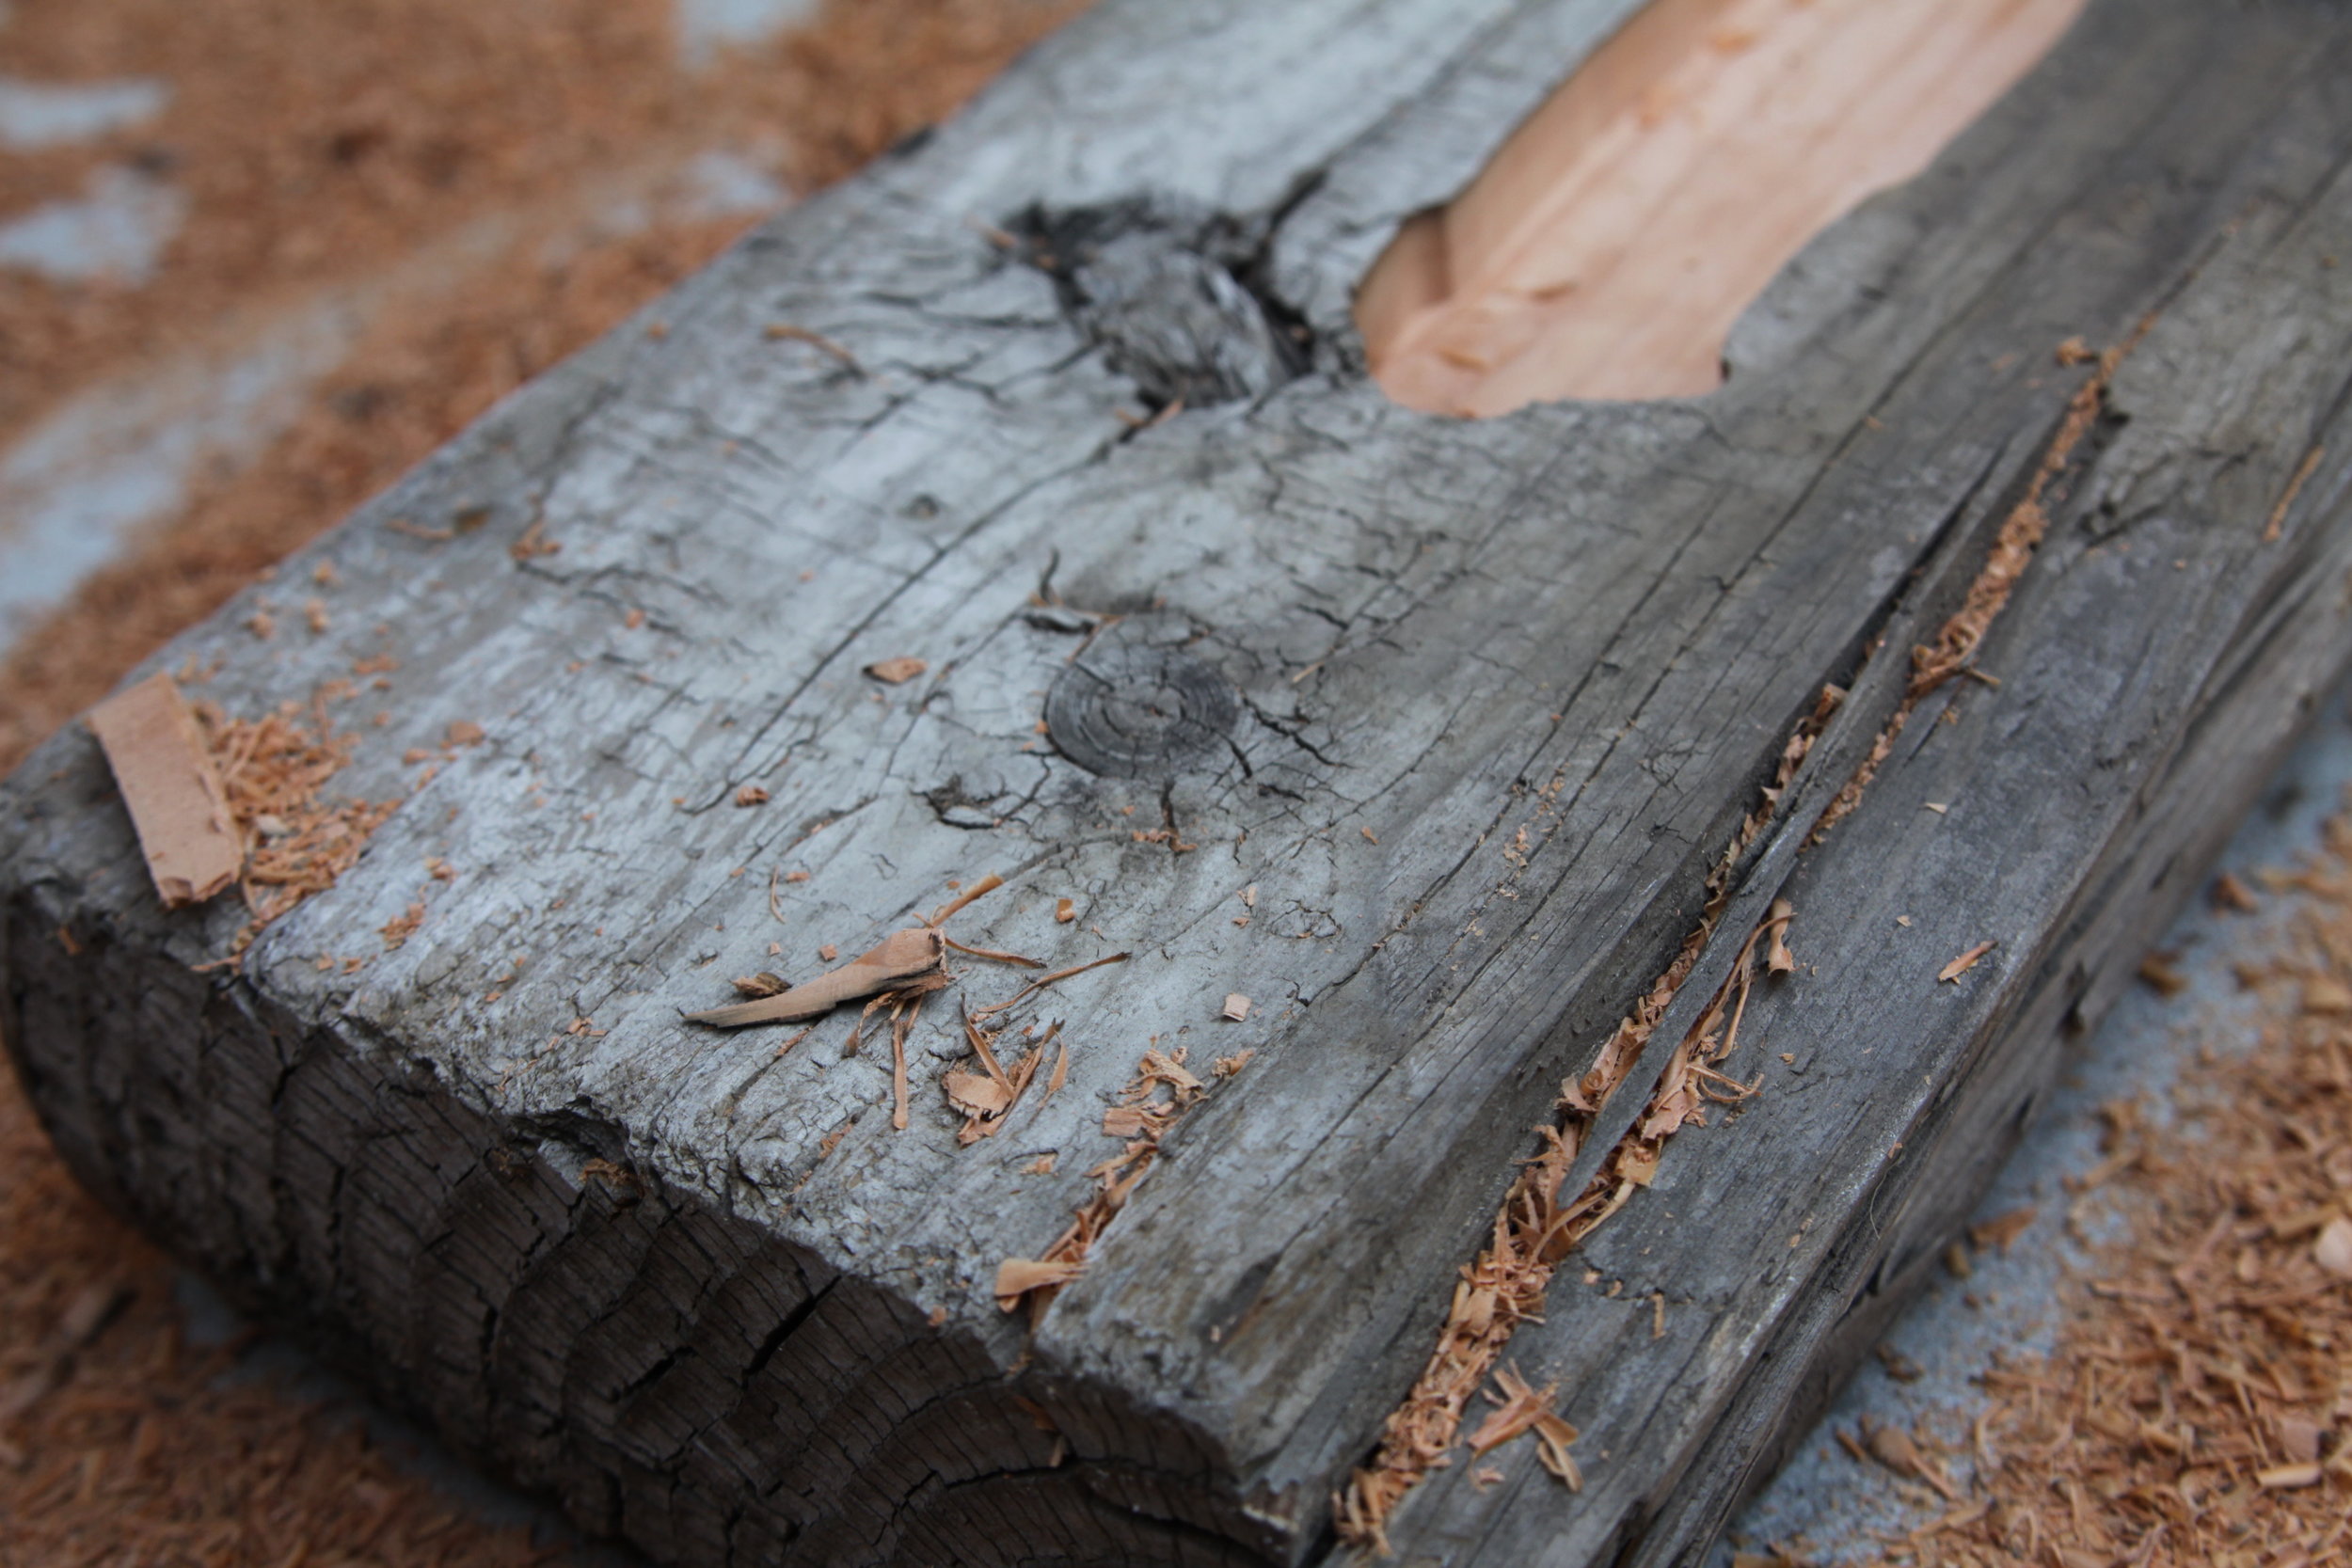
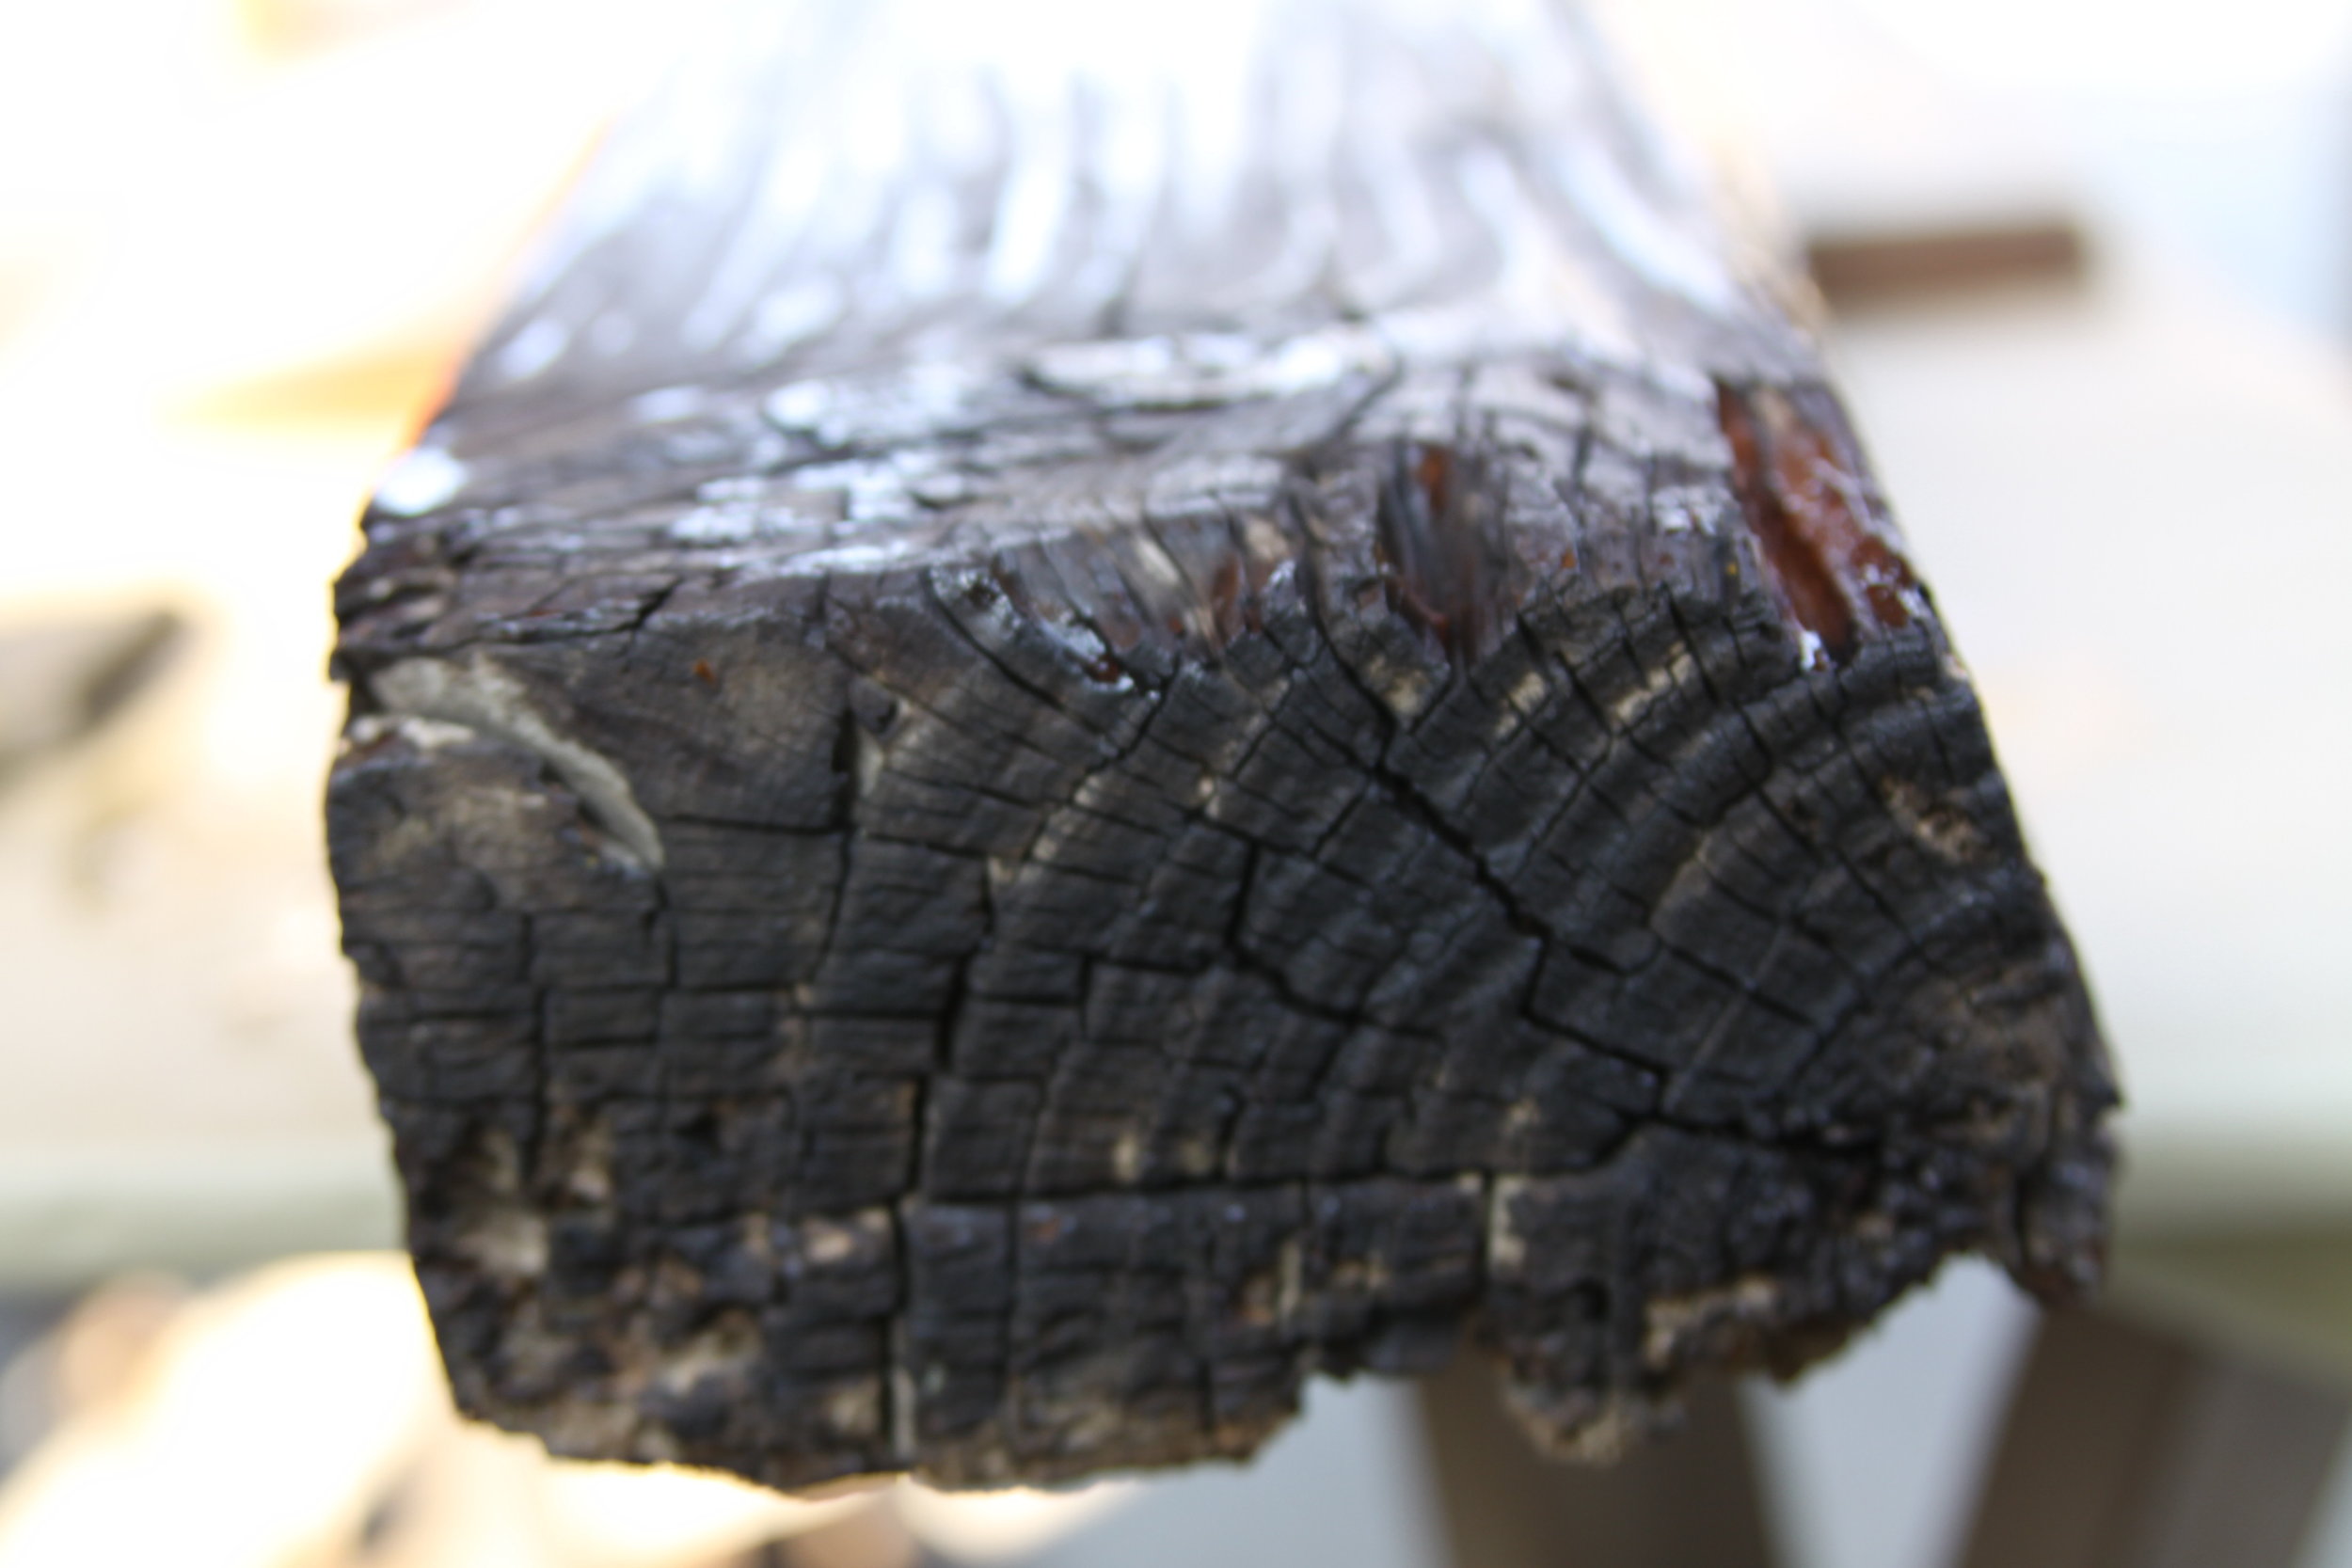
First, we found a really rad piece of reclaimed wood.
We took a little trip down to a fabulous reclaimed stockpile in San Martin, CA owned by Joe, from Studio Terra Amico in Willow Glen. There is too much to say about Joe and his amazing creations so I am going to dedicate any entire blog to it in the near future. Stay tuned.

And we came home with this beauty. It was the right length to hang over the island (about 6 feet) and it had lots of texture and character.

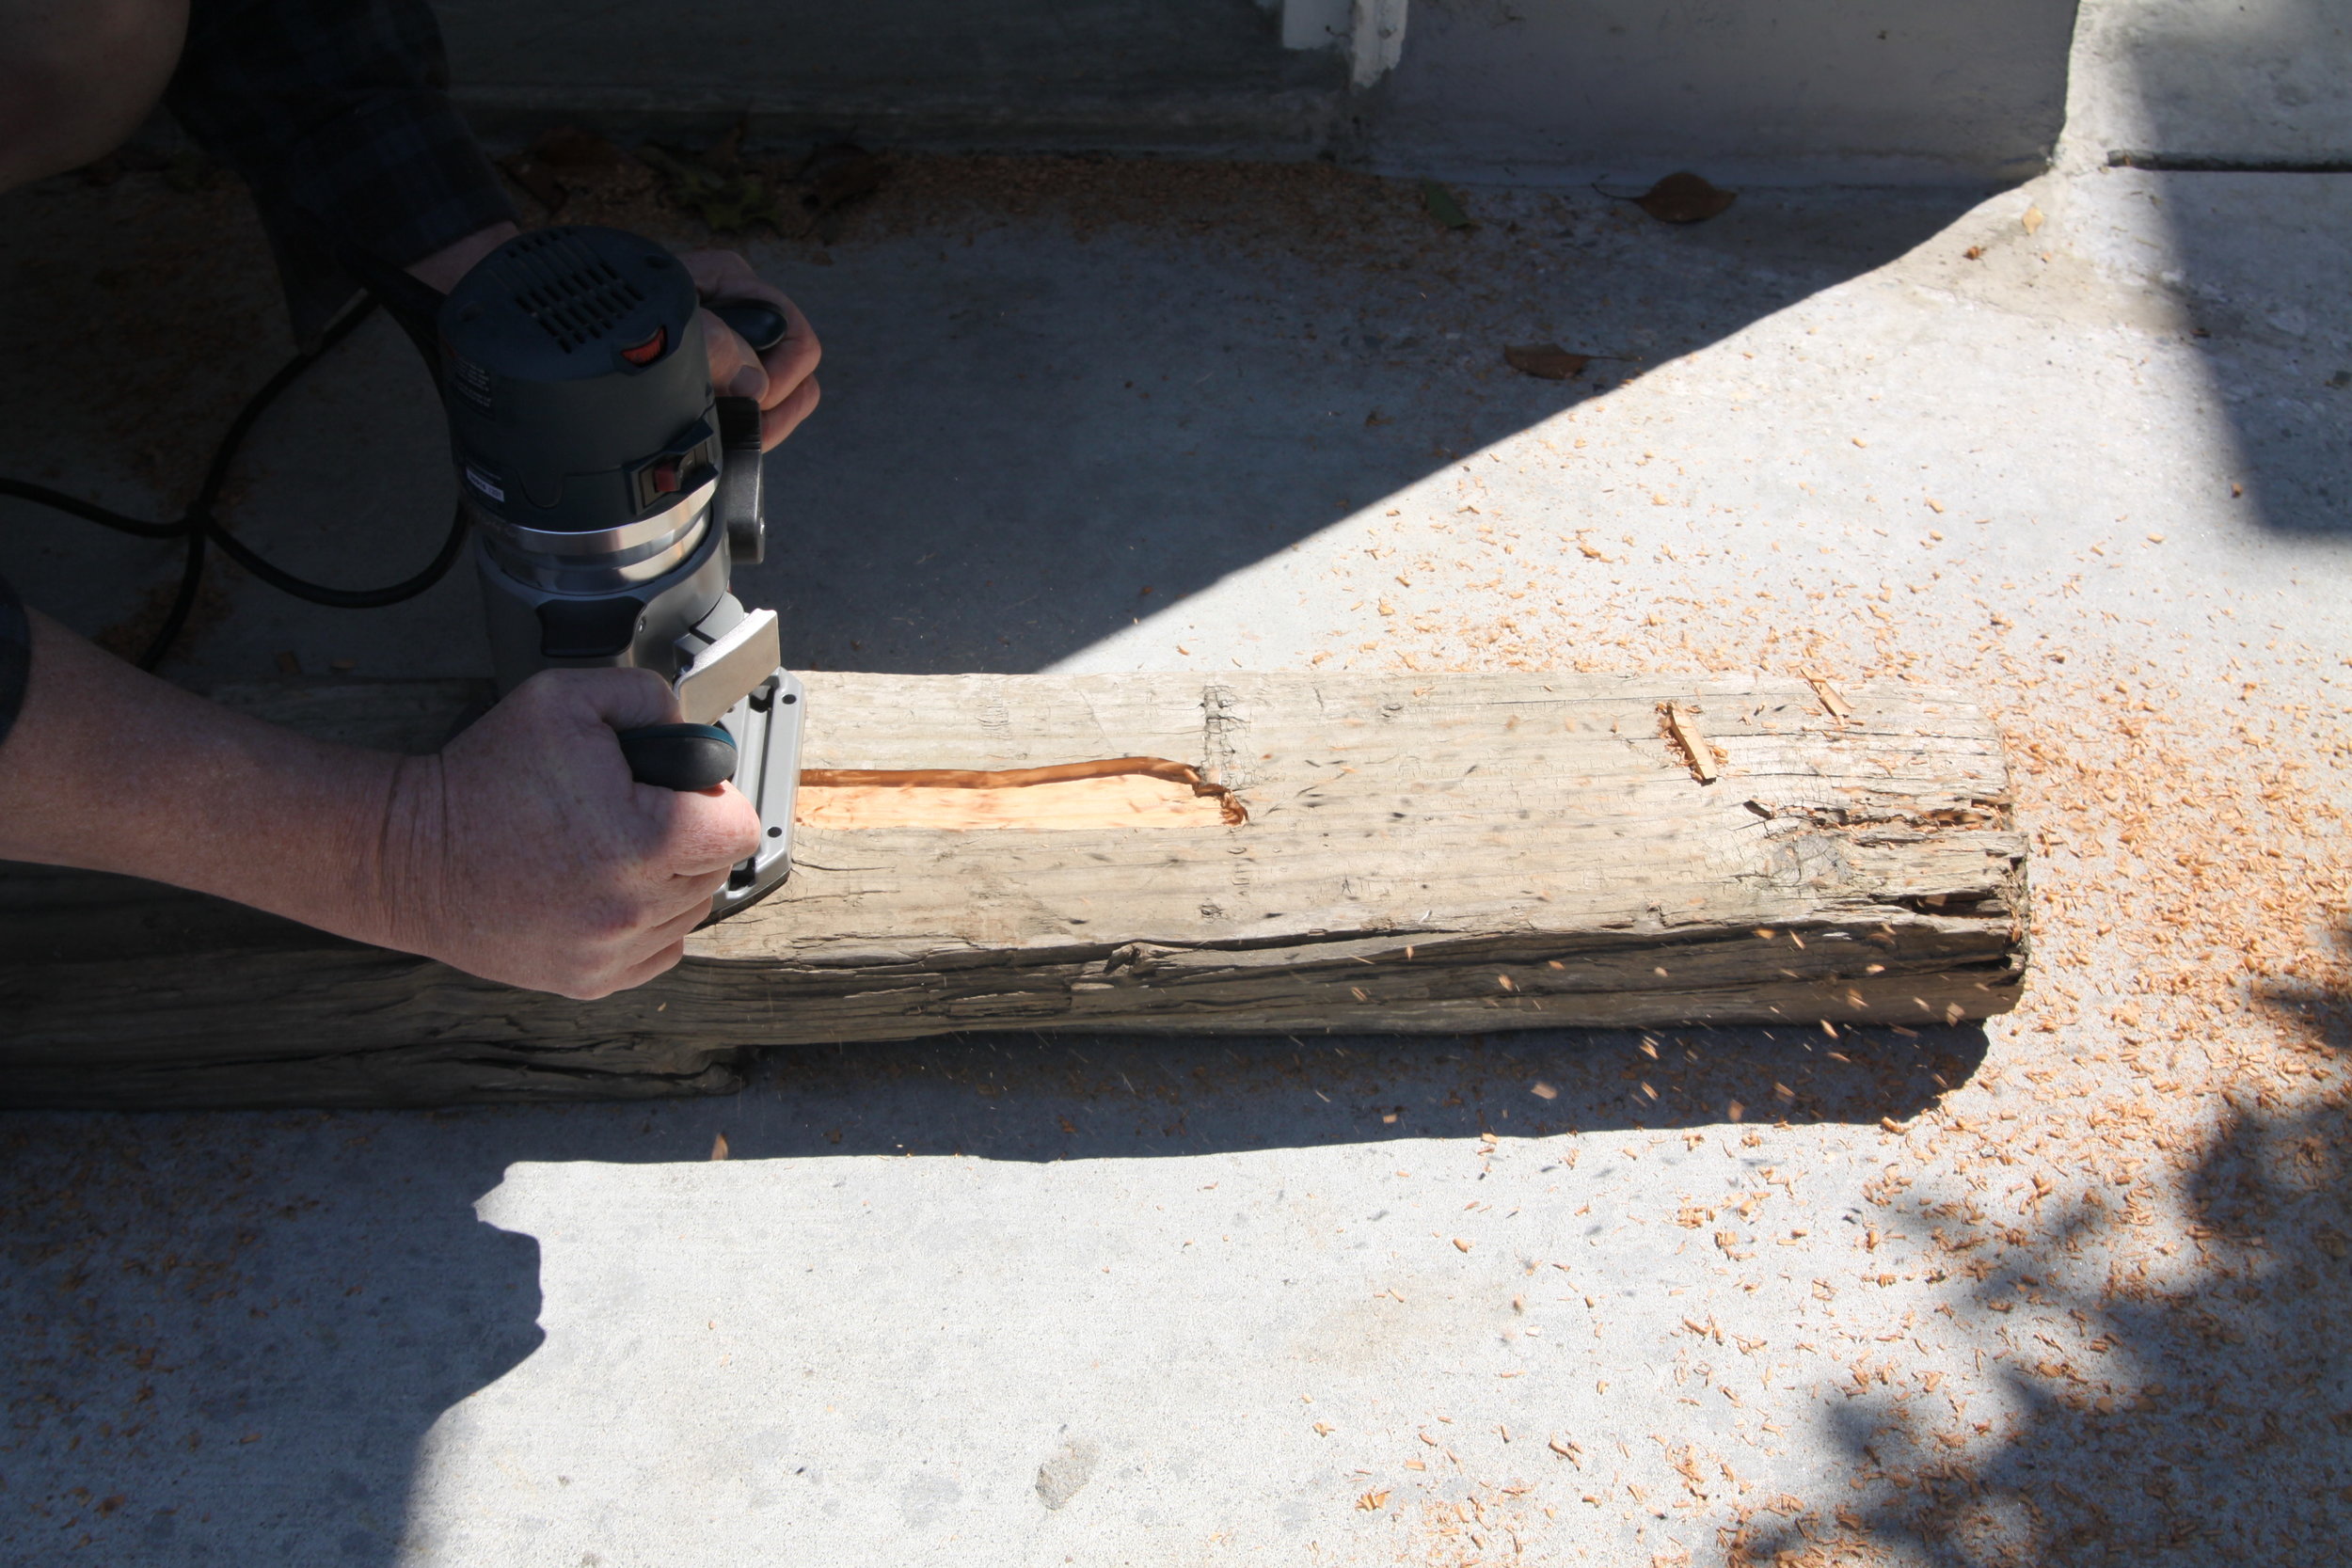
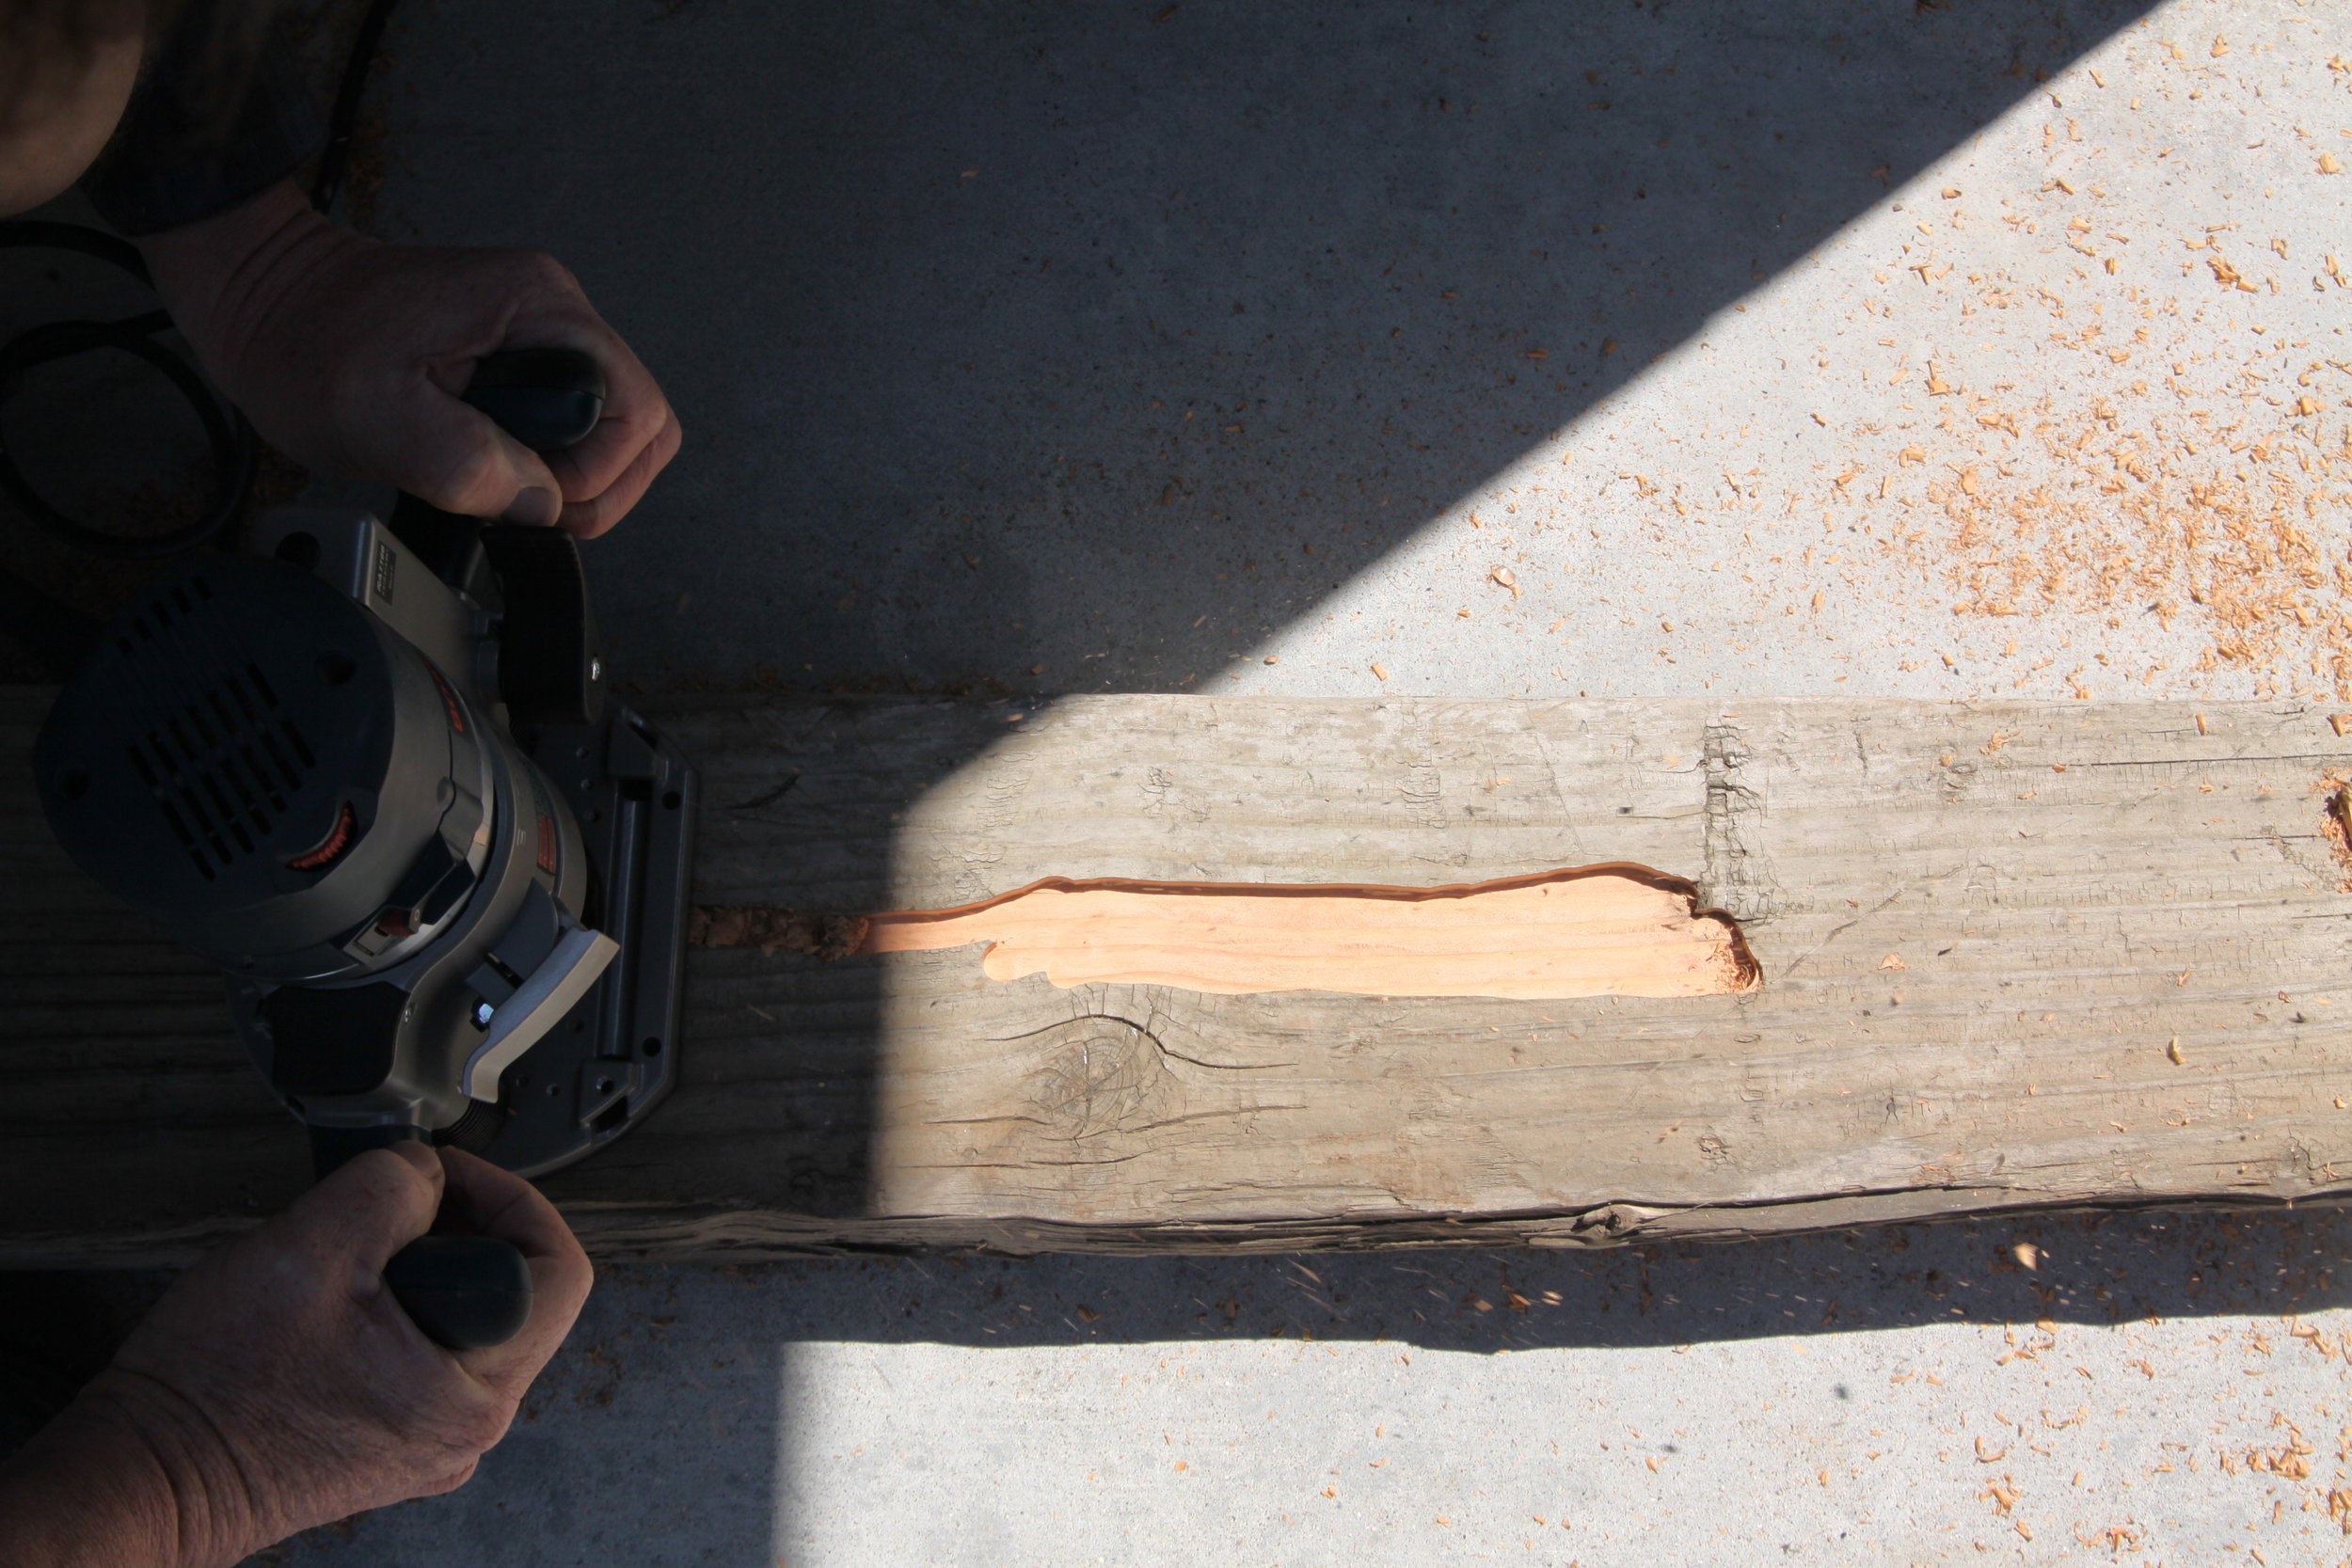
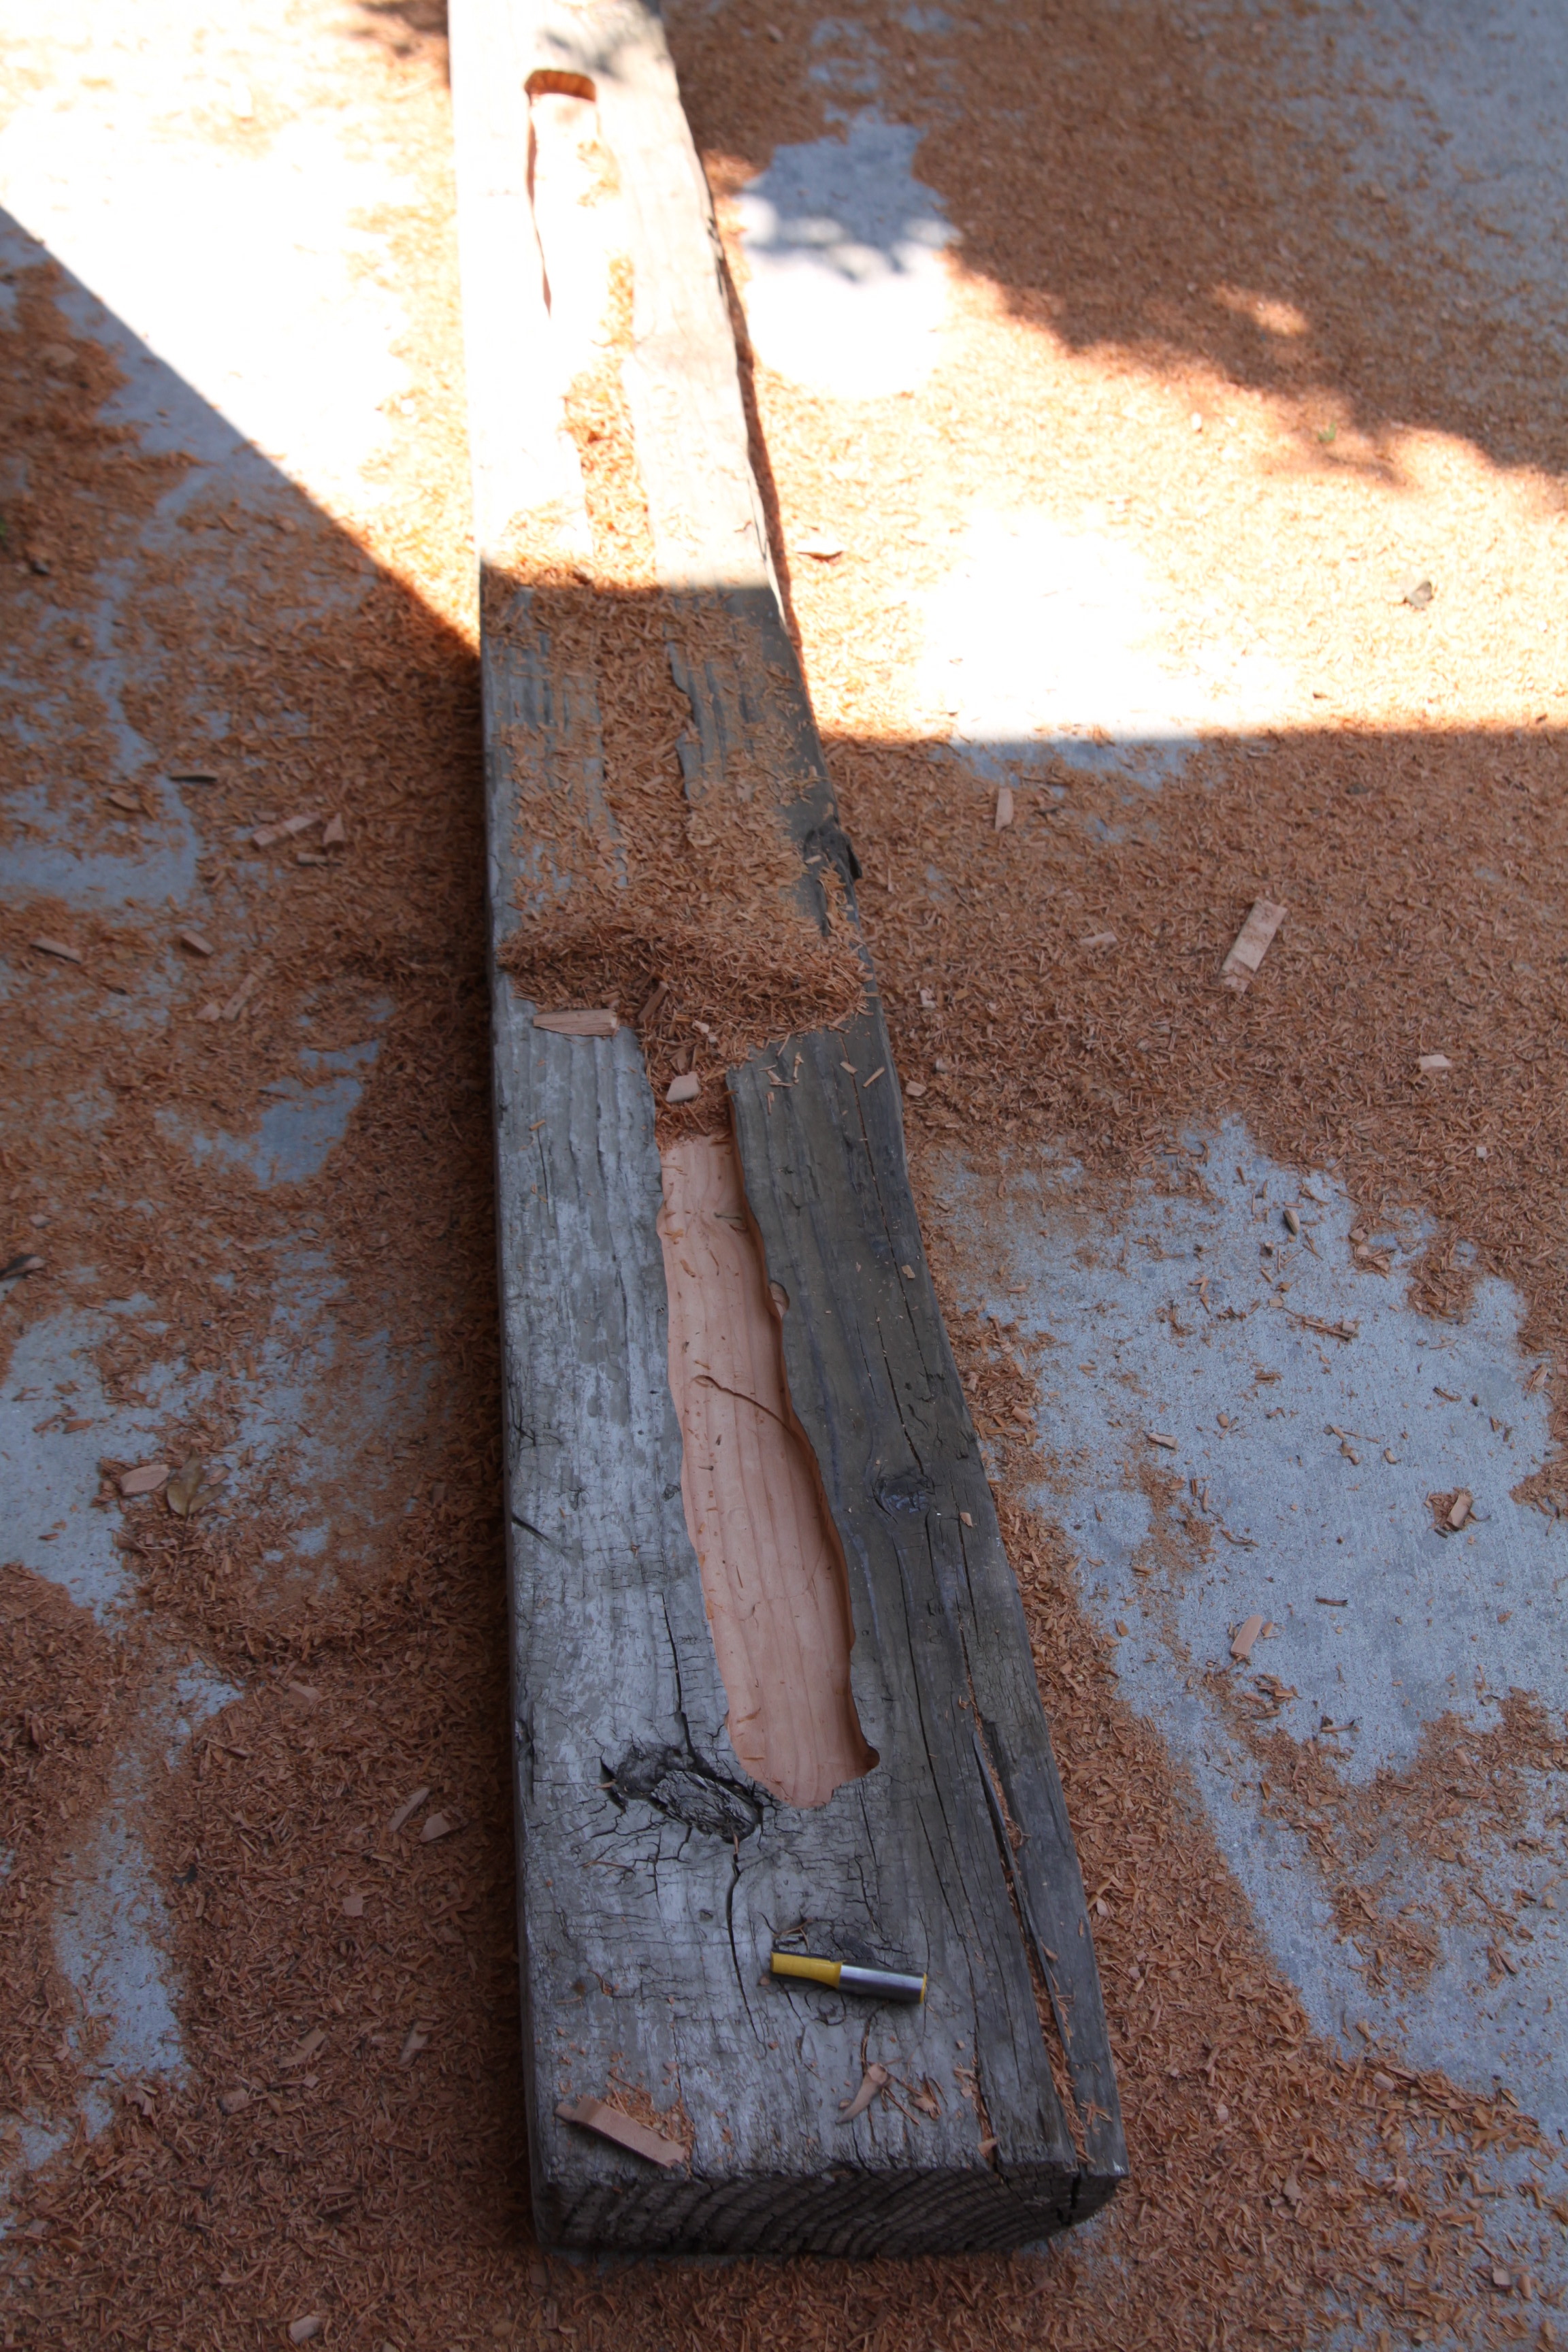
Getting the wood prepared
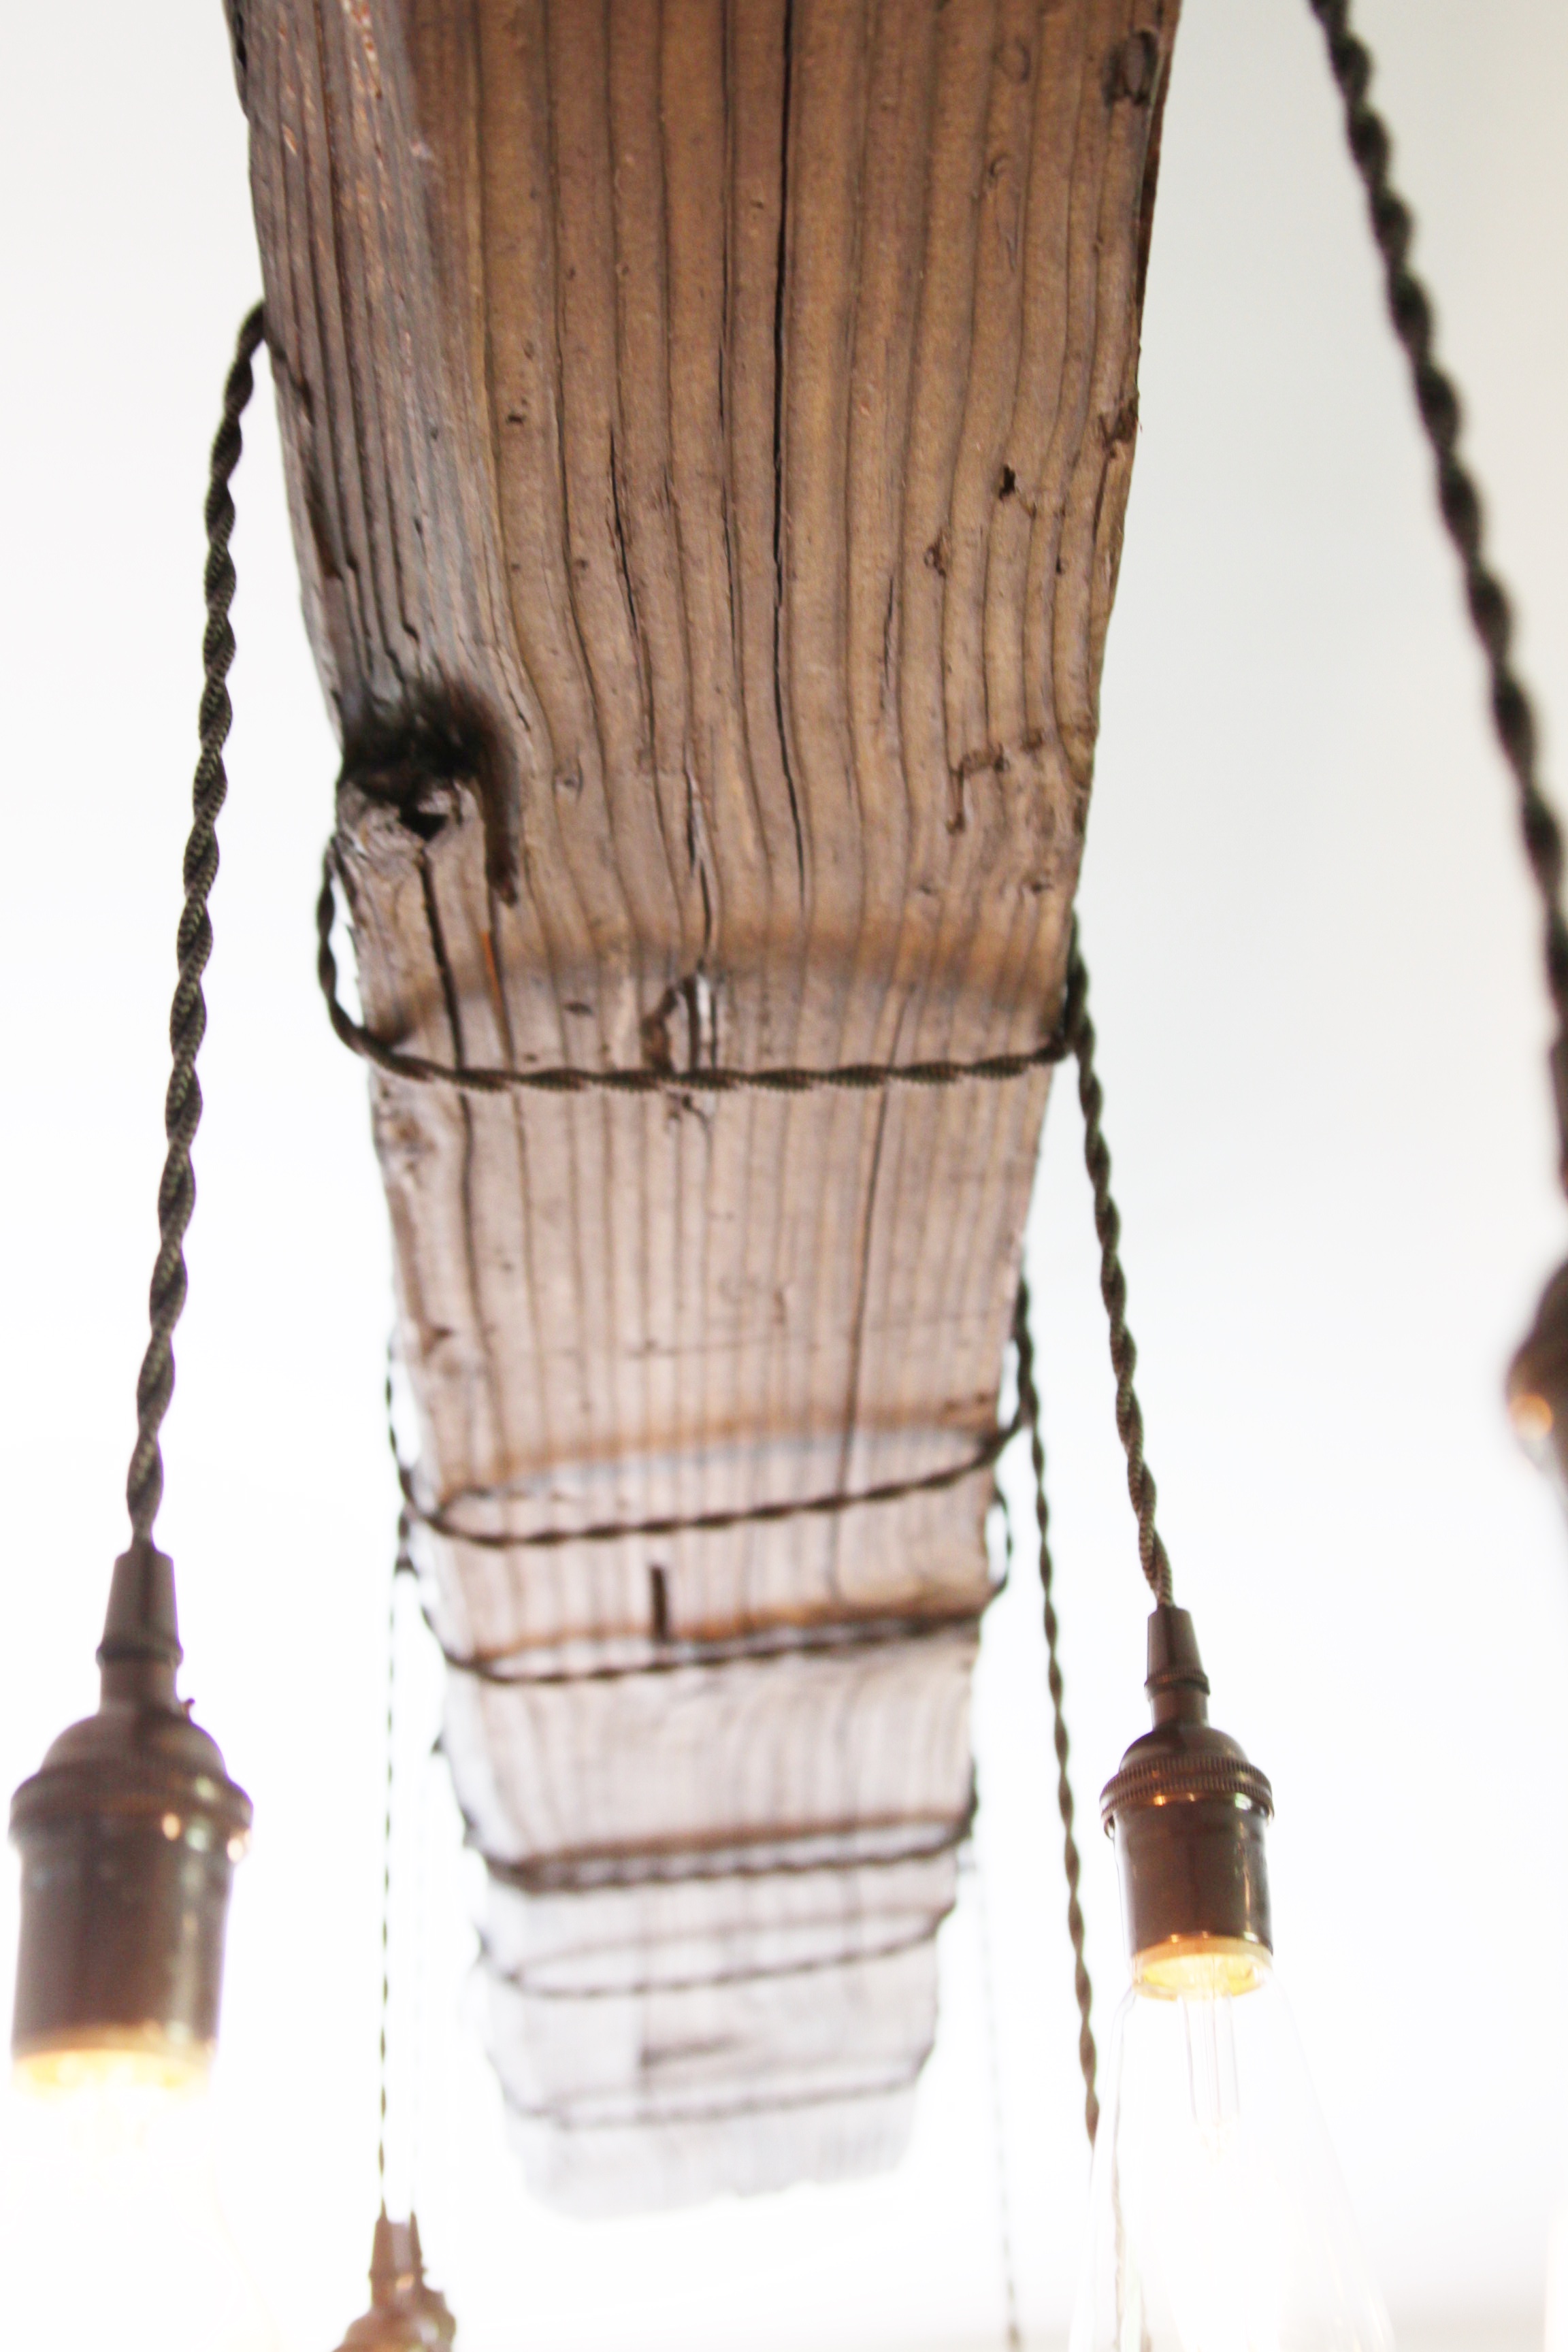
Lance needed to miter out a channel at the top of the beam to hide all the electrical stuff.


Next, treating the wood
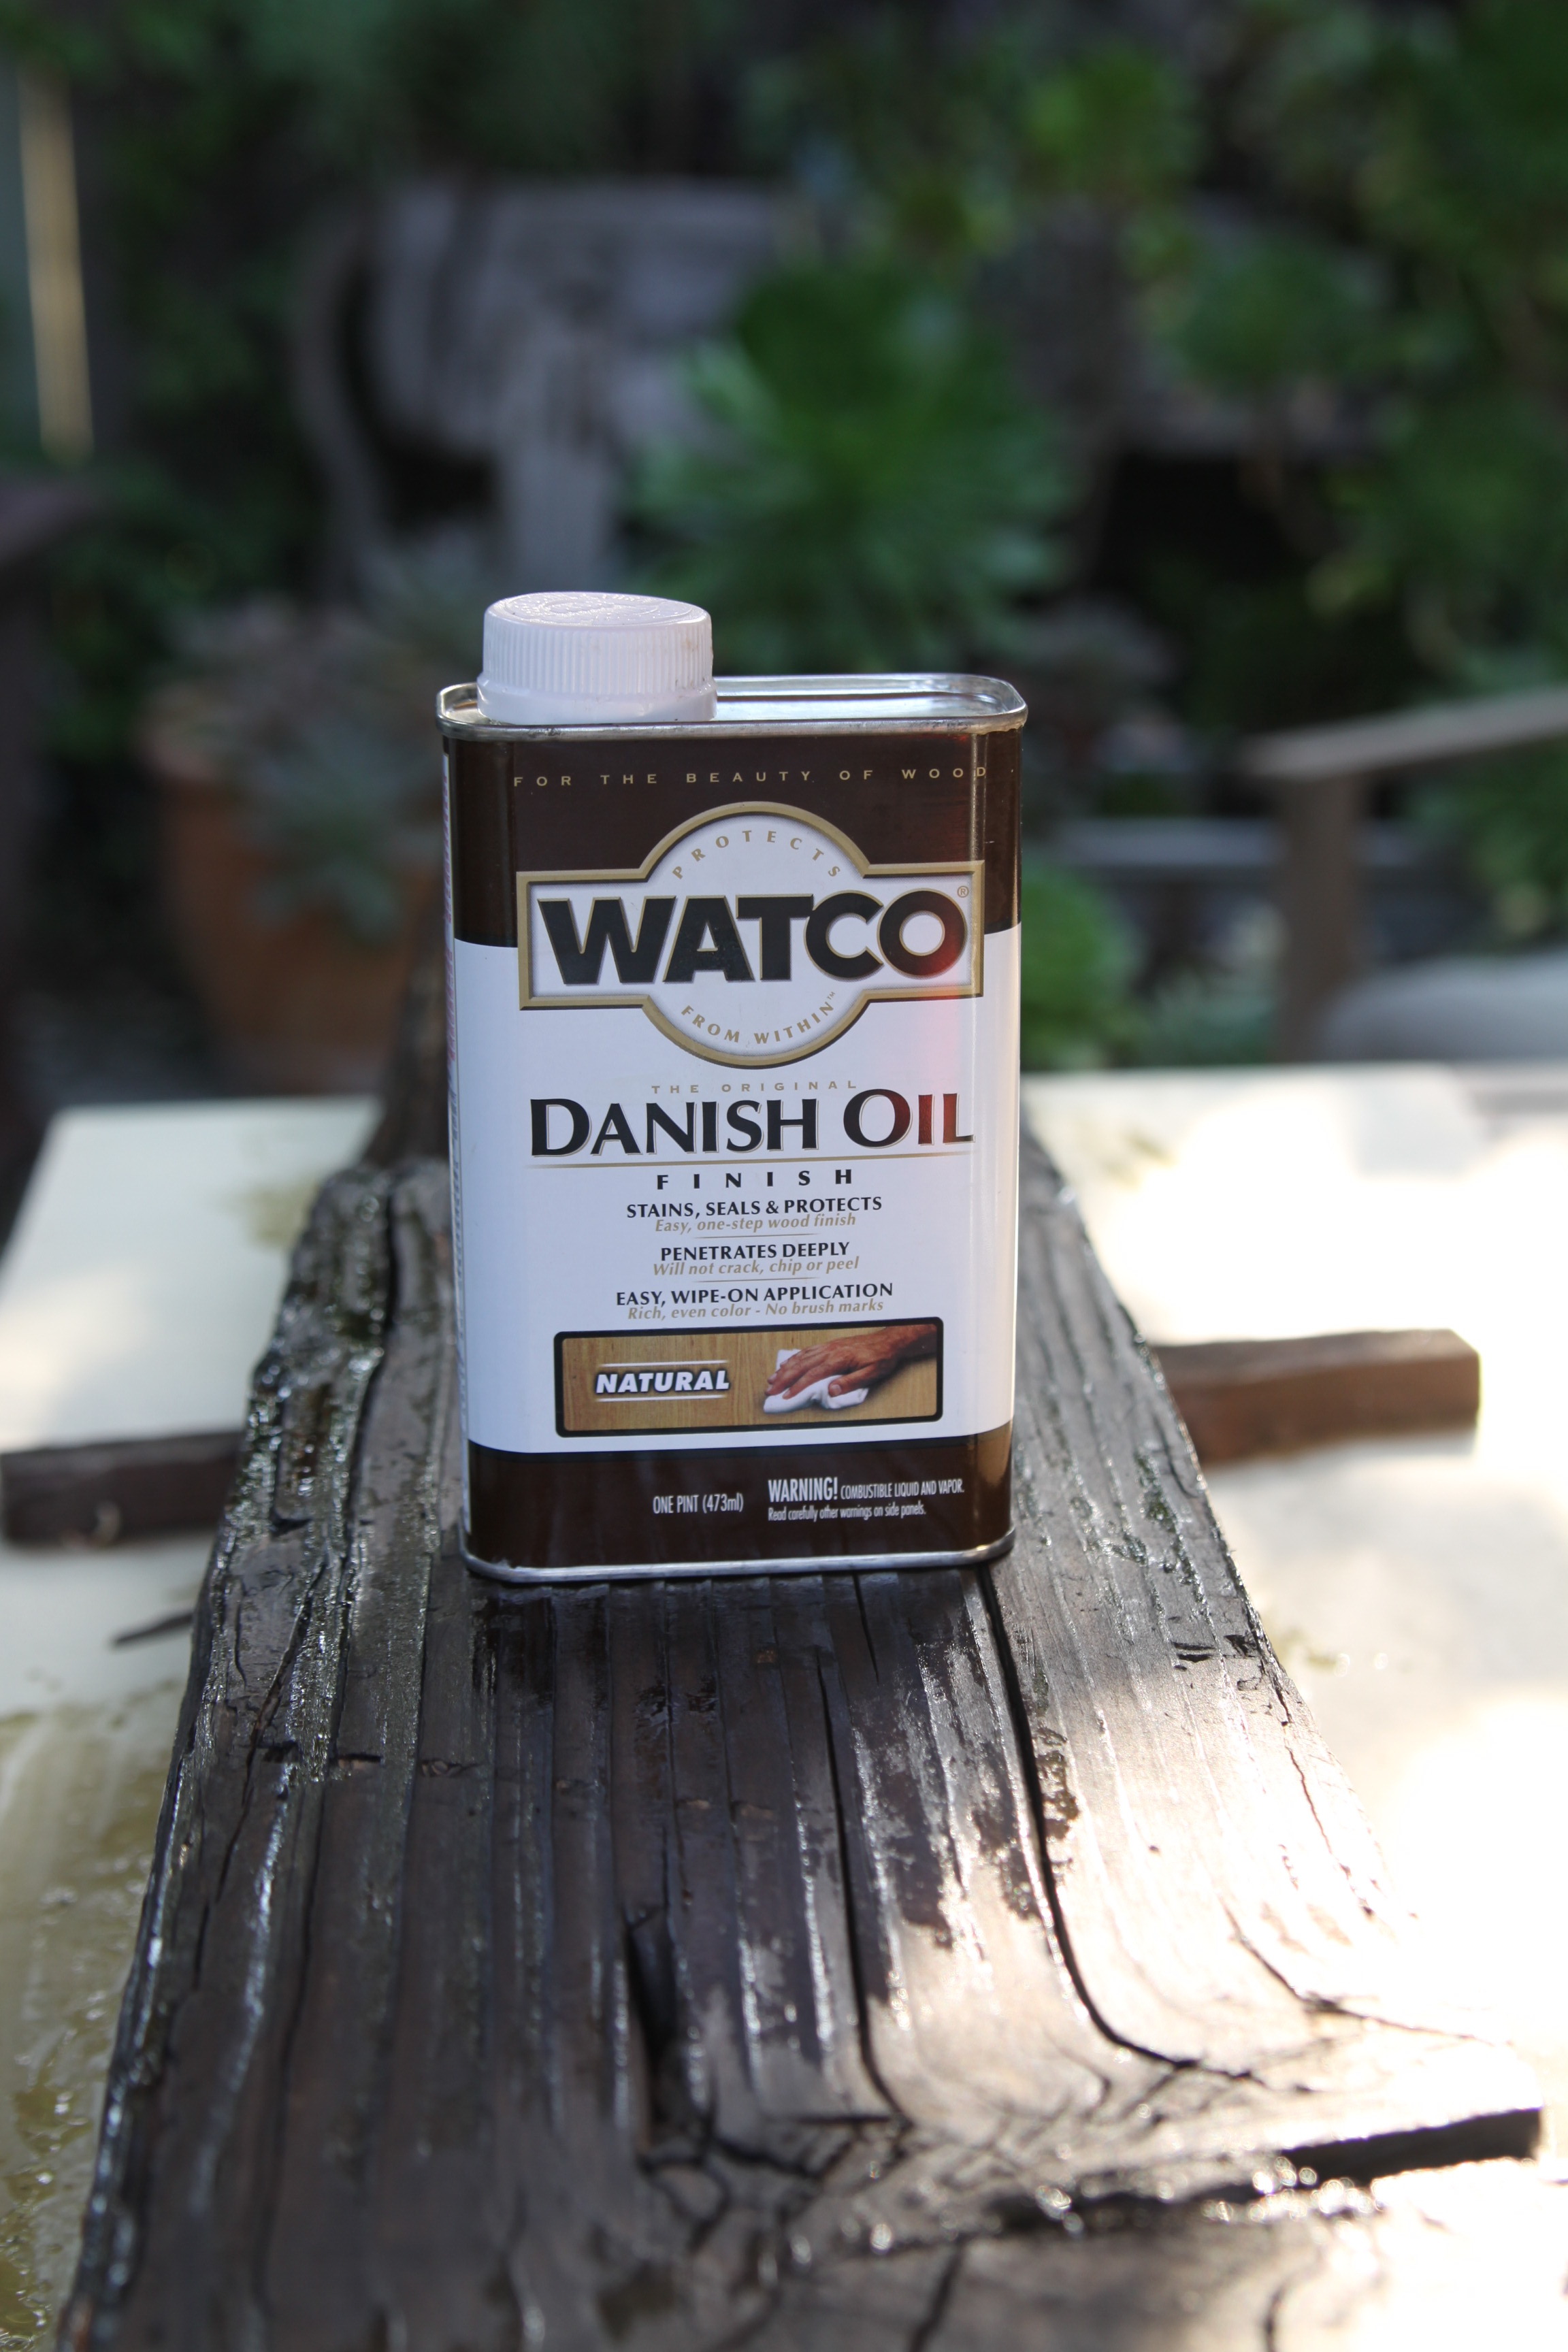
We wanted to bring the natural color of the wood out a bit without adding a stain. We used Danish Oil which penetrates the wood, seals it and gives it a rich color.
The electrical "stuff"

You gotta check out this website, Vintage Wire Supply. Tons of cool vintage electrical equipment. And lots of choices for vintage electrical cable. We went with a striped chocolate brown and black.
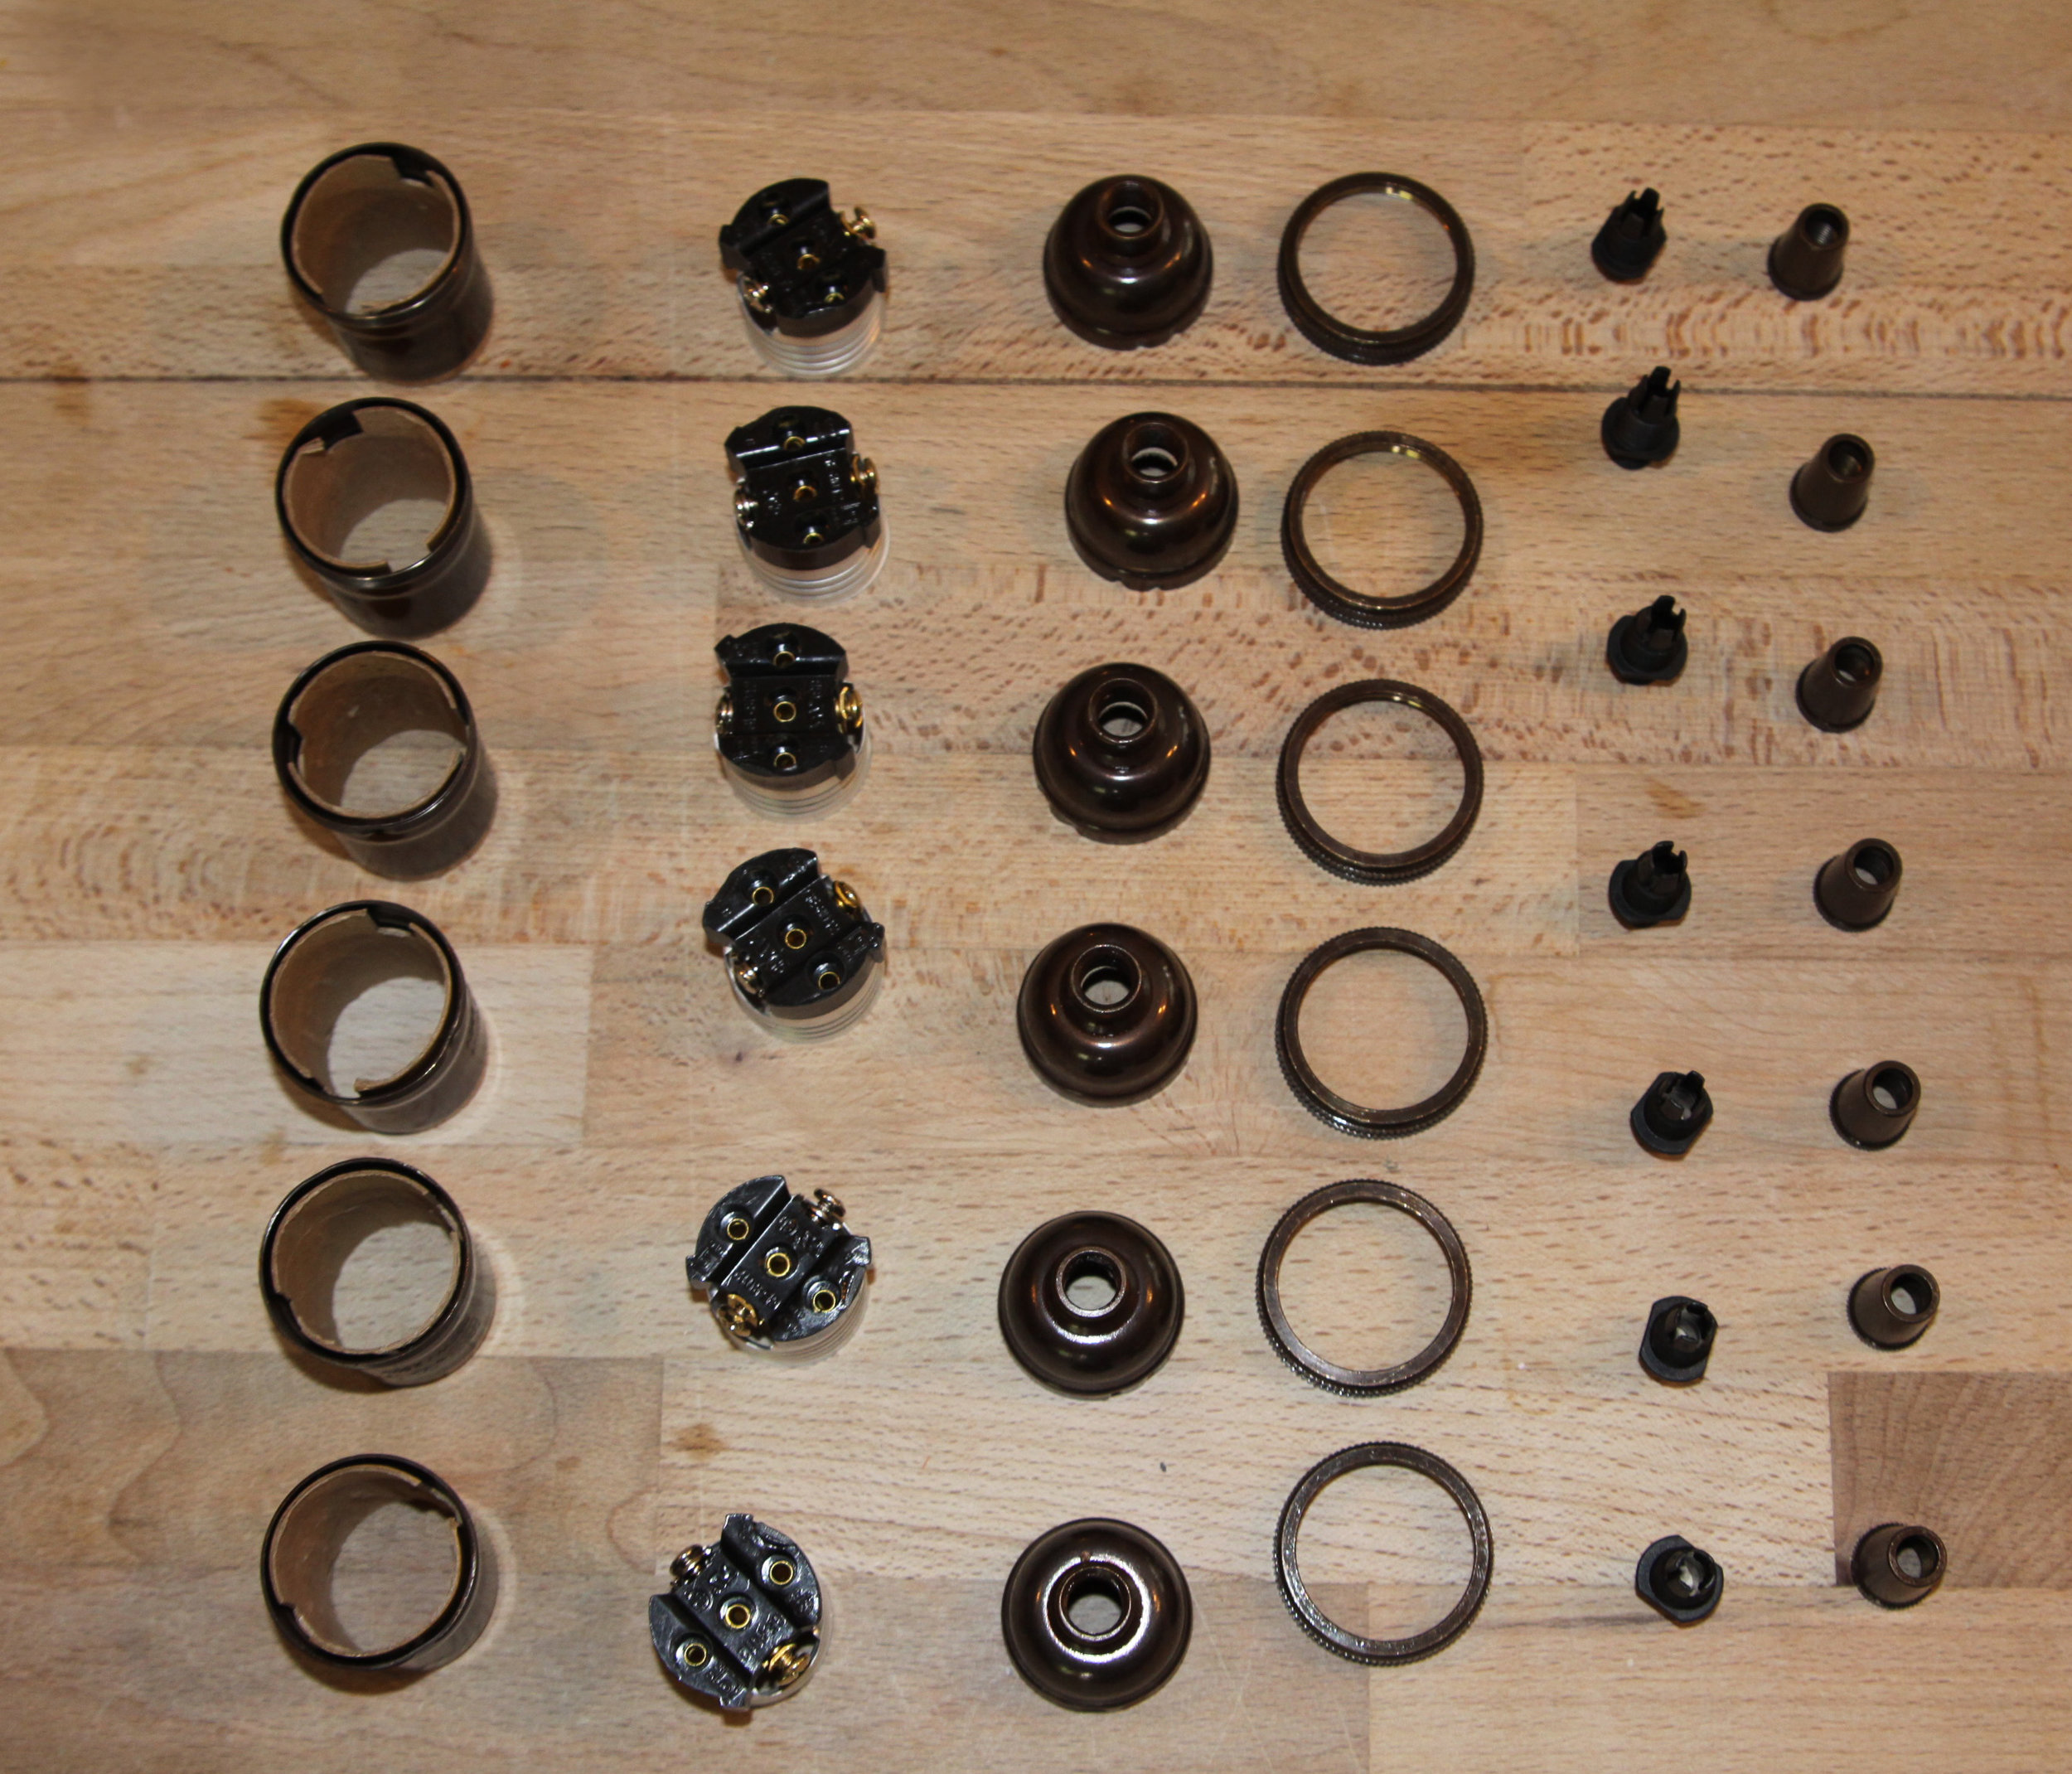
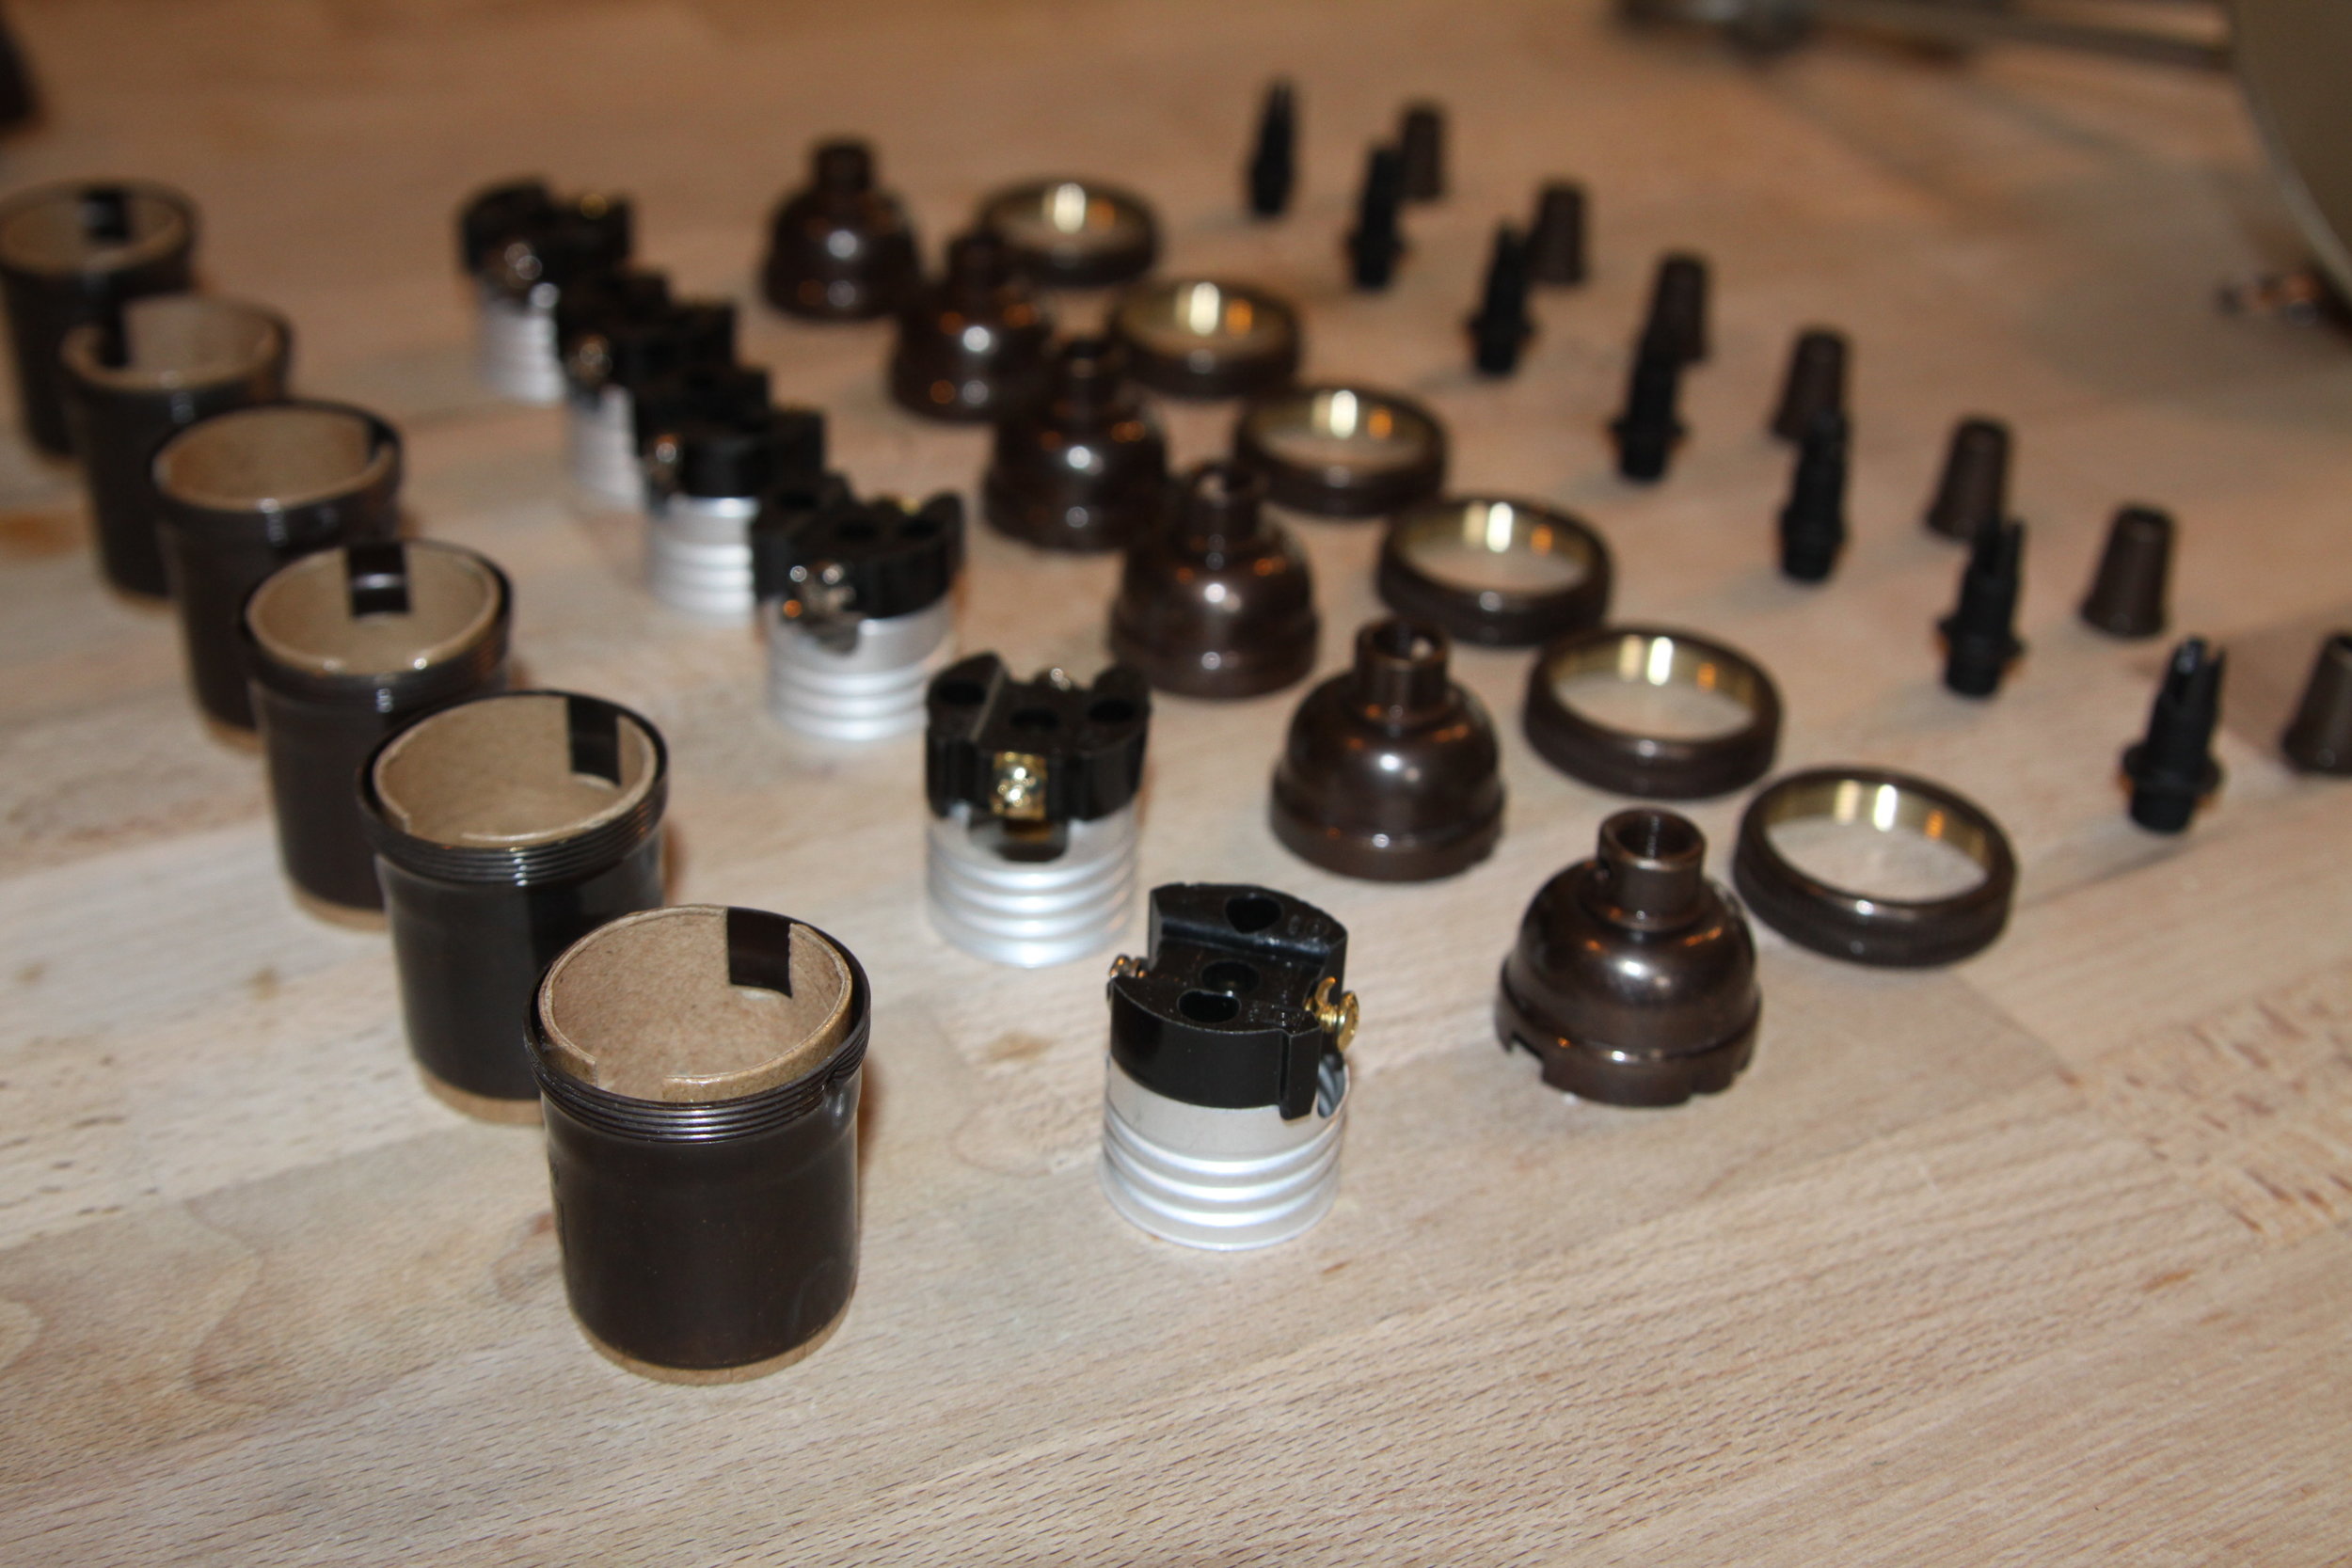
This is the sort of thing that you'll want to get an electrician involved with. Tell them what you'll like the end product to look like, and they can help you choose the items you'll need.
MOUNTING TO CEILING
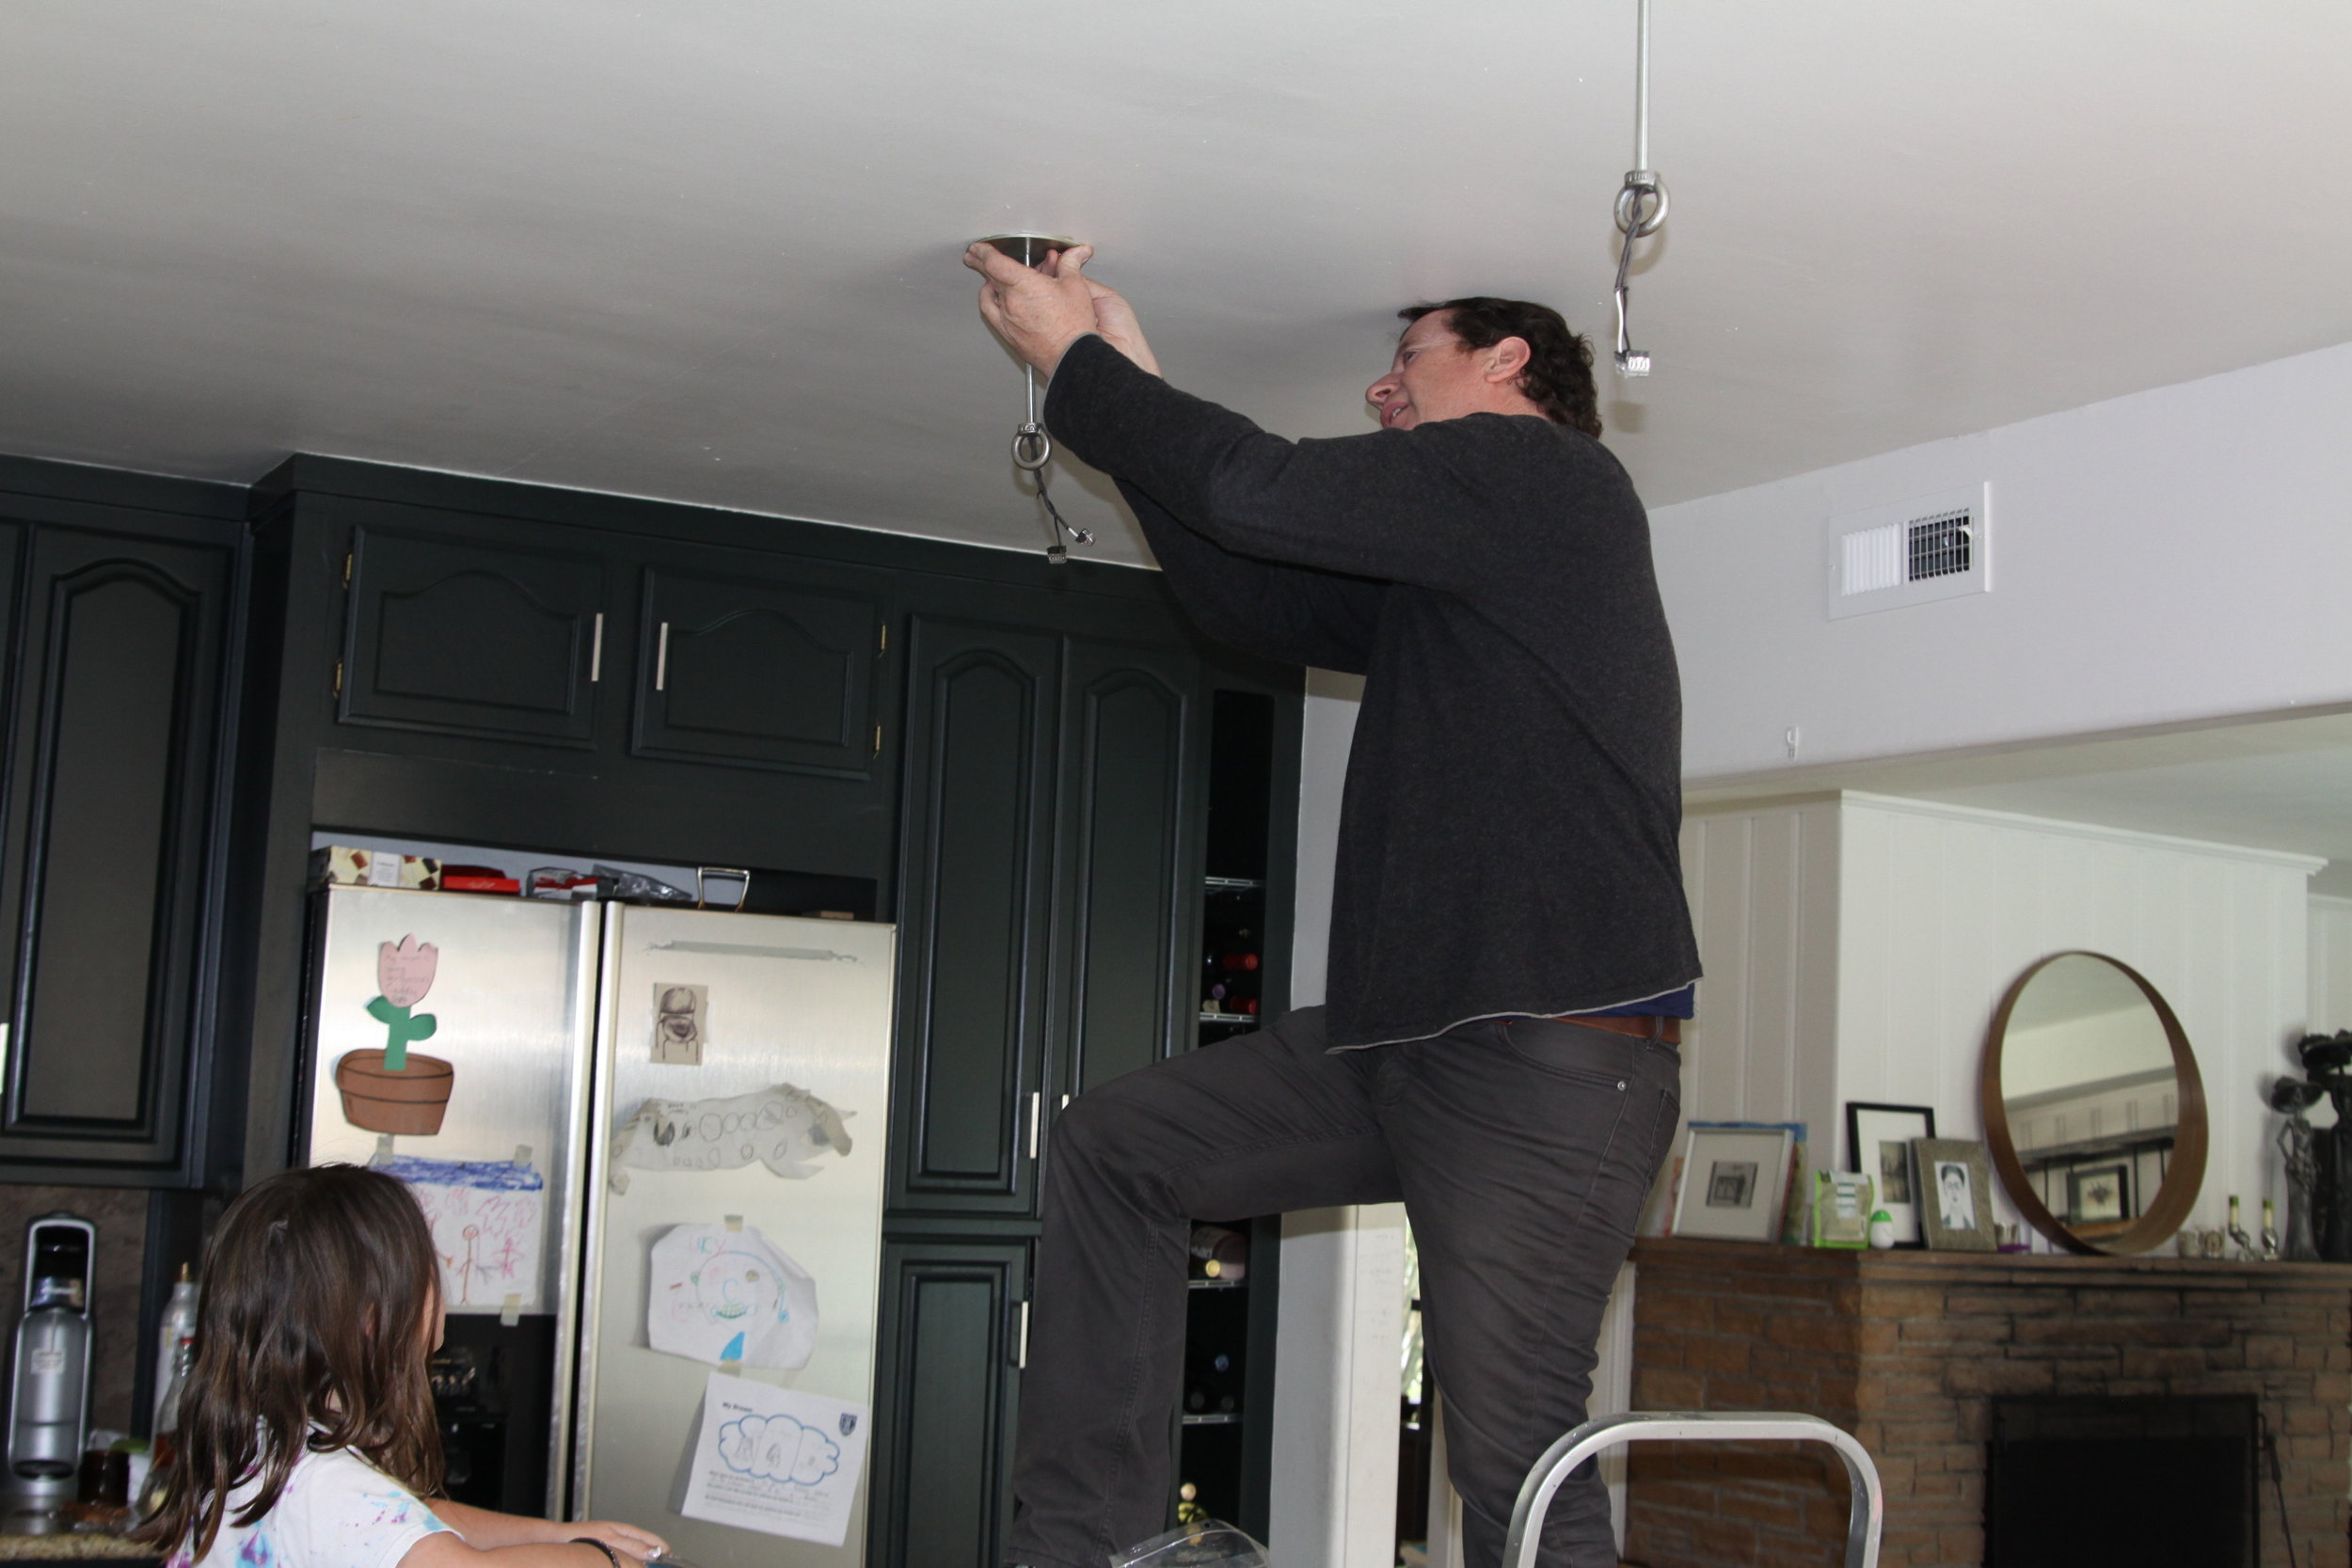
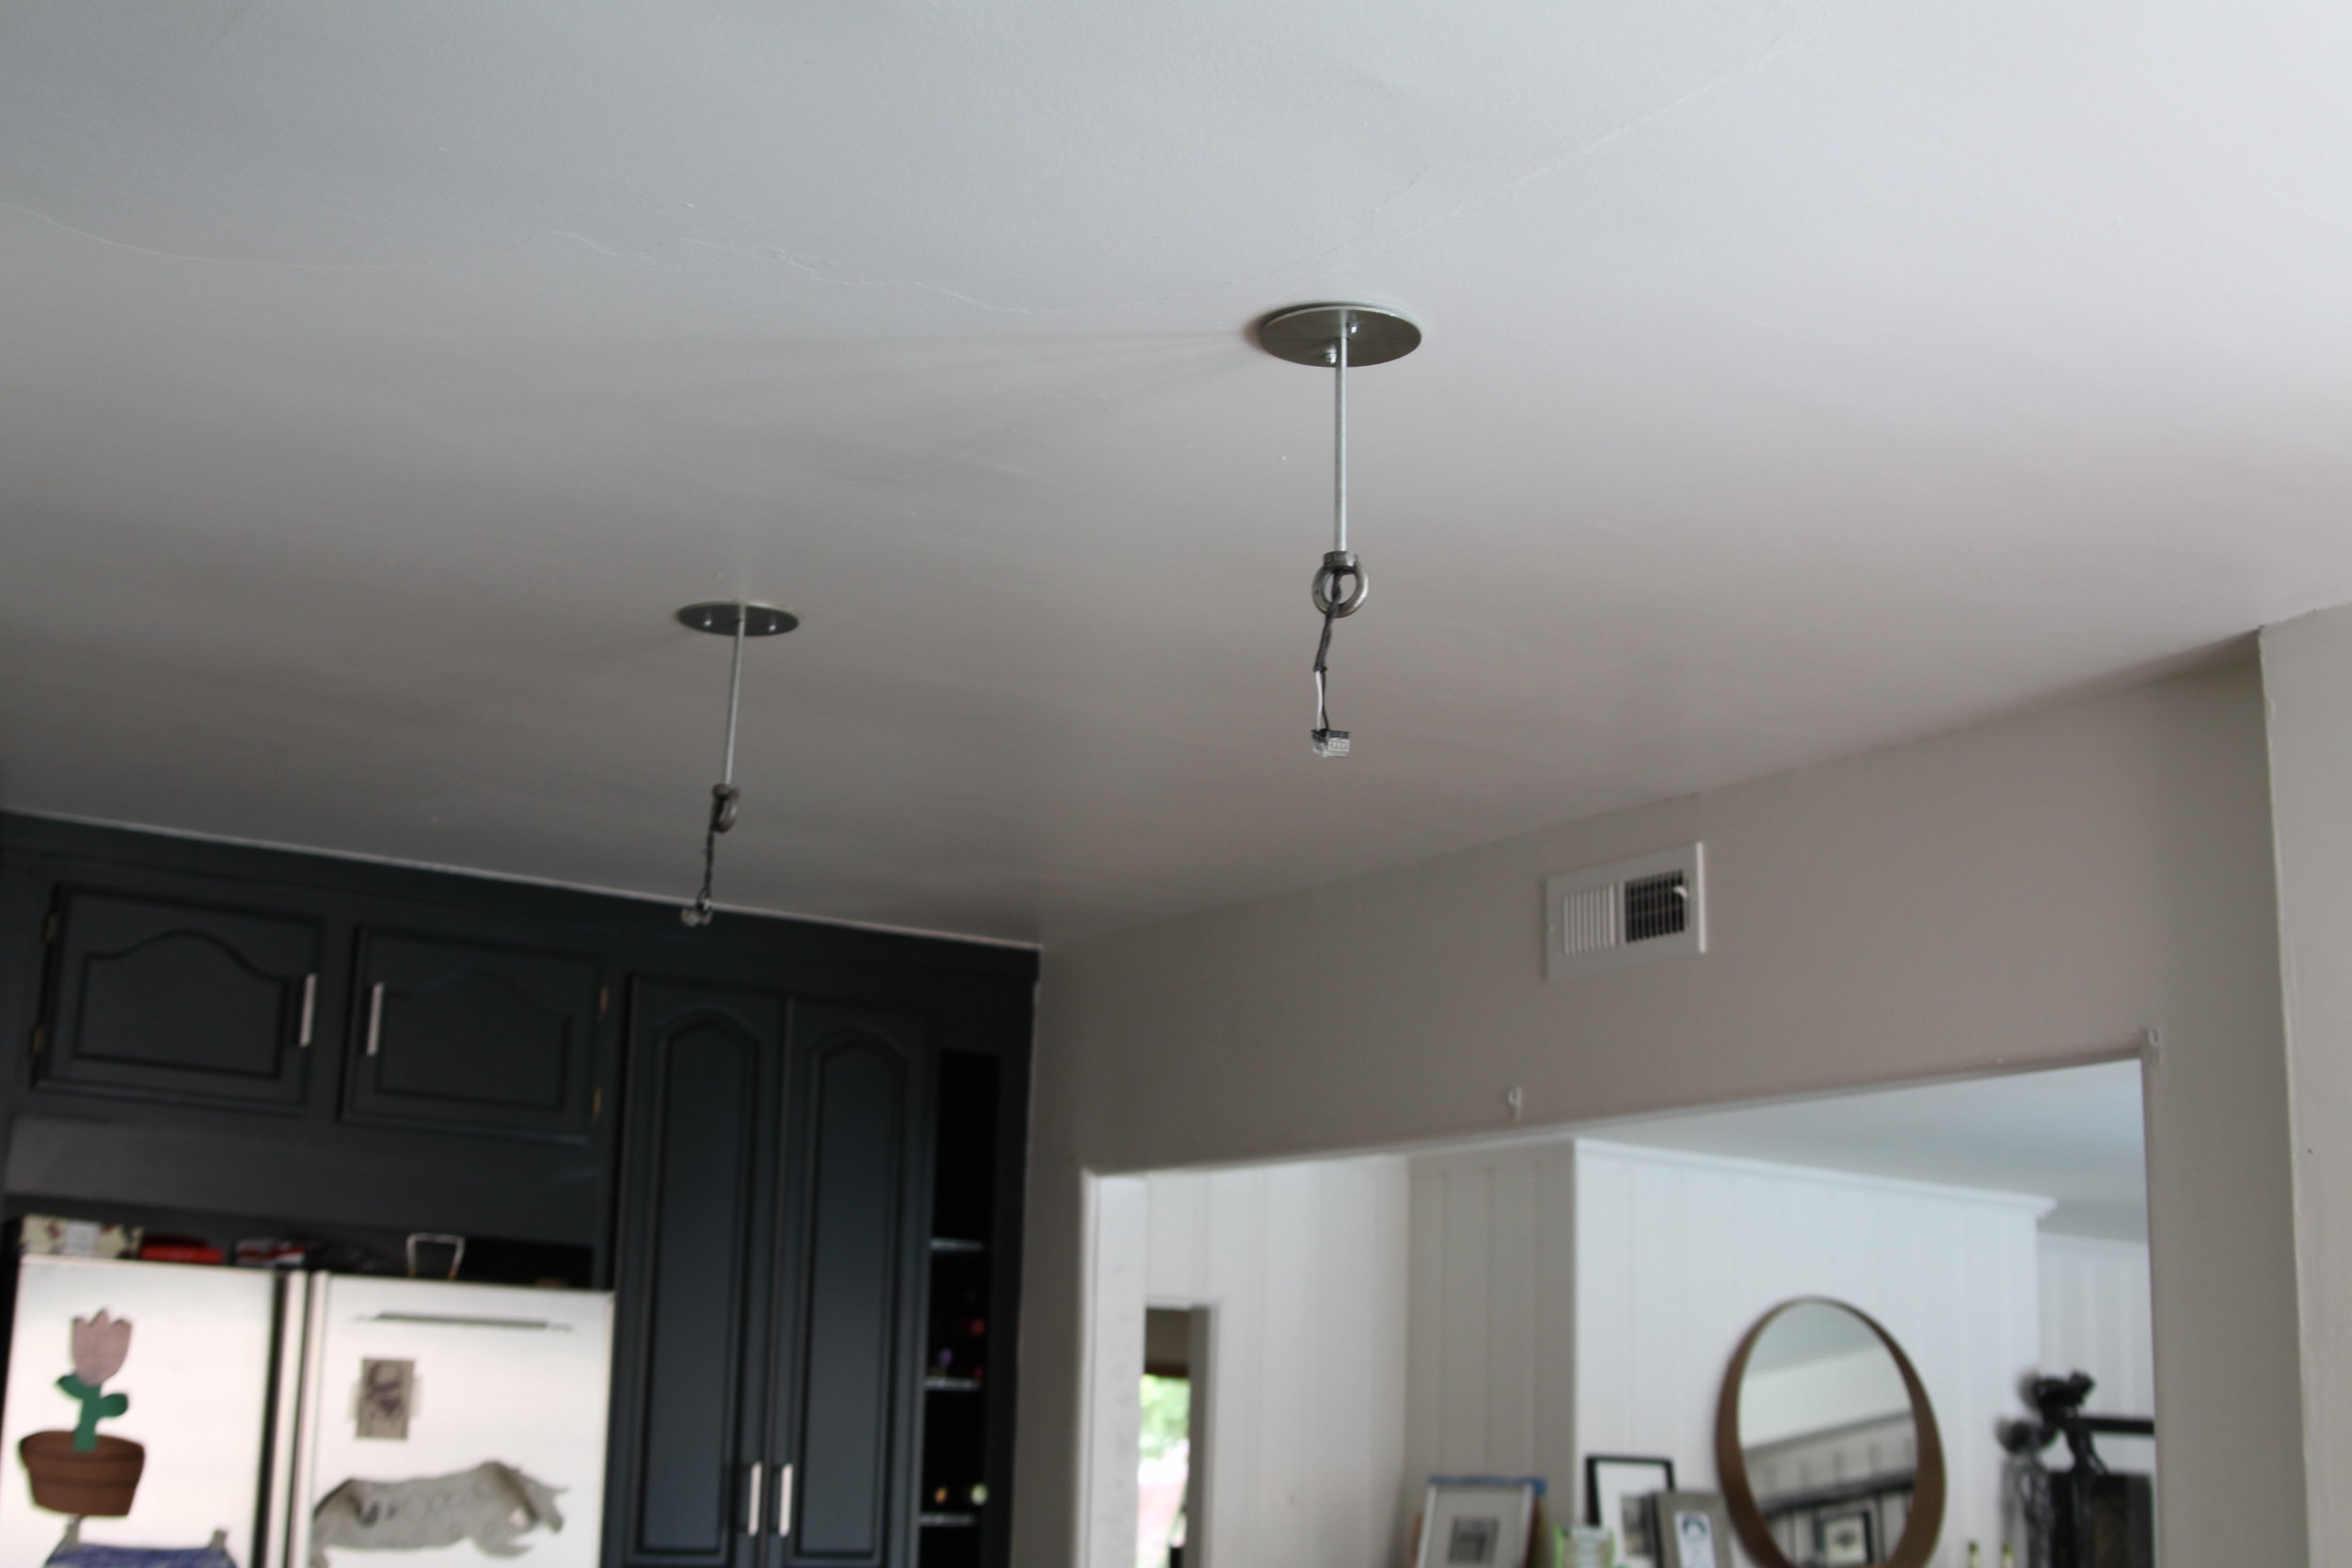
This part wasn't terribly hard since we already had the electricity in position from the last lighting pair (see above).
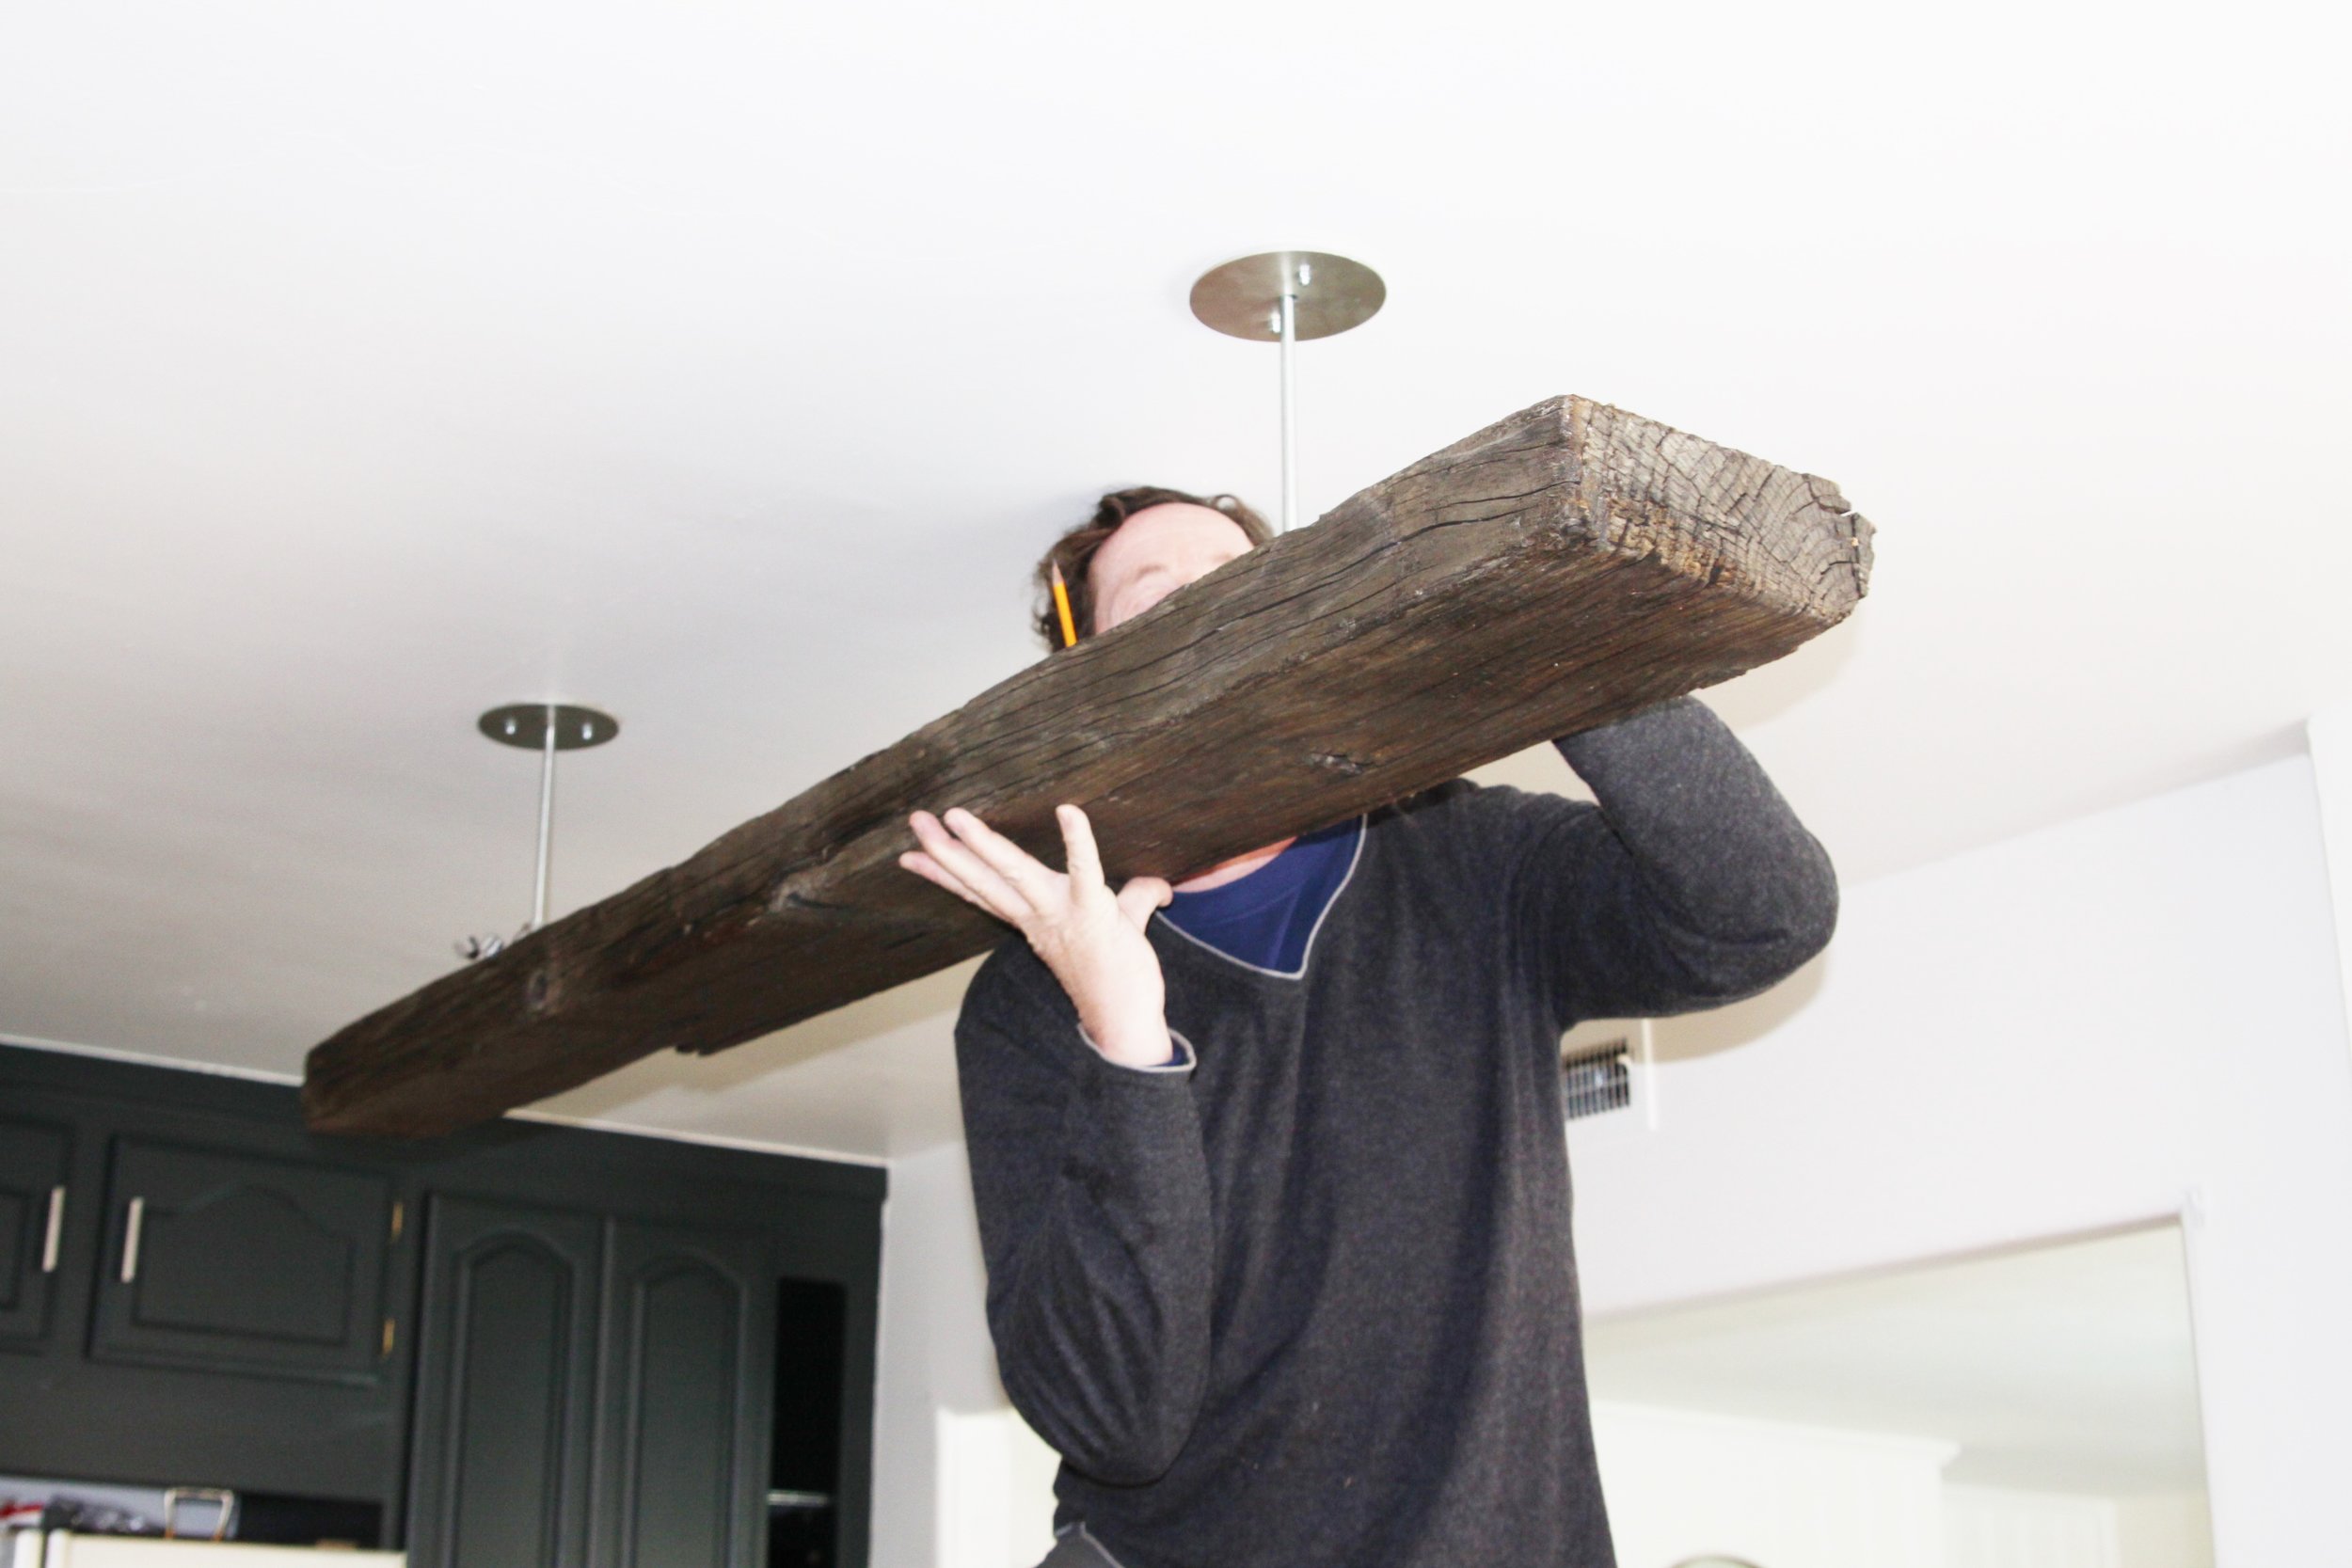
We used threaded tubes which mount to the cover plates on the ceiling. The wires run through these and have hooks on the ends of the tubes. Lance attached a corresponding lag hook to the wood and we just hung it on there. Super easy. The hardest thing was lifting it up. It's heavier than it looks!
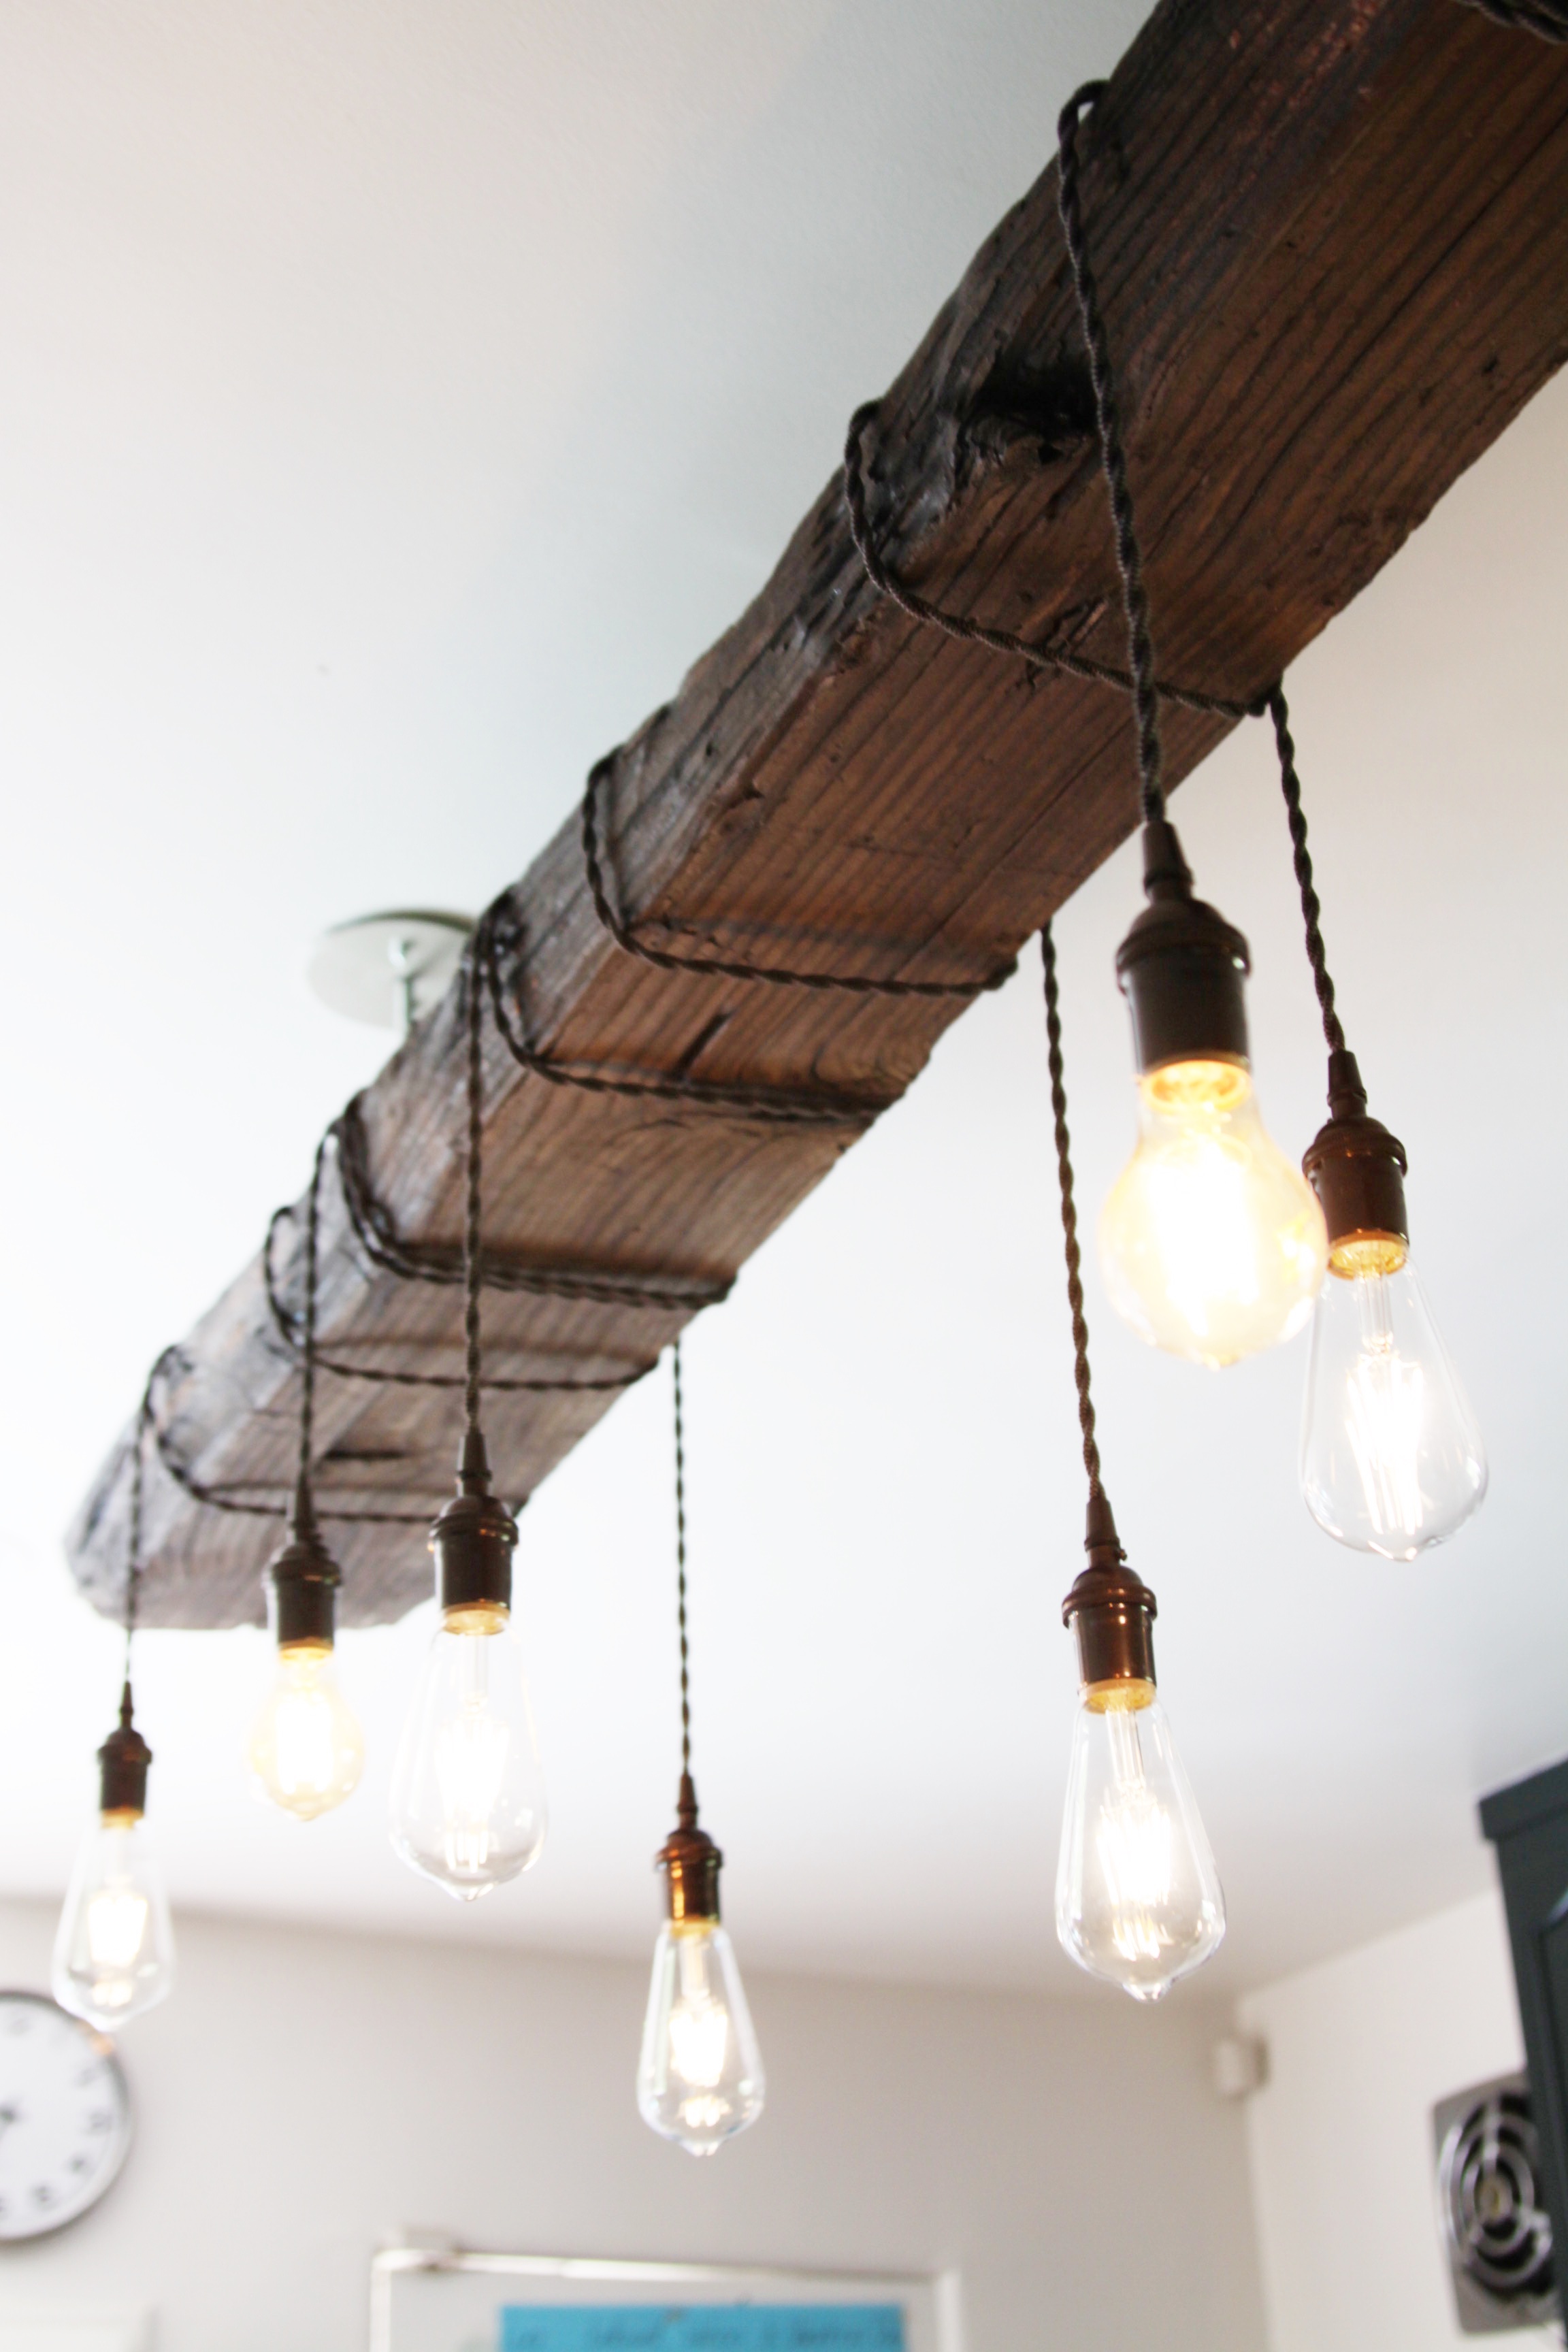
Now for the fun part - hanging the lights
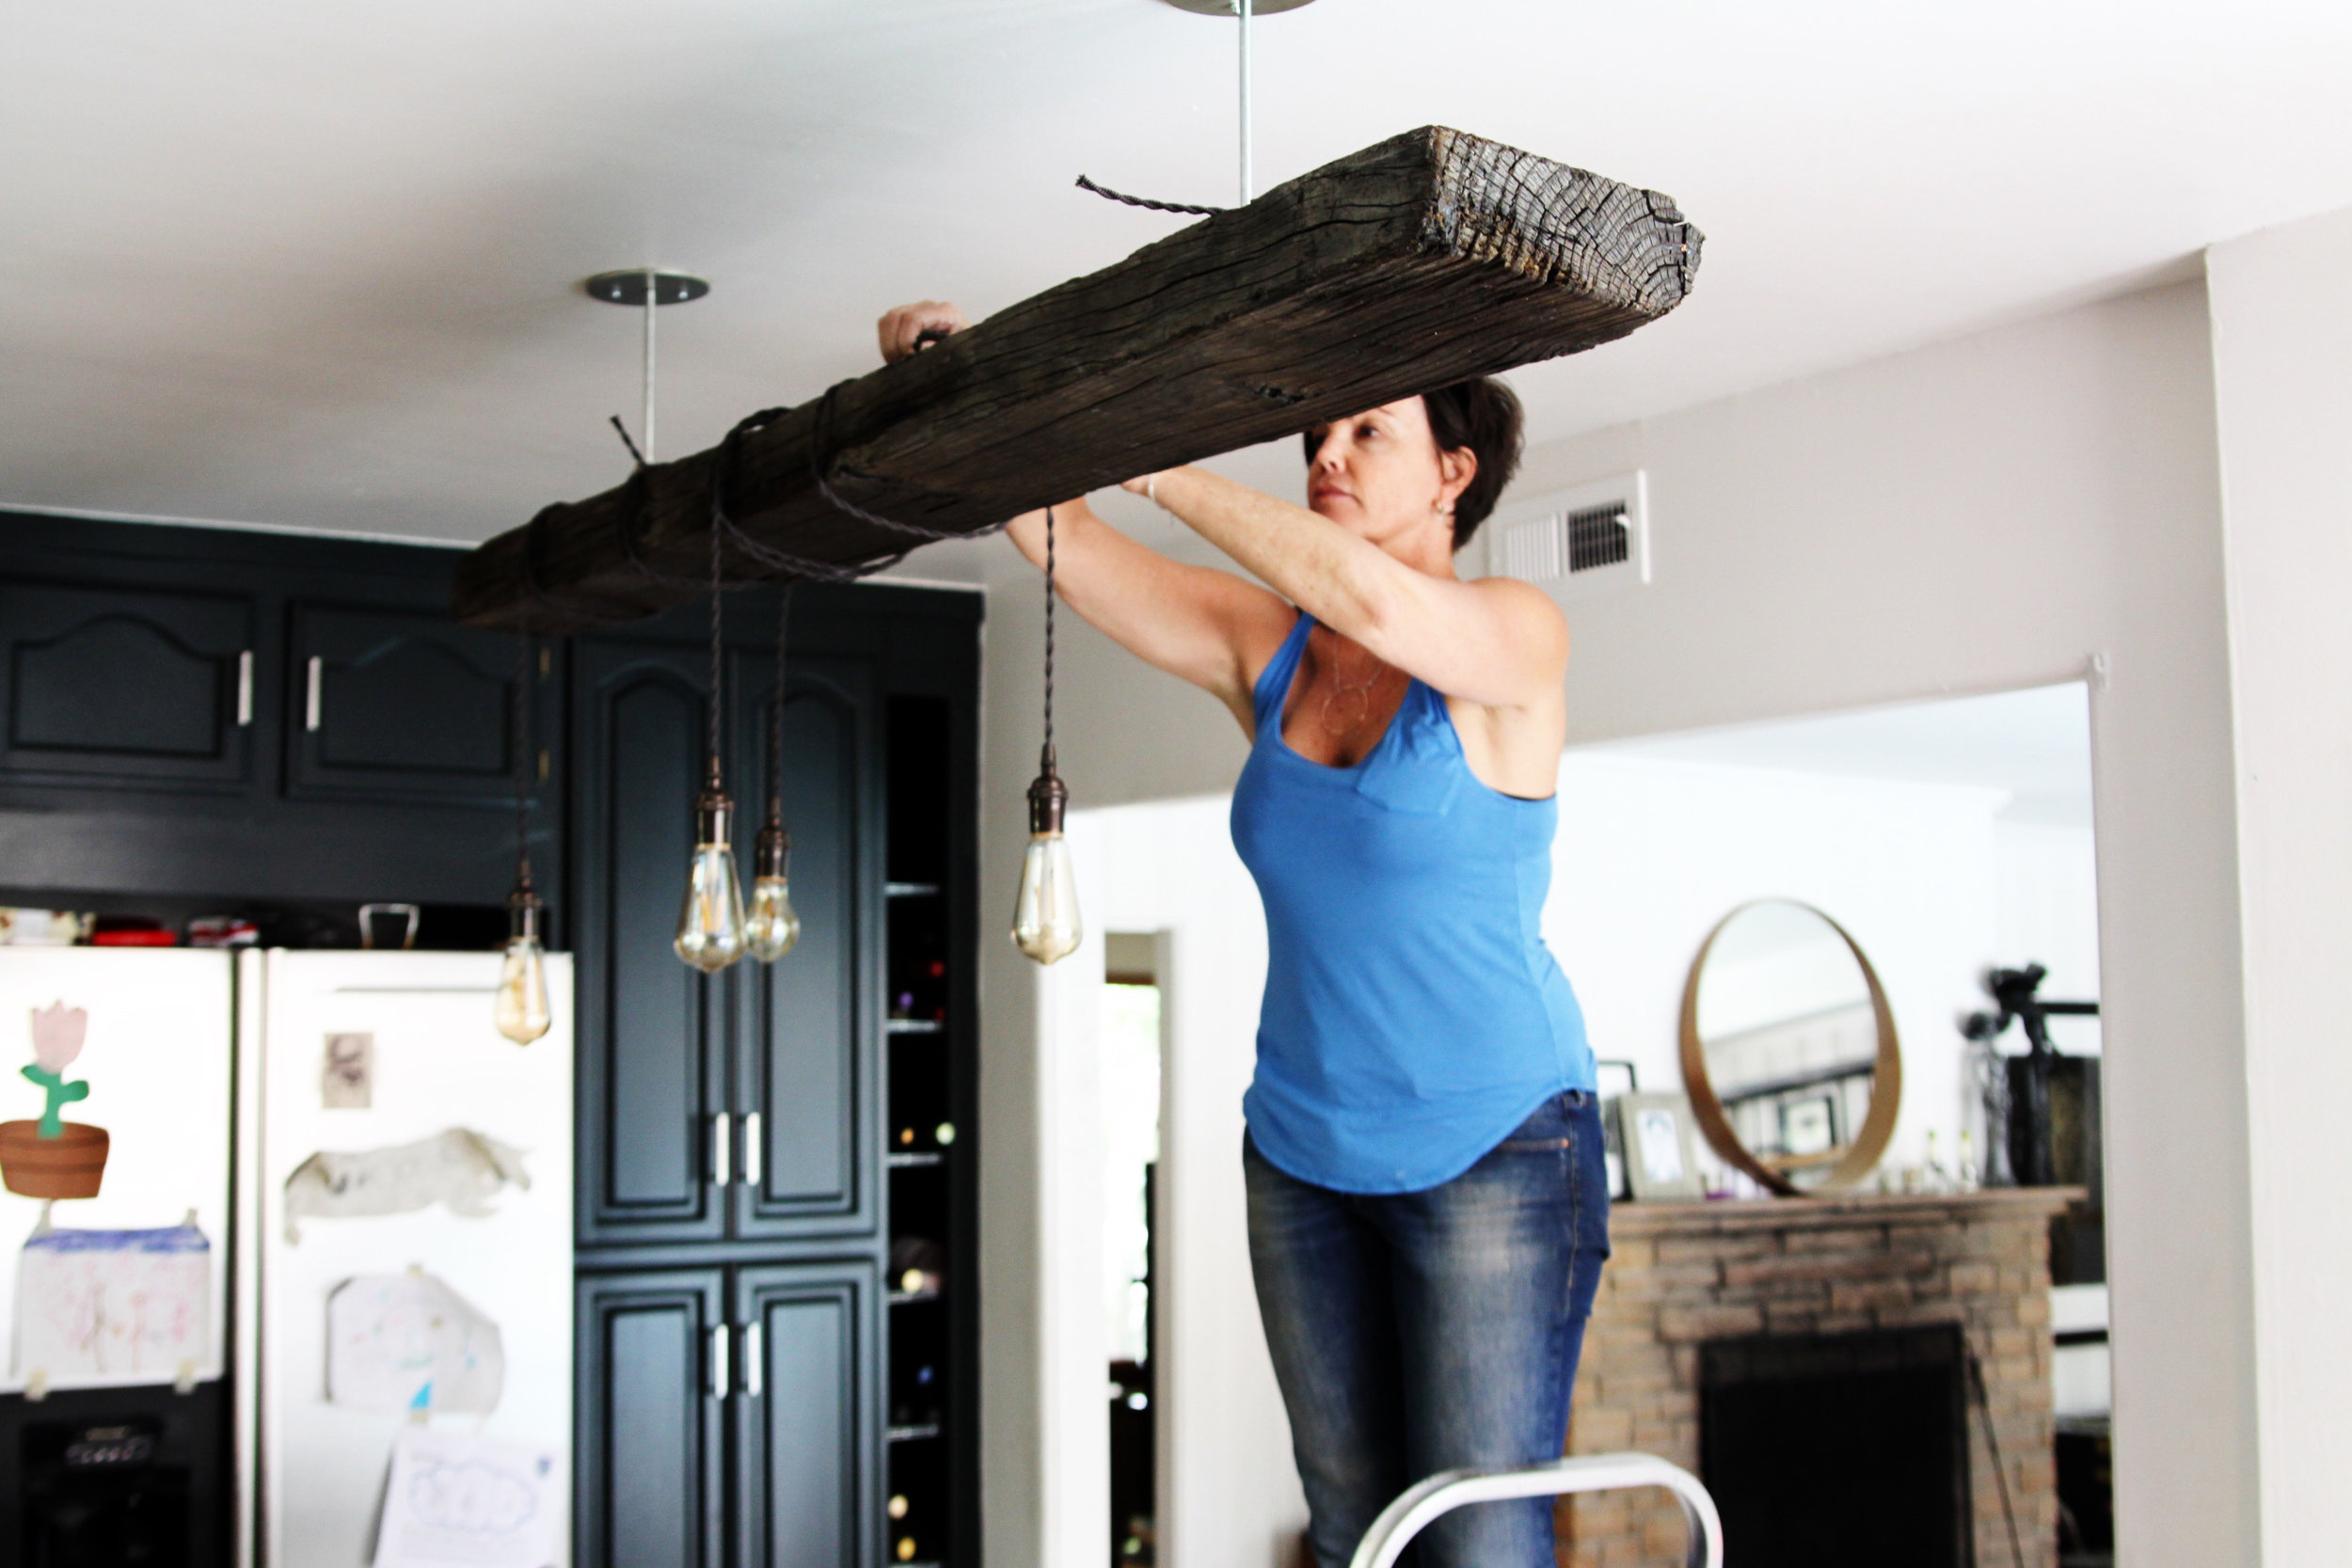
This was just a matter of aesthetics. How far apart should they be spaced? How many times should we wrap the cord around the wood? Trial and error.
When I finished, my kids told me it looked like it should be in the Pirates Of The Caribbean. So I decided I needed to pull back a bit on the amount of cord and wrapping.
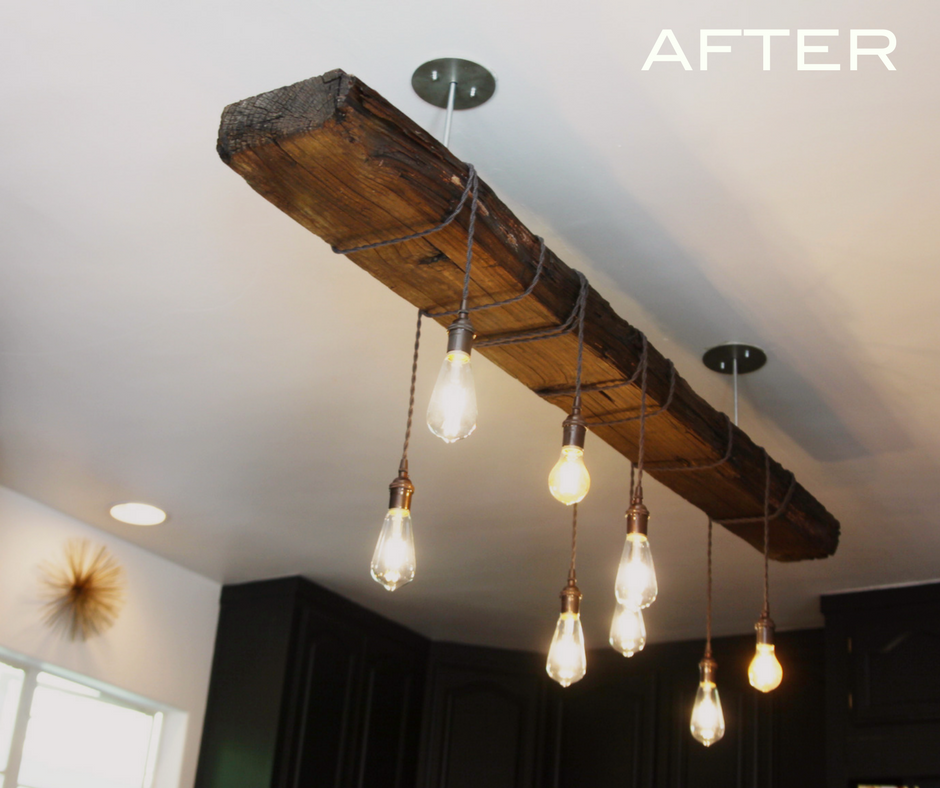
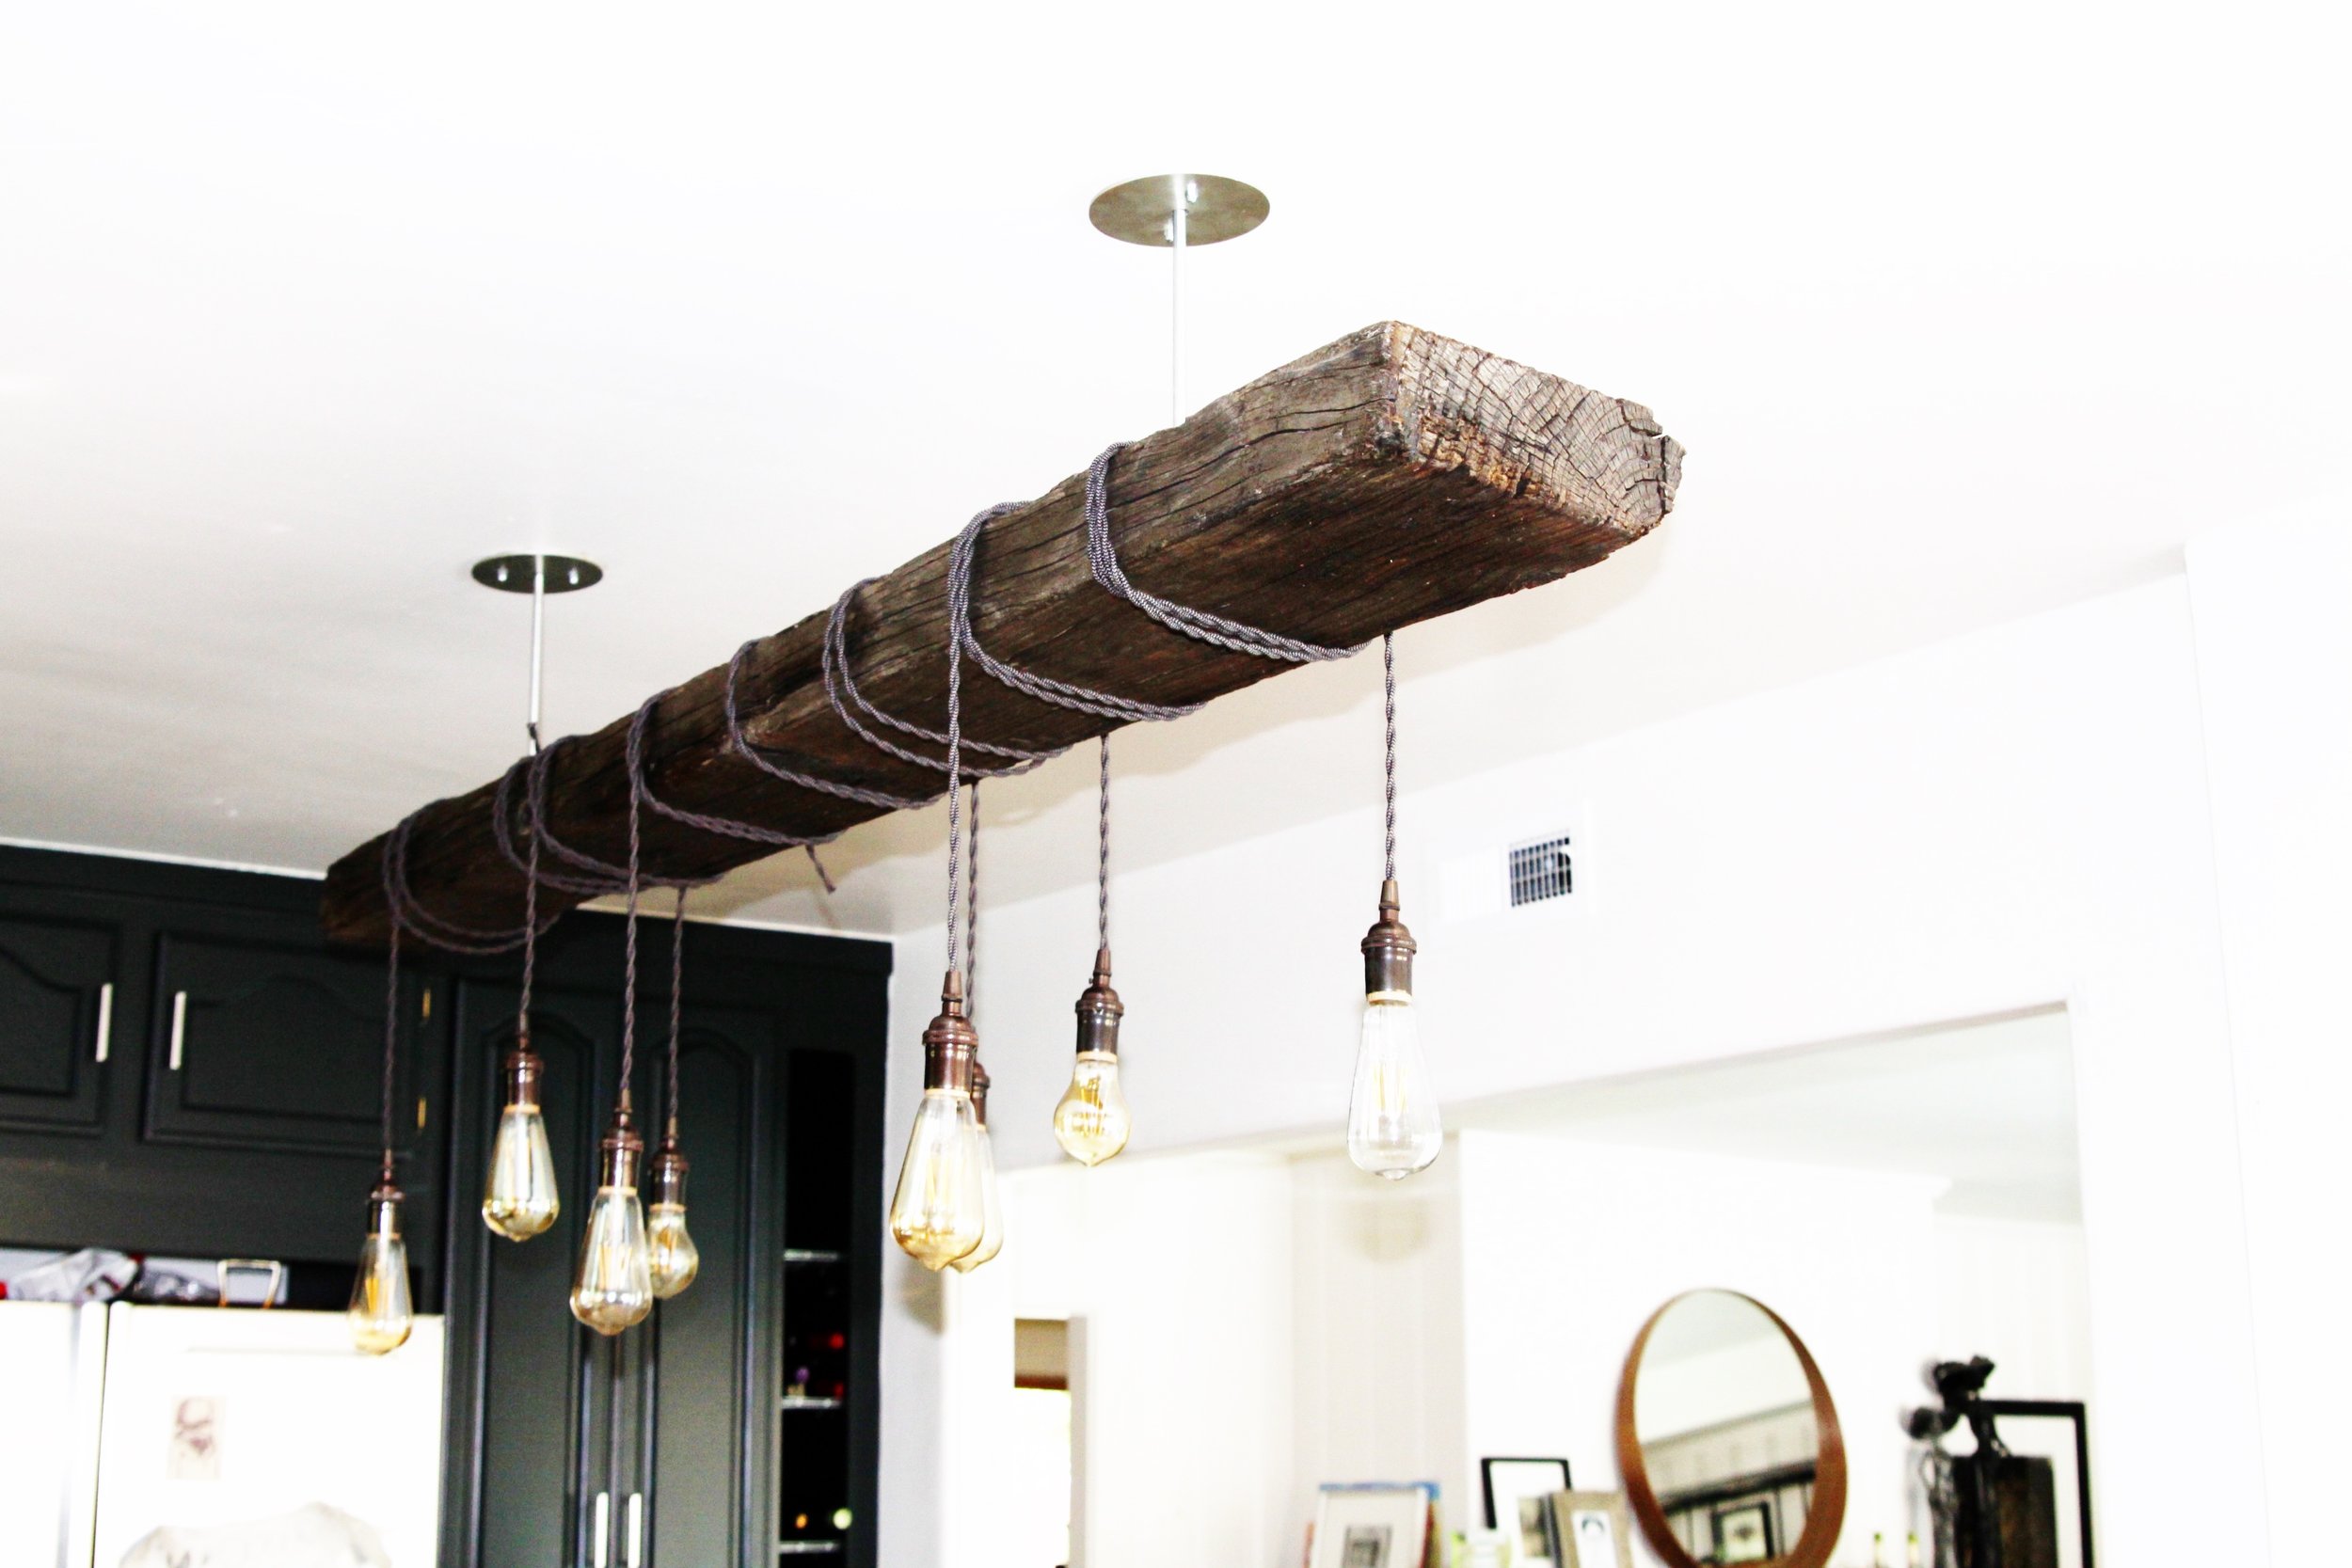
Here's the final product
We adjusted the amount of wire to create some patterning. Some were wrapped three times. Some weren't wrapped at all. The inconsistency was interesting, I think.
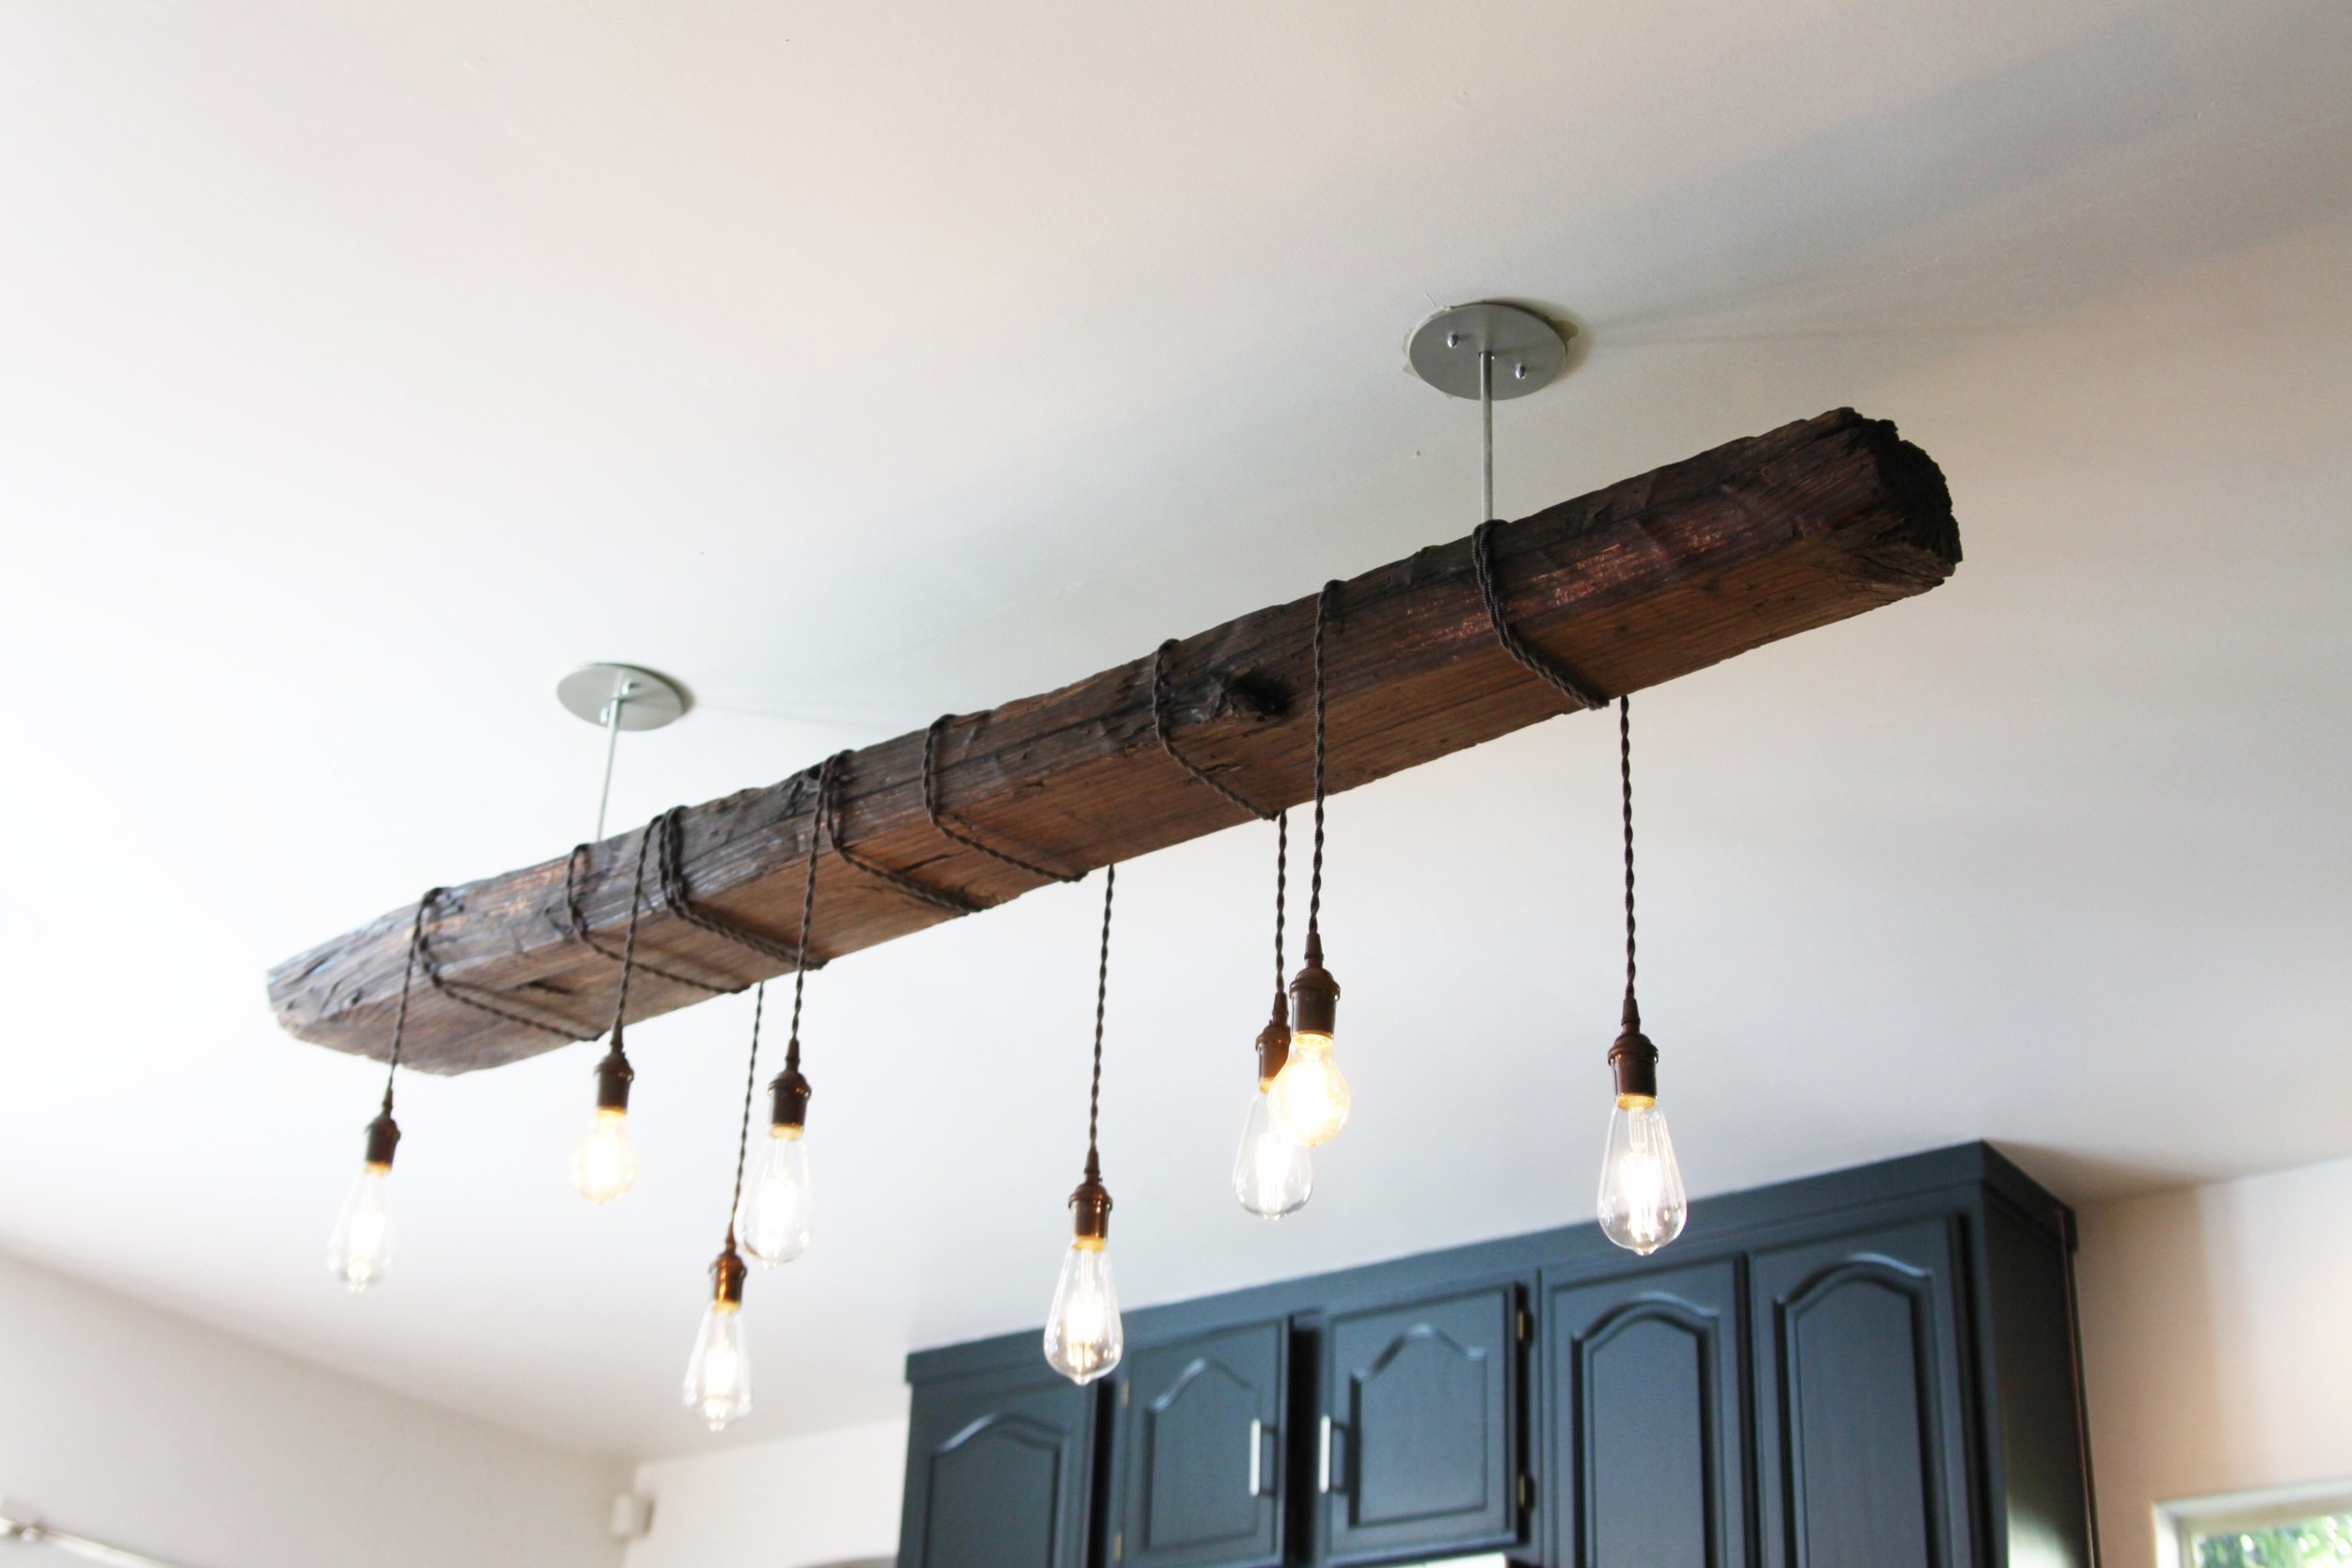
And here it is in my kitchen!

In all honesty, once we finished it, I started feeling like my aesthetic has gotten a little more clean and modern than this. But, we'll live with it for awhile until the bug bites us to do something else. Tell us what YOU think.
HERE ARE SOME OTHER DIY PROJECTS AND IDEAS
New Trend: Organic Sinks
Ode To Gray
Color Breakdown
Our inexpensive tub trick
Create a Criss Cross Vine Wall
How paint transformed my small, ugly bathroom
Add a shower to a small half bathroom?
Converting a vintage dresser to a bathroom vanity
If you are just joining us, check out the whole Weaver project here.
Join the blog and stay tuned for updates as we turn this house into a gem!