We had a giant wall staring us in the face in the backyard on Lincoln Avenue. After a lot of thought, we decided on doing a Criss Cross vine. I've always loved the look of these. They feel classical and maybe a little french (I'm a major Francophile, btw). In any case, I documented the whole project so I could share it with you.
But wait, let's back up a minute
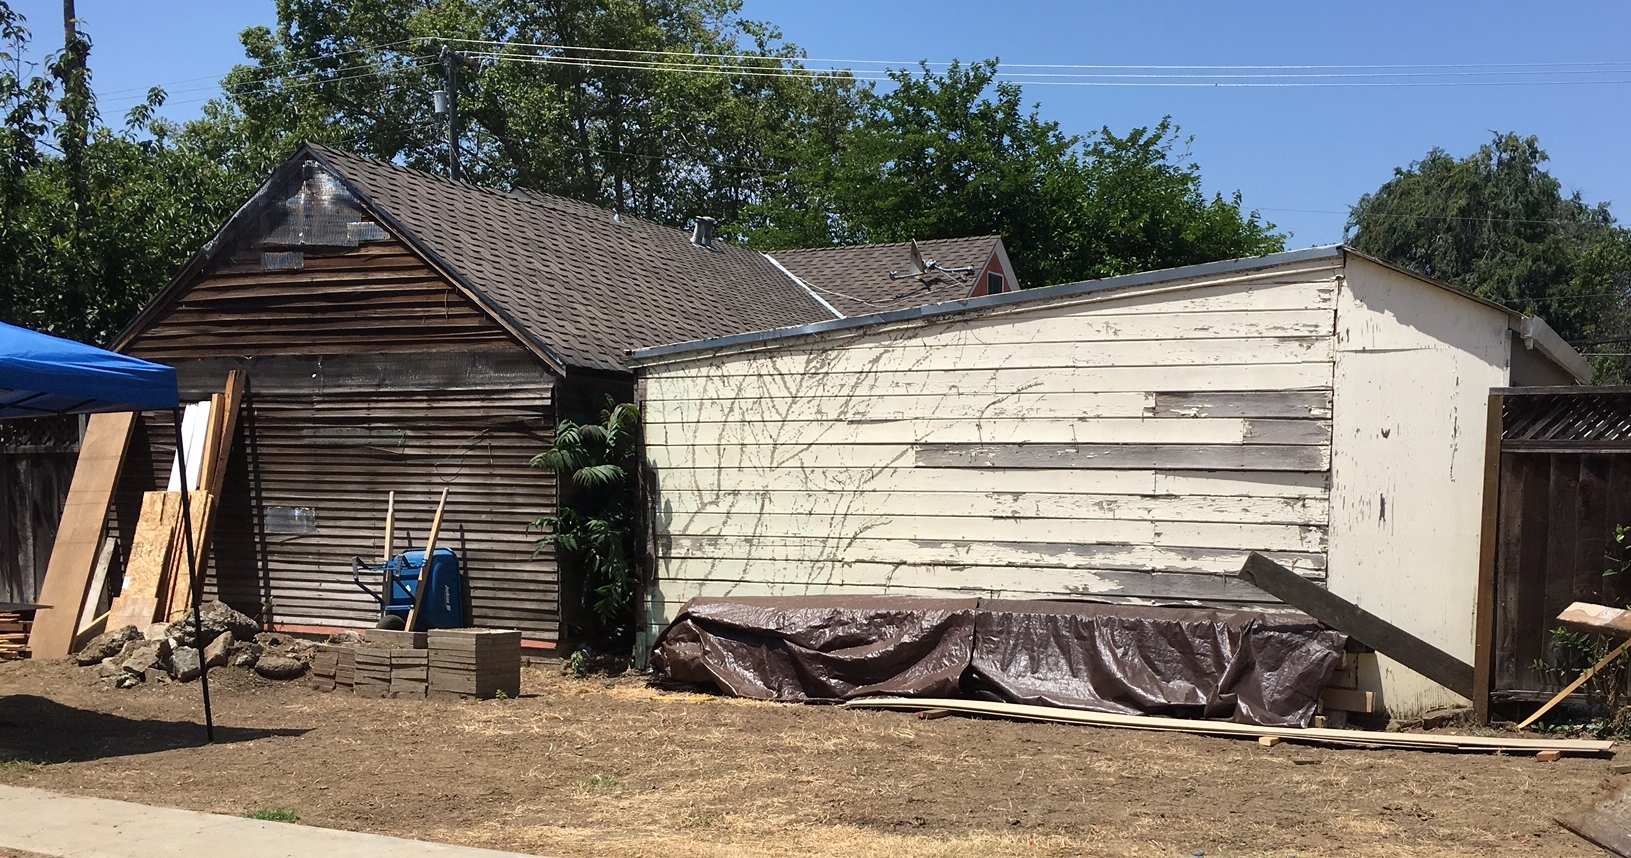
Here's what we started with. I mean, really? Who on God's green earth would buy this. Well, we did! What are these walls? Because of the configuration of our lot, these structures are the back of our neighbor.s garages. Imagine that. I must say it was a bit of a deterrent. But we knew we'd figure it out.
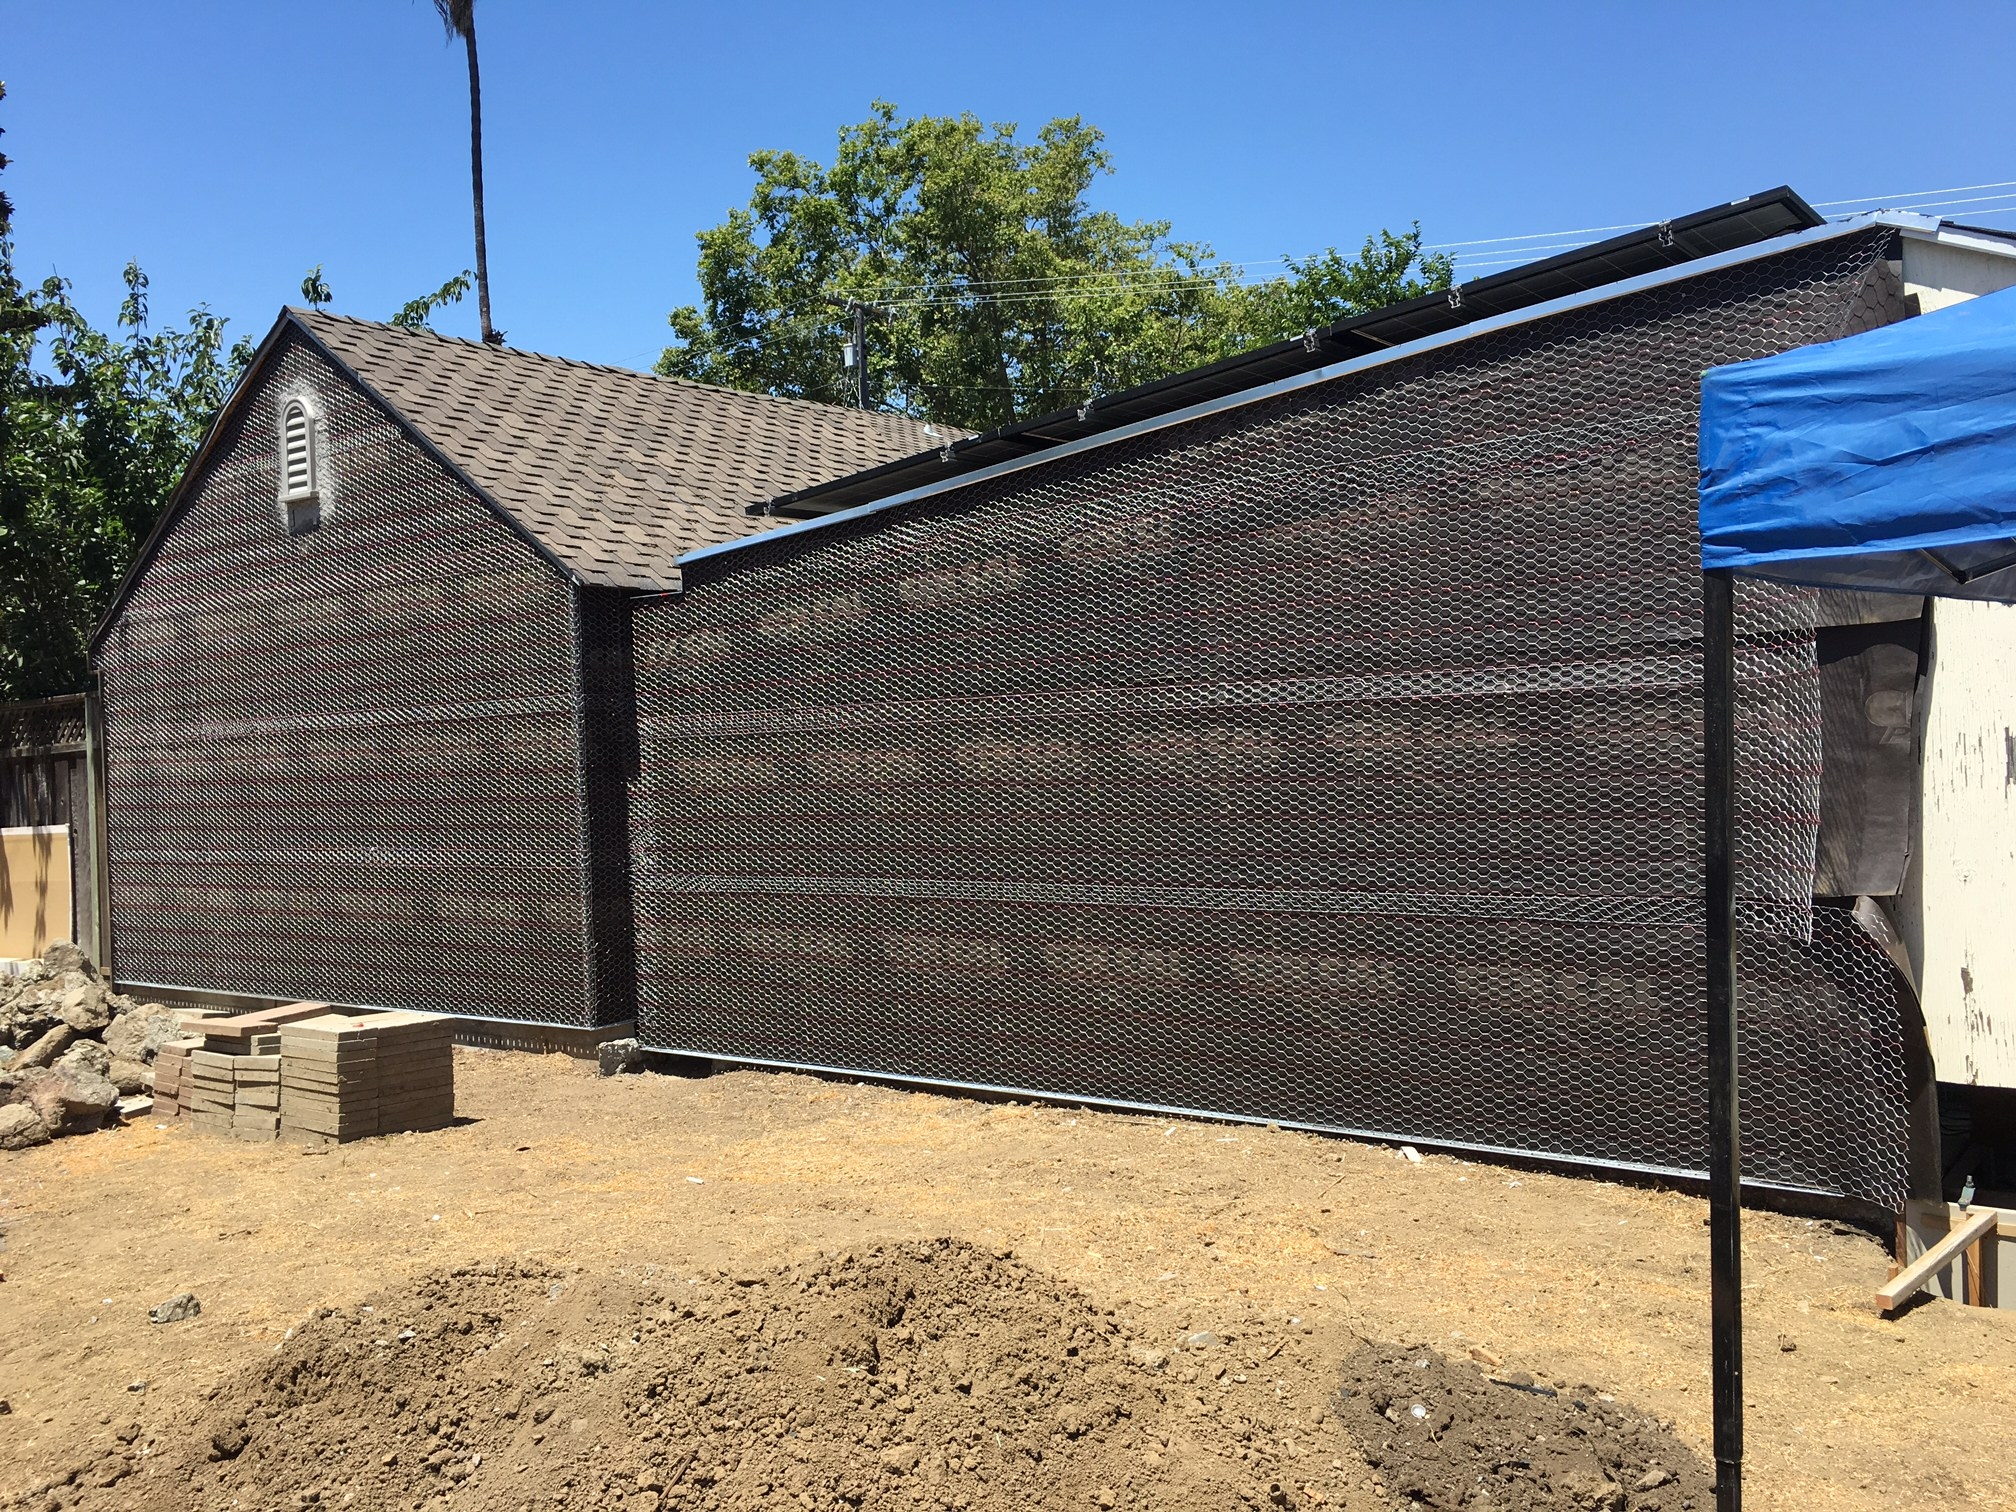
This is halfway through the project. Although I loved the original shiplap on the barn-shaped structure, it was going to be hard to patch. Both walls were in bad shape and we wanted to create some consistency across the whole span. So, we decided to stucco. We got approval from our neighbors who were thrilled that we were basically water-proofing their buildings! This wire netting is what goes down first and the stucco is applied on top.
Here was our inspiration
I'd like to give another plug to Audrey at The Foxy Garden who came up with this brilliant solution. It was classic, elegant and most importantly covered the wall.
So, which vine to choose?
We decided on a white, evergreen Bower vine. Our wall is western-facing and gets hot sun all day long. This vine tolerates these conditions well. Plus, we loved the white flower with the exterior color scheme of our house.
Ok, let's get started
(We are going to start with the finished wall surface. )
1. Tape off the wall with the desired pattern.
The angle and height of the pattern is subjective and will have a lot to do with the size of the wall. That's why taping is a good idea. You can stand back and adjust it until it feels right.
2. Materials you'll need
Drill, large eye hooks, caulking and caulking gun, ball of string (to create a level base line).
3. How to get them fastened to the wall
The vines need to grow and tangle themselves around wire. So this tape pattern is what we are going to follow for the wires. At the top and bottom points, you need to secure a large eye hook to the wall so the wire can be threaded through. We used Stainless Steel eyes so as not to leave rust stain on the wall.
Best to use a level, but if you don't have one, stand back and "eye it".
Once you've created your level horizontal lines, you can determine exactly where the eye hooks will go, based on the pattern you've created.
Installing the eye hooks
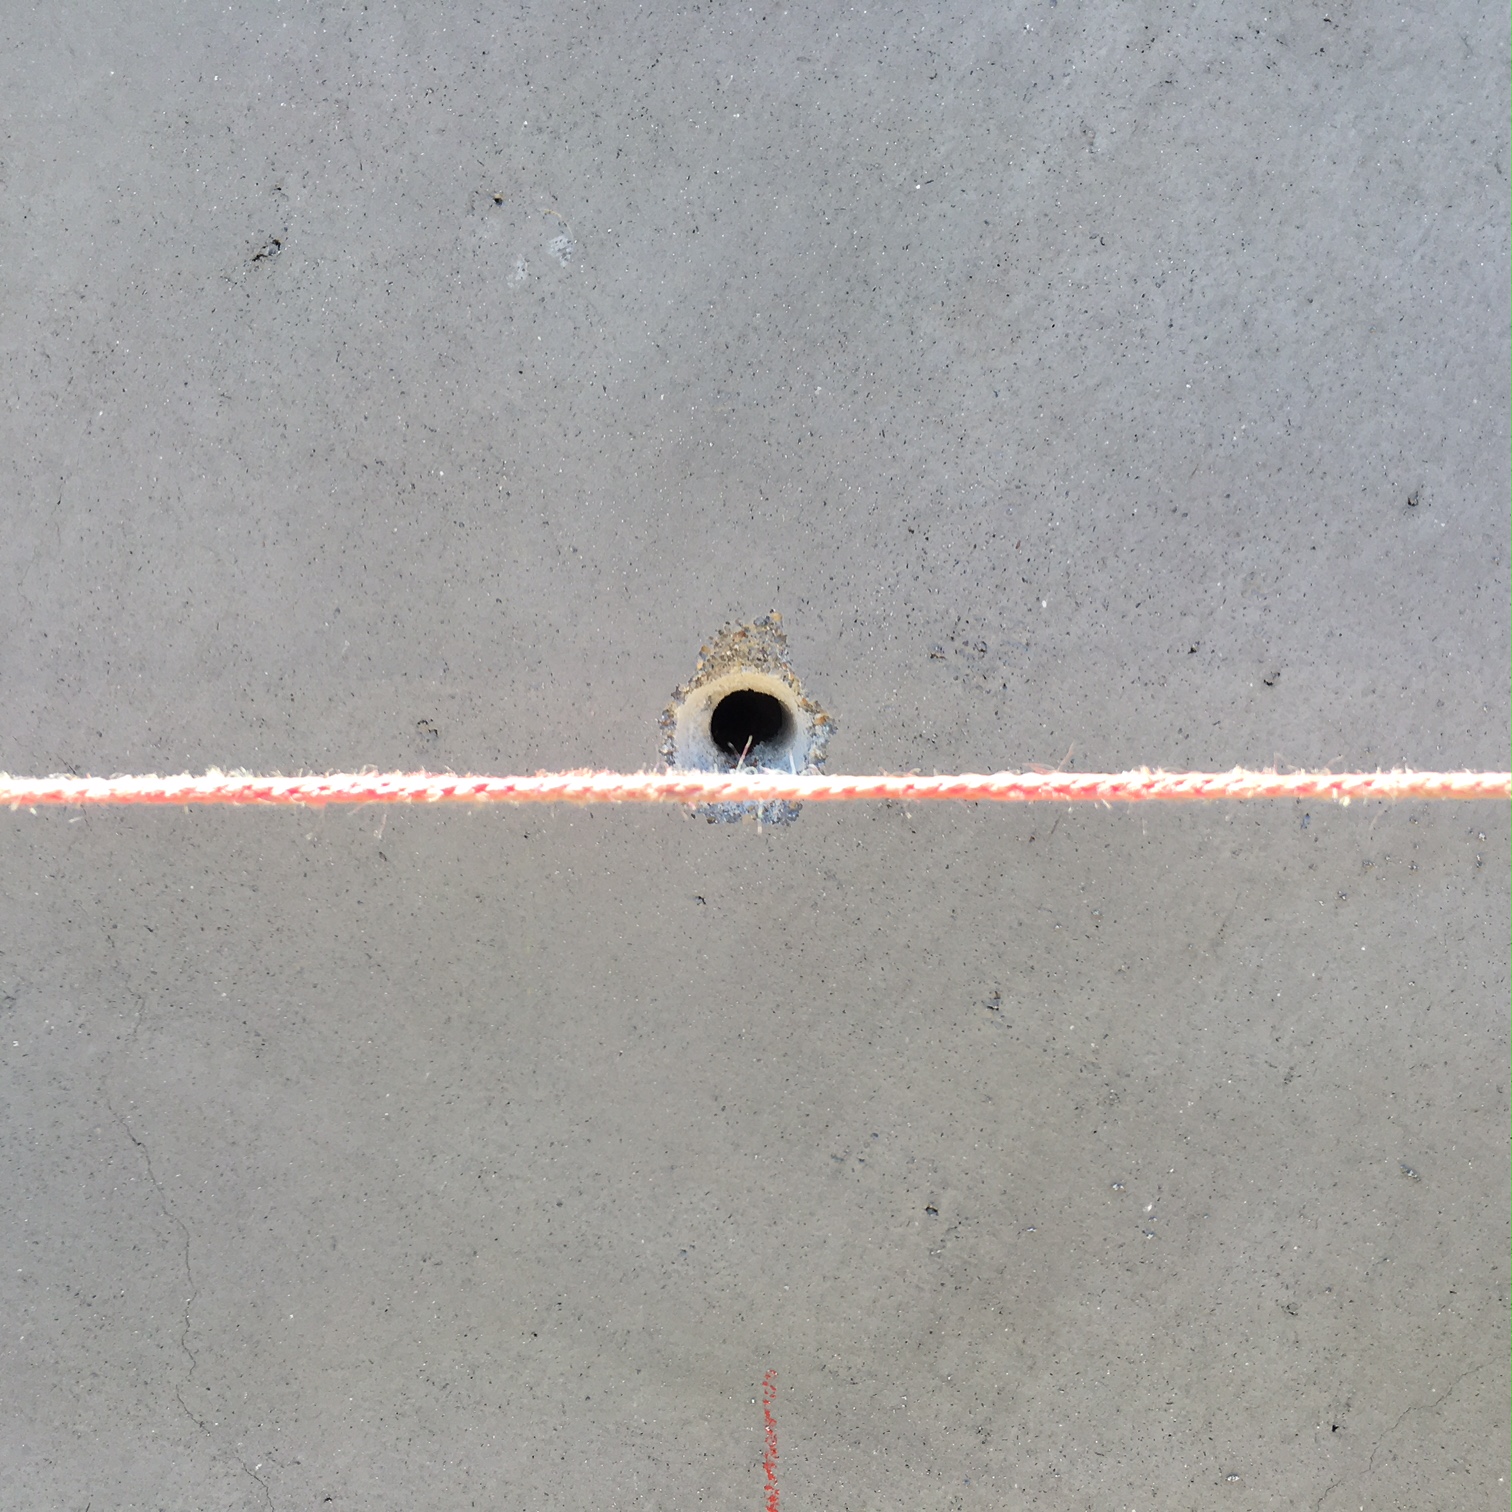
The string you see is to create a straight level line and the top and bottom for uniformity.
At the top and bottom points of the pattern:
1. Drill a hole in the wall ( since this is stucco we used a masonry bit)
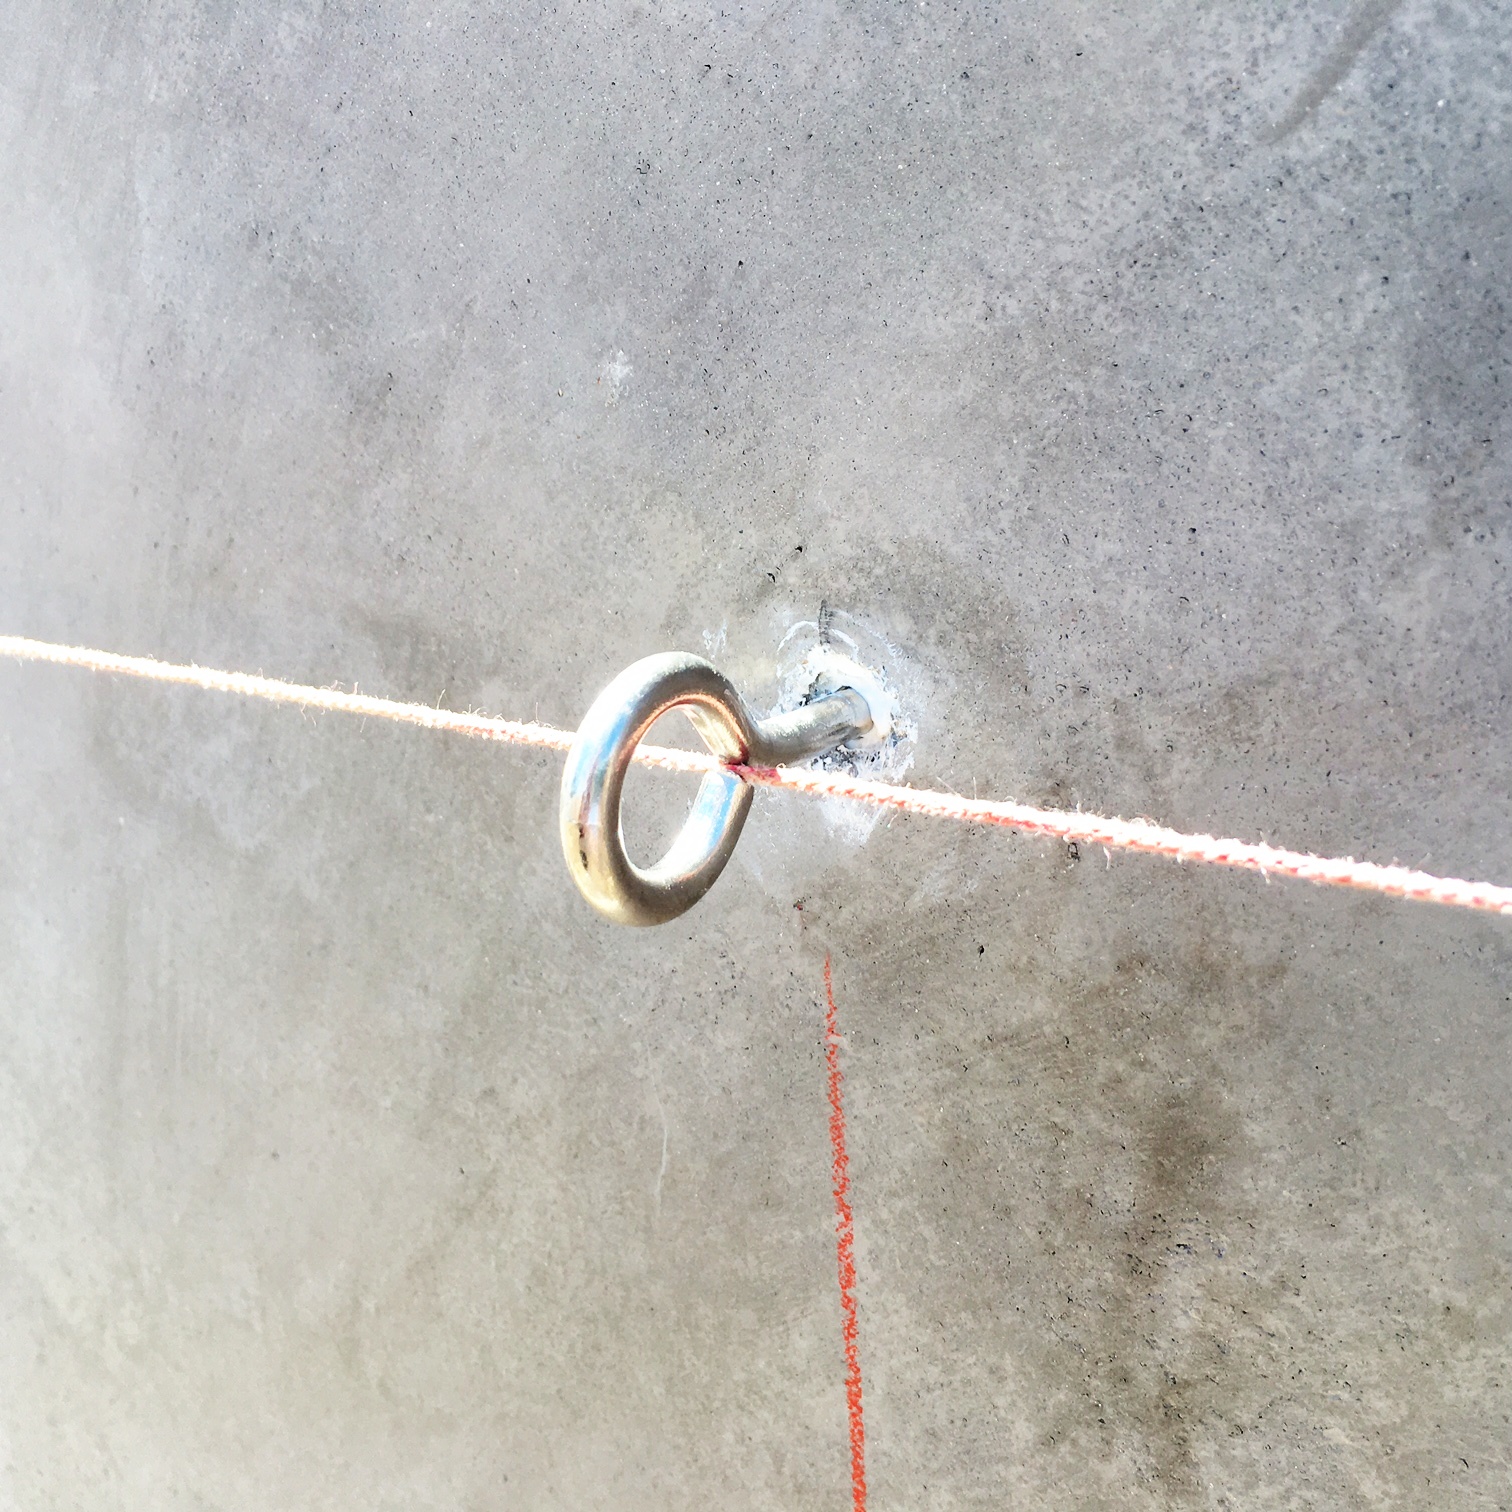
2. Add a little clear caulking to keep the water out. (The caulking gun is not necessary but makes it a little easier)
3. While the caulking is wet, insert the eye hook and twist. When it gets too difficult, use a large nail or screwdriver and twist it until it can go no further. The desired final position is vertical.
Installing wire
Now the wire "rope" can be threaded through the eyehooks, following the pattern you have created. (Now pull off the tape!)
Hard to see but if you look closely, you'll see that the wires have been successfully installed.
Fun with dirt!
Now it's time to dig the holes. It's always prudent to dig them at least twice as big than the size of the pot it's purchased in. We used 2 gallon pots for our project.
Each hole should be at the base of each "V".
Now, for planting
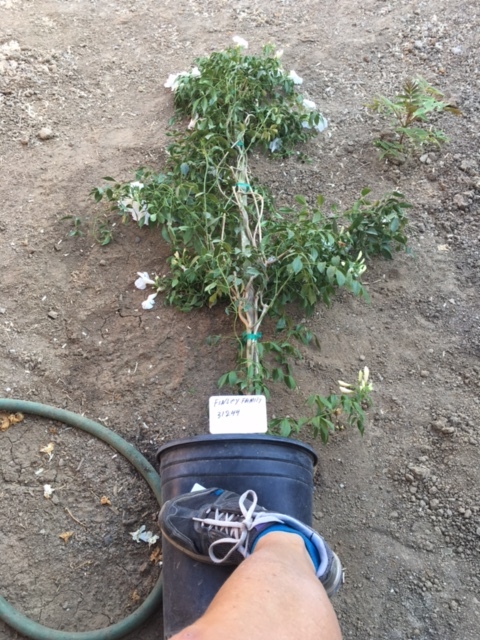
Planting trick: Step on the plastic pot on all sides to loosen the contents a bit and then it should lift out of the pot pretty easily. Loosen up the root ball a bit so the roots can e
PURCHASE GOOD DIRT
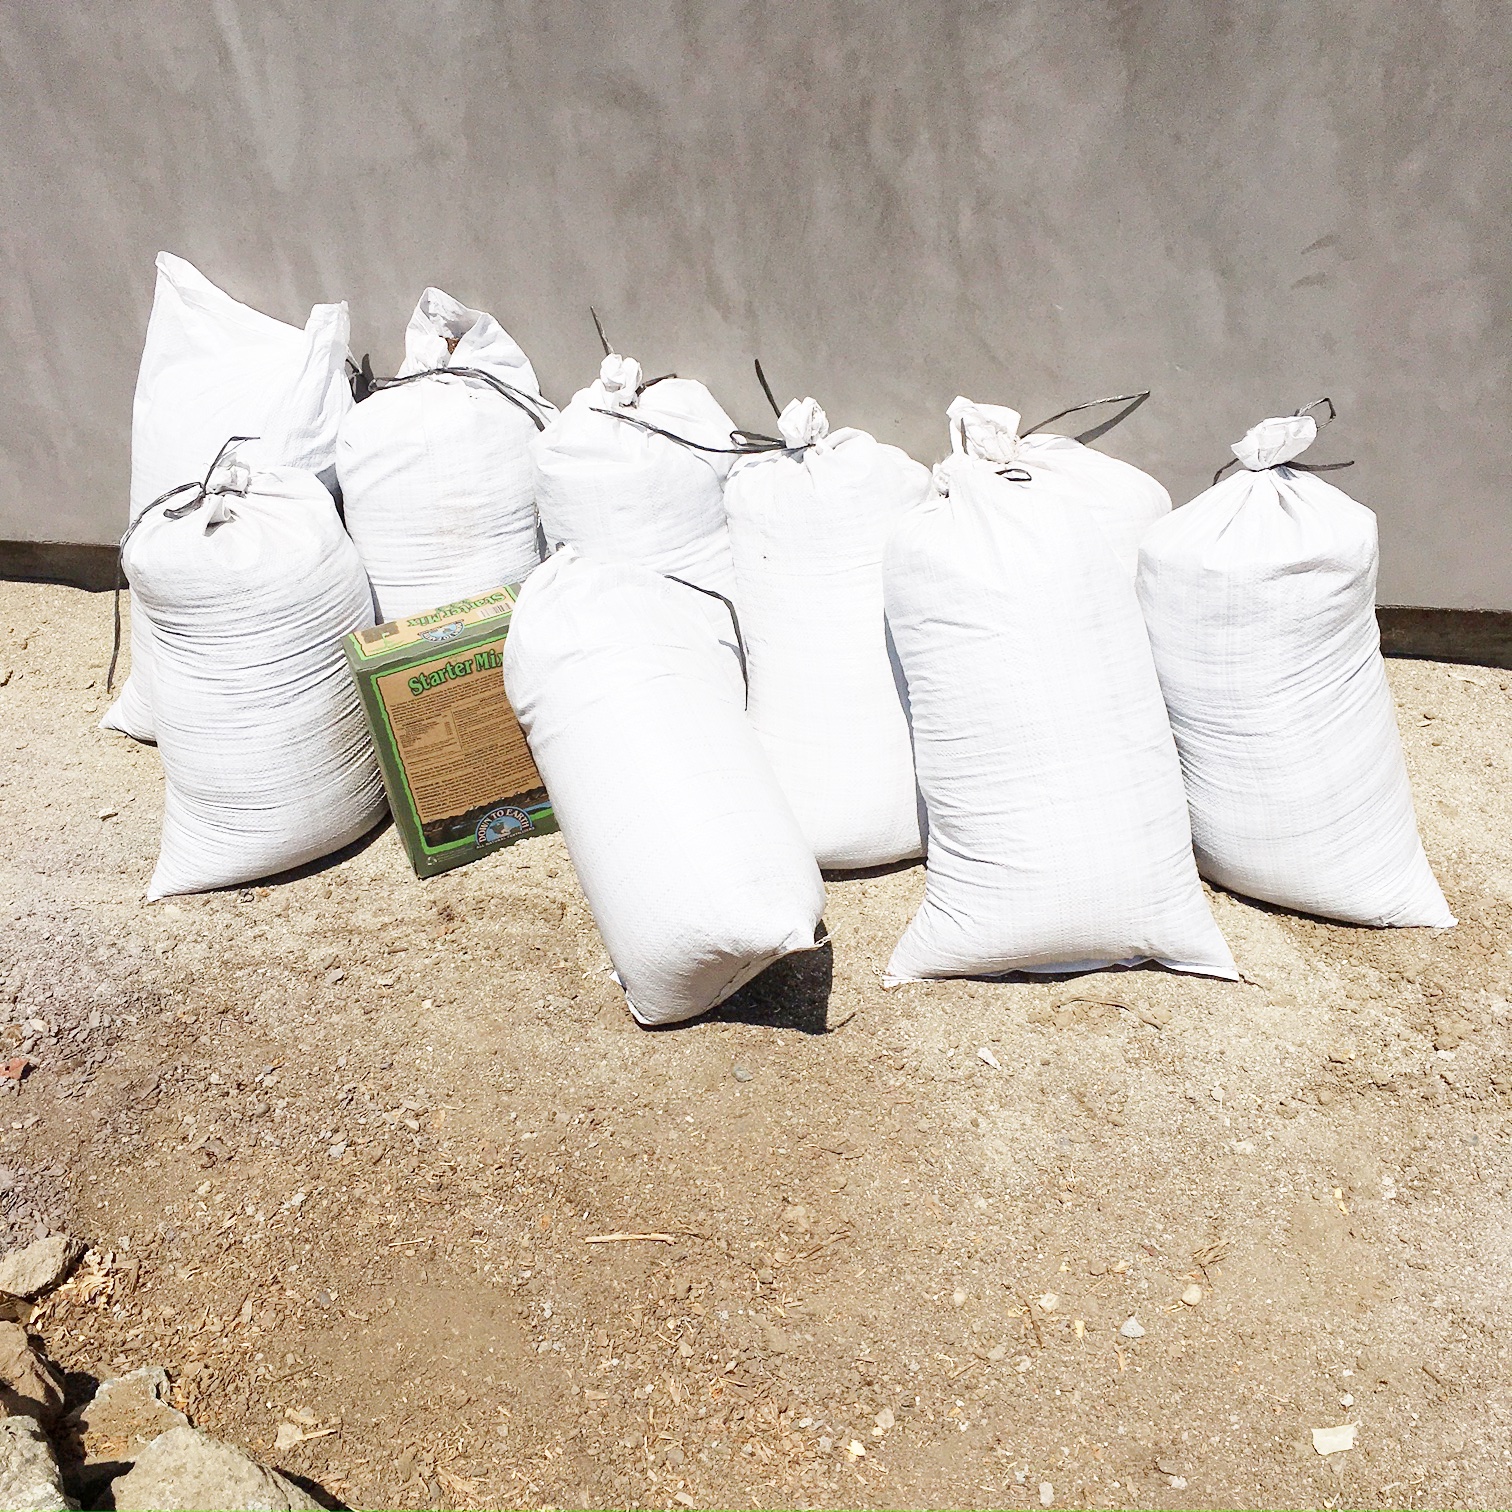
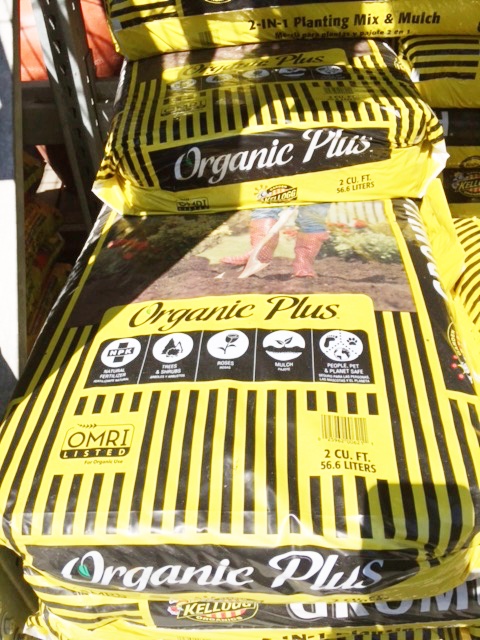
Use only good, OMRI-certified Organic soil. I got some from Home Depot and a few bags of even better Organic soil at my favorite local building supply place, Evergreen Supply.
Add a decent amount to the bottom of each hole before putting in the plant. We also like to add a starter fertilizer to help the plants take root. Then add a little around the sides of the root as well.
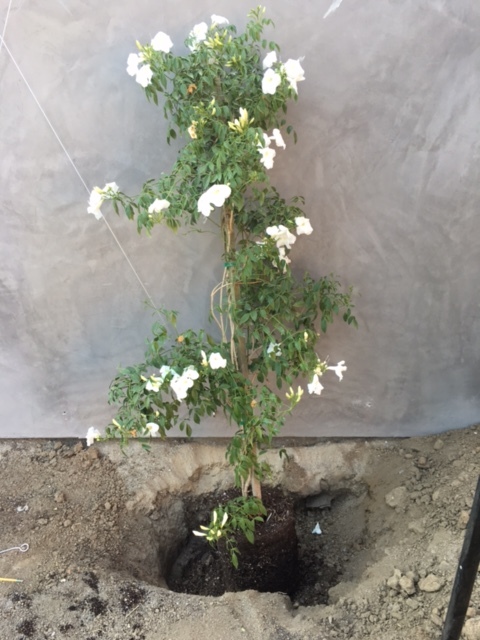
Here is the first planted vine!
Dirty face post-planting.
Here's the first vine planted.
Remove vine from support stick (important step!)
If you start looking around, you'll see that many vines are planted without removing the support stick. The plant needs to be unraveled from this stick so it can be allowed to set free and climb!
Here's how you do it:
Cut off the tape. Then, very carefully, start unwinding the vine completely.
You can see how entangled these vines are around the stick. They may have a little separation anxiety but they'll be fine!
Remove the support stick completely.
It will fall to the ground and be a little ungamely but never fear.
Now for the fun part.
Start winding it, strand by strand, up the wire.
TADA!
Here's my baby! At least that's how it felt. We put so much time into planning and planting that I had a real vested interest in their livelihood. In fact, I don't have much of a green thumb but I was really committed. And it was a hot, hot summer so we made sure they had plenty of water until their roots got established.
And here they are now.
What do you think of this project?
Please let me know if there are ways that I can be more clear or less complicated with the instruction.
I have many more DIY projects coming so please keep coming back.
Know anyone interested in remodeling or flipping?
PLEASE SHARE THIS BLOG WITH THEM.
1. Flipping Lincoln Ave: Be brave...begin
2. Flipping Lincoln Ave: Yikes, this place is a mess
3. Flipping Lincoln Ave: Fun with tack strips
4. Flipping LIncoln Ave: Demo Day
5. Flipping Lincoln Ave: Ready Set Go!
6. Flipping Lincoln Ave: Up You Go
7. Flipping Lincoln Ave: We're Deep In Now
8. Flipping Lincoln Ave: Meet Cousin It
9. Flipping Lincoln Ave: It's a numbers game
10 Flipping Lincoln Ave: A long, overdue update


