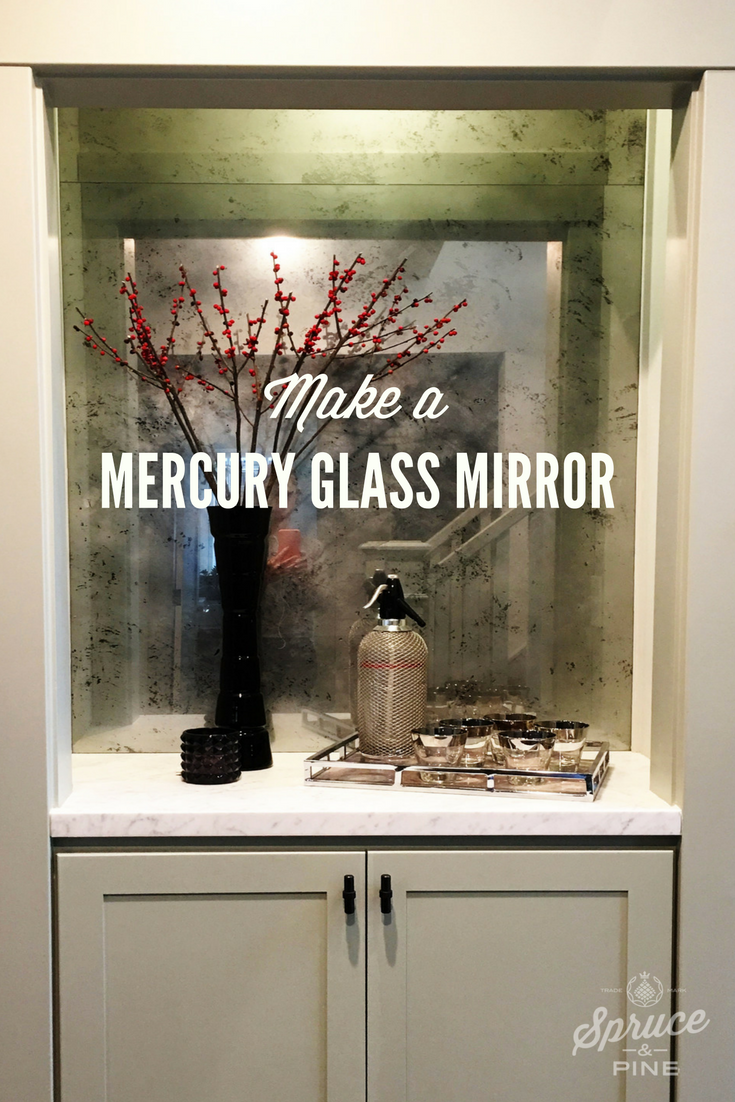
Who doesn't love the look Mercury Glass? I'll show you how to do it quickly and inexpensively.
I have to start by saying that I didn't intend for this to be a DIY project. But when the estimate came in at $1600 for this piece of glass, I decided to take it on.
There are two ways to acquire Mercury Glass.
1.) Score it at a flea market, or
2.) Make it yourself
Did you know?
A mirror is just a piece of glass that has been treated on one side with a mirrored paint. And Mercury Glass is the same thing, except the mirror has been treated to look old (unless it really IS old).
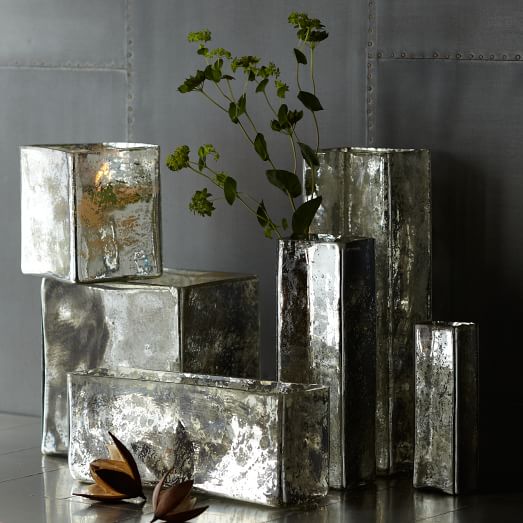
(If you want to make a smaller object, like these gorgeous vases, you'll find directions at the bottom of the blog).
Mercury Glass Instructions
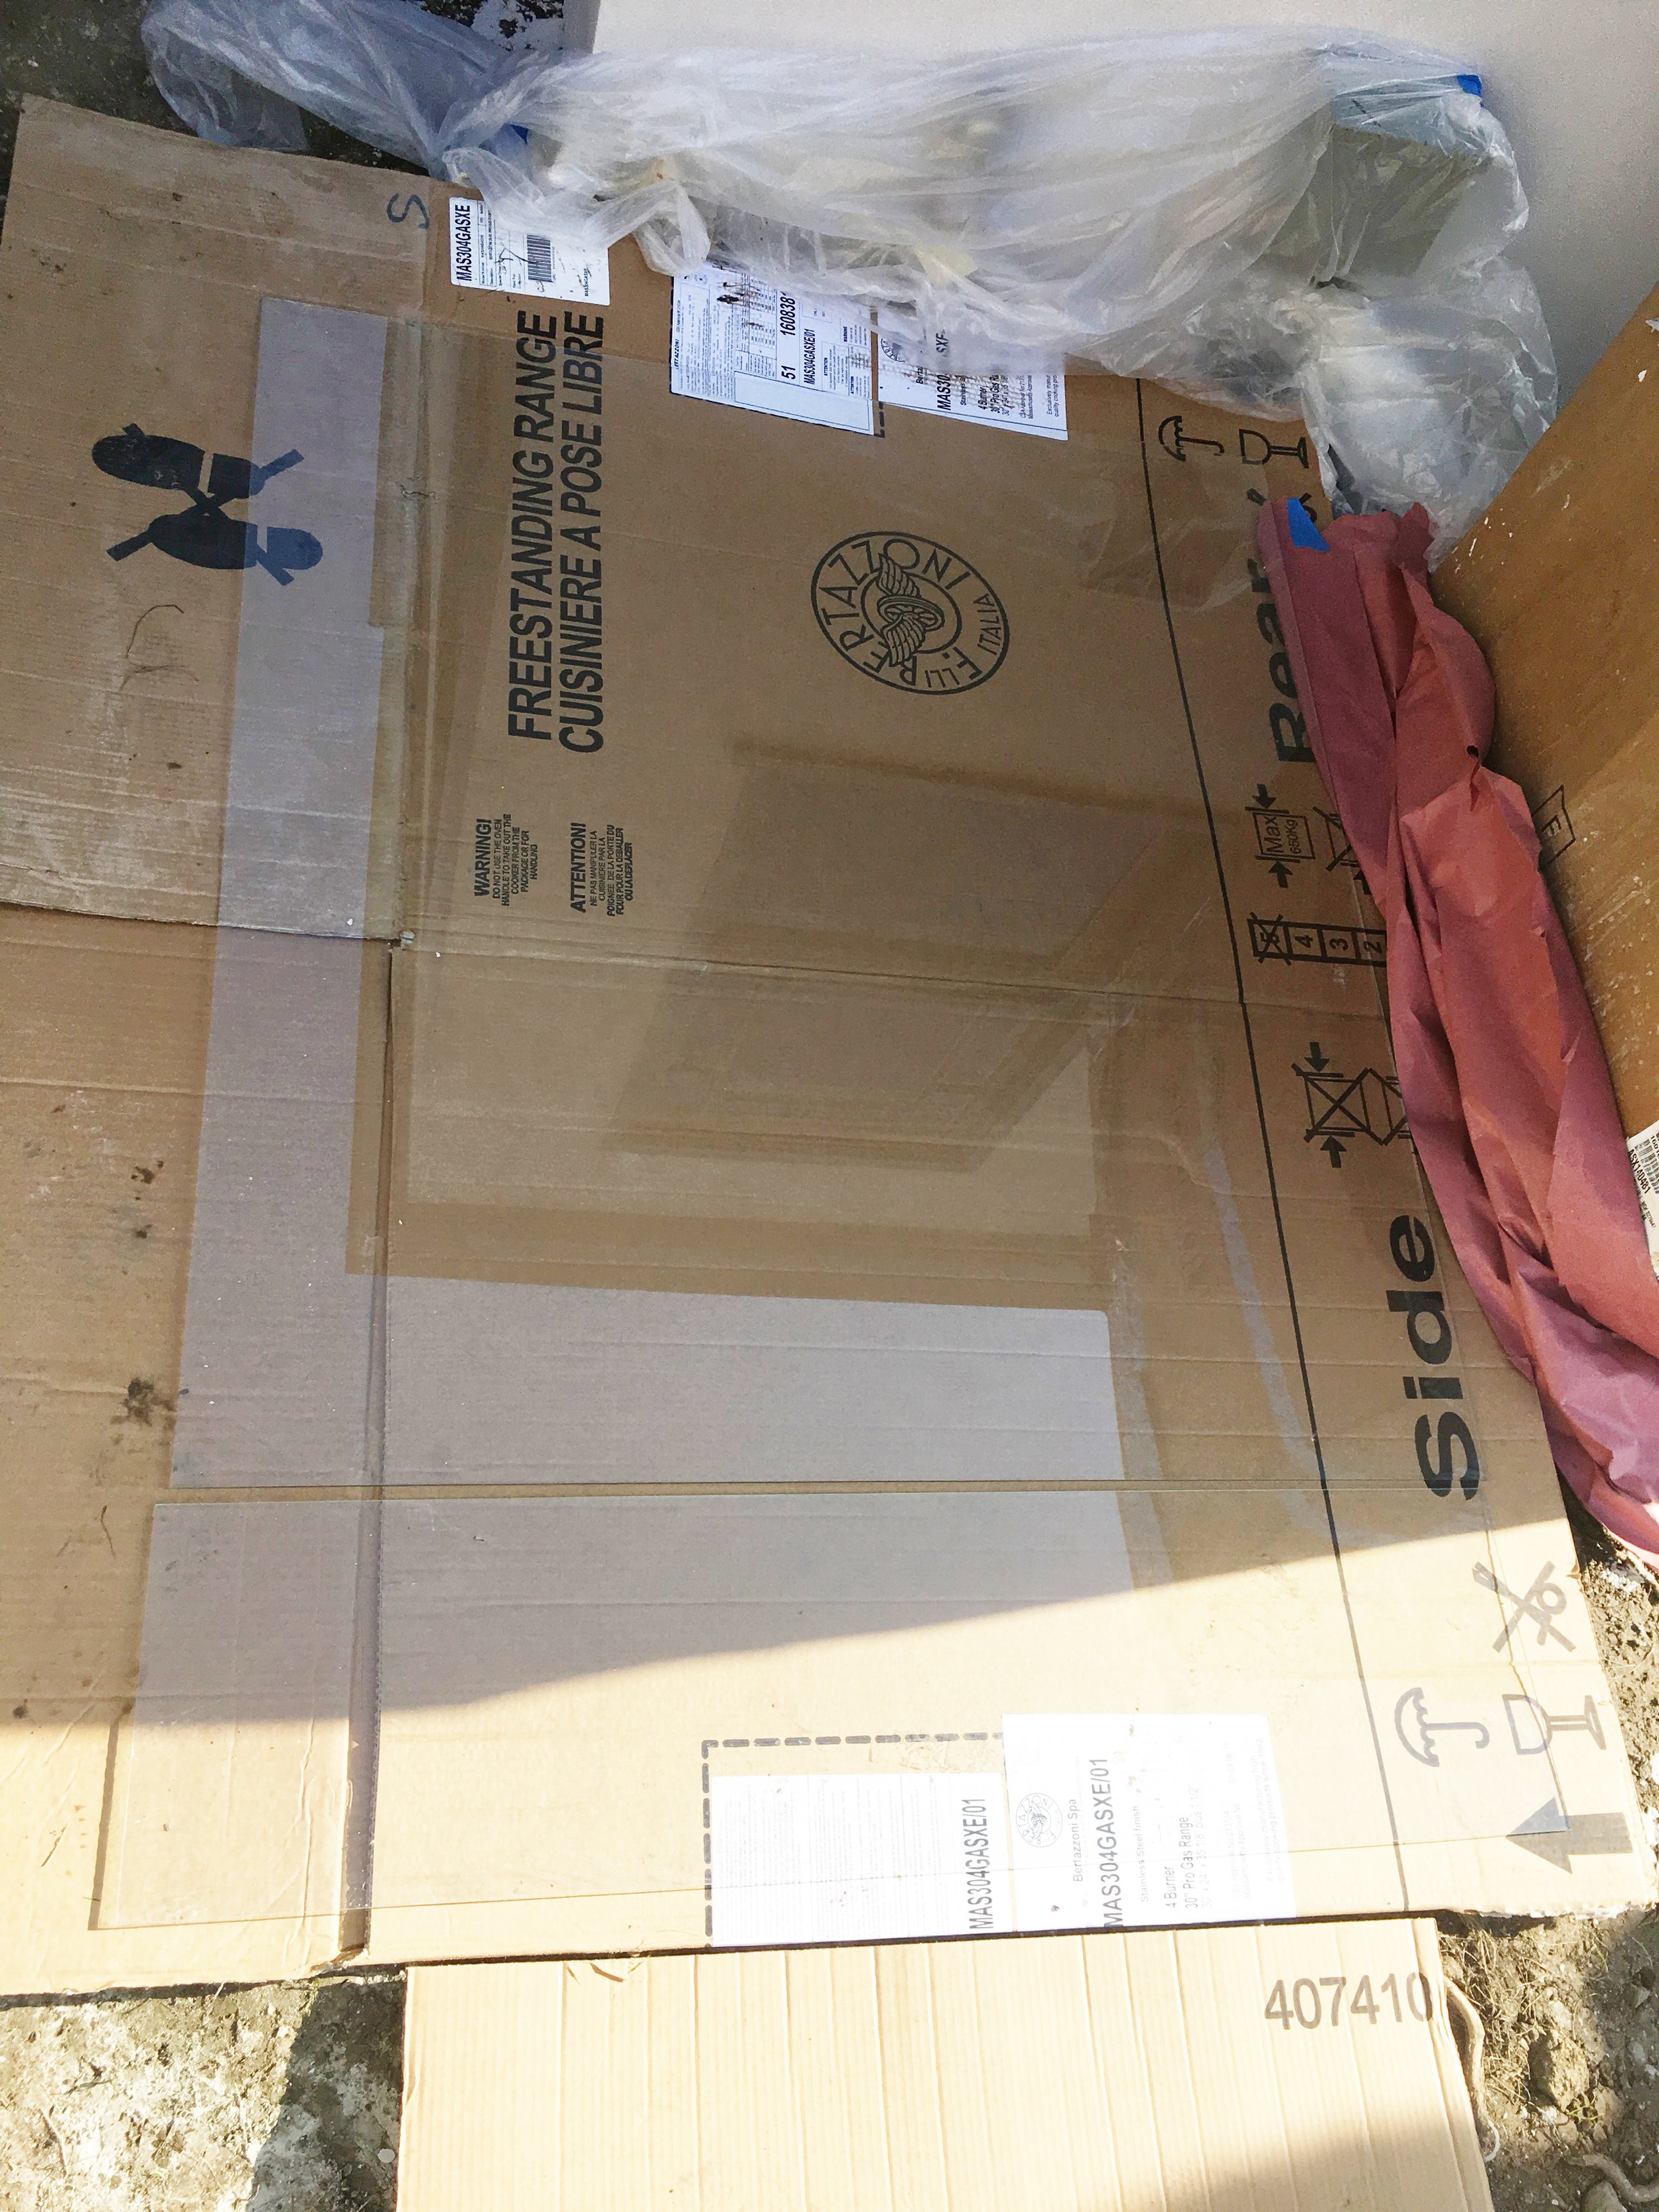
1. Source your glass or object.
I went to my local glass store to have a piece of glass cut for the space. Since not all spaces are perfectly square, make sure you give yourself a little wiggle room so you are sure it will fit.
2. What you'll need
- Krylon Looking Glass Silver (don't use any other brand).
I used 2 cans for a large piece of glass (and I messed up a bit).
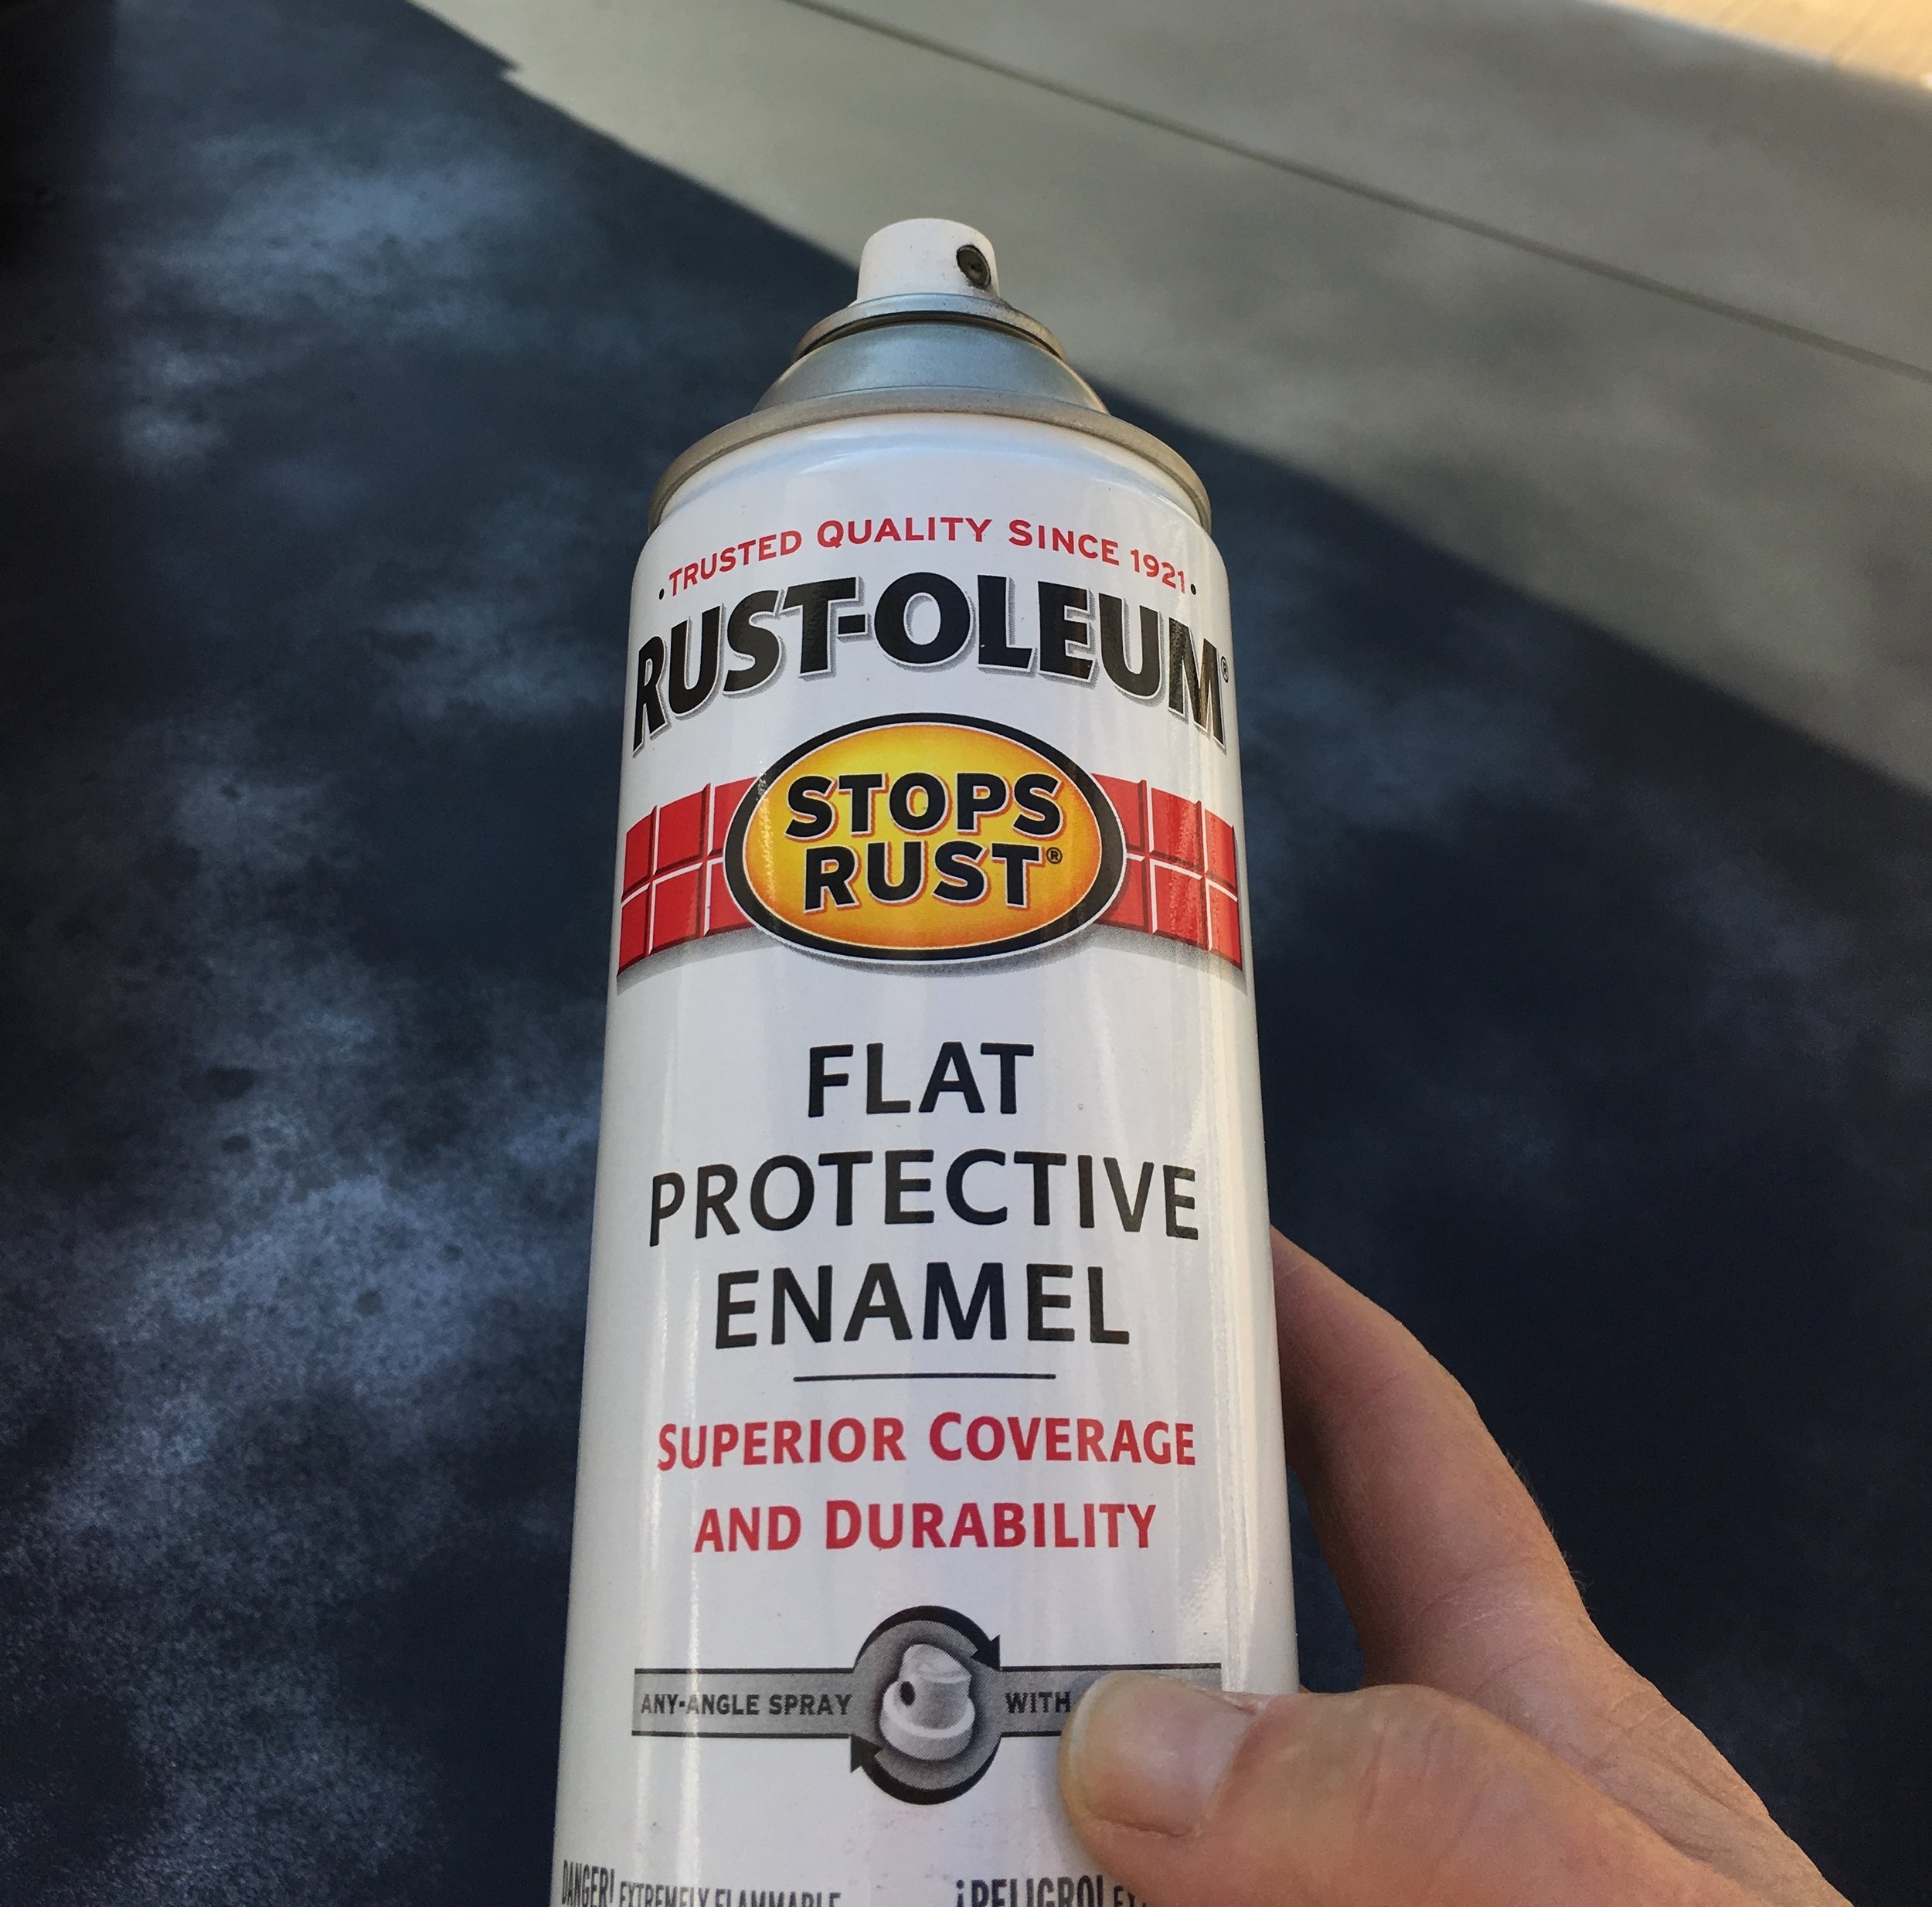
- Flat black spray paint
- White vinegar
- Water
(You'll need equal parts of water and vinegar. Mix this prior to beginning)

3. A place to work
Best to do this outside or somewhere you don't mind getting messy. Mine was a large piece of glass so I laid it on some cardboard outside (excuse the unattractive photos).

4. Spray mirrored paint
Coat the whole backside of the surface with the Krylon Looking Glass. It doesn't need to be thick but it should cover the glass so you can no longer see through it.
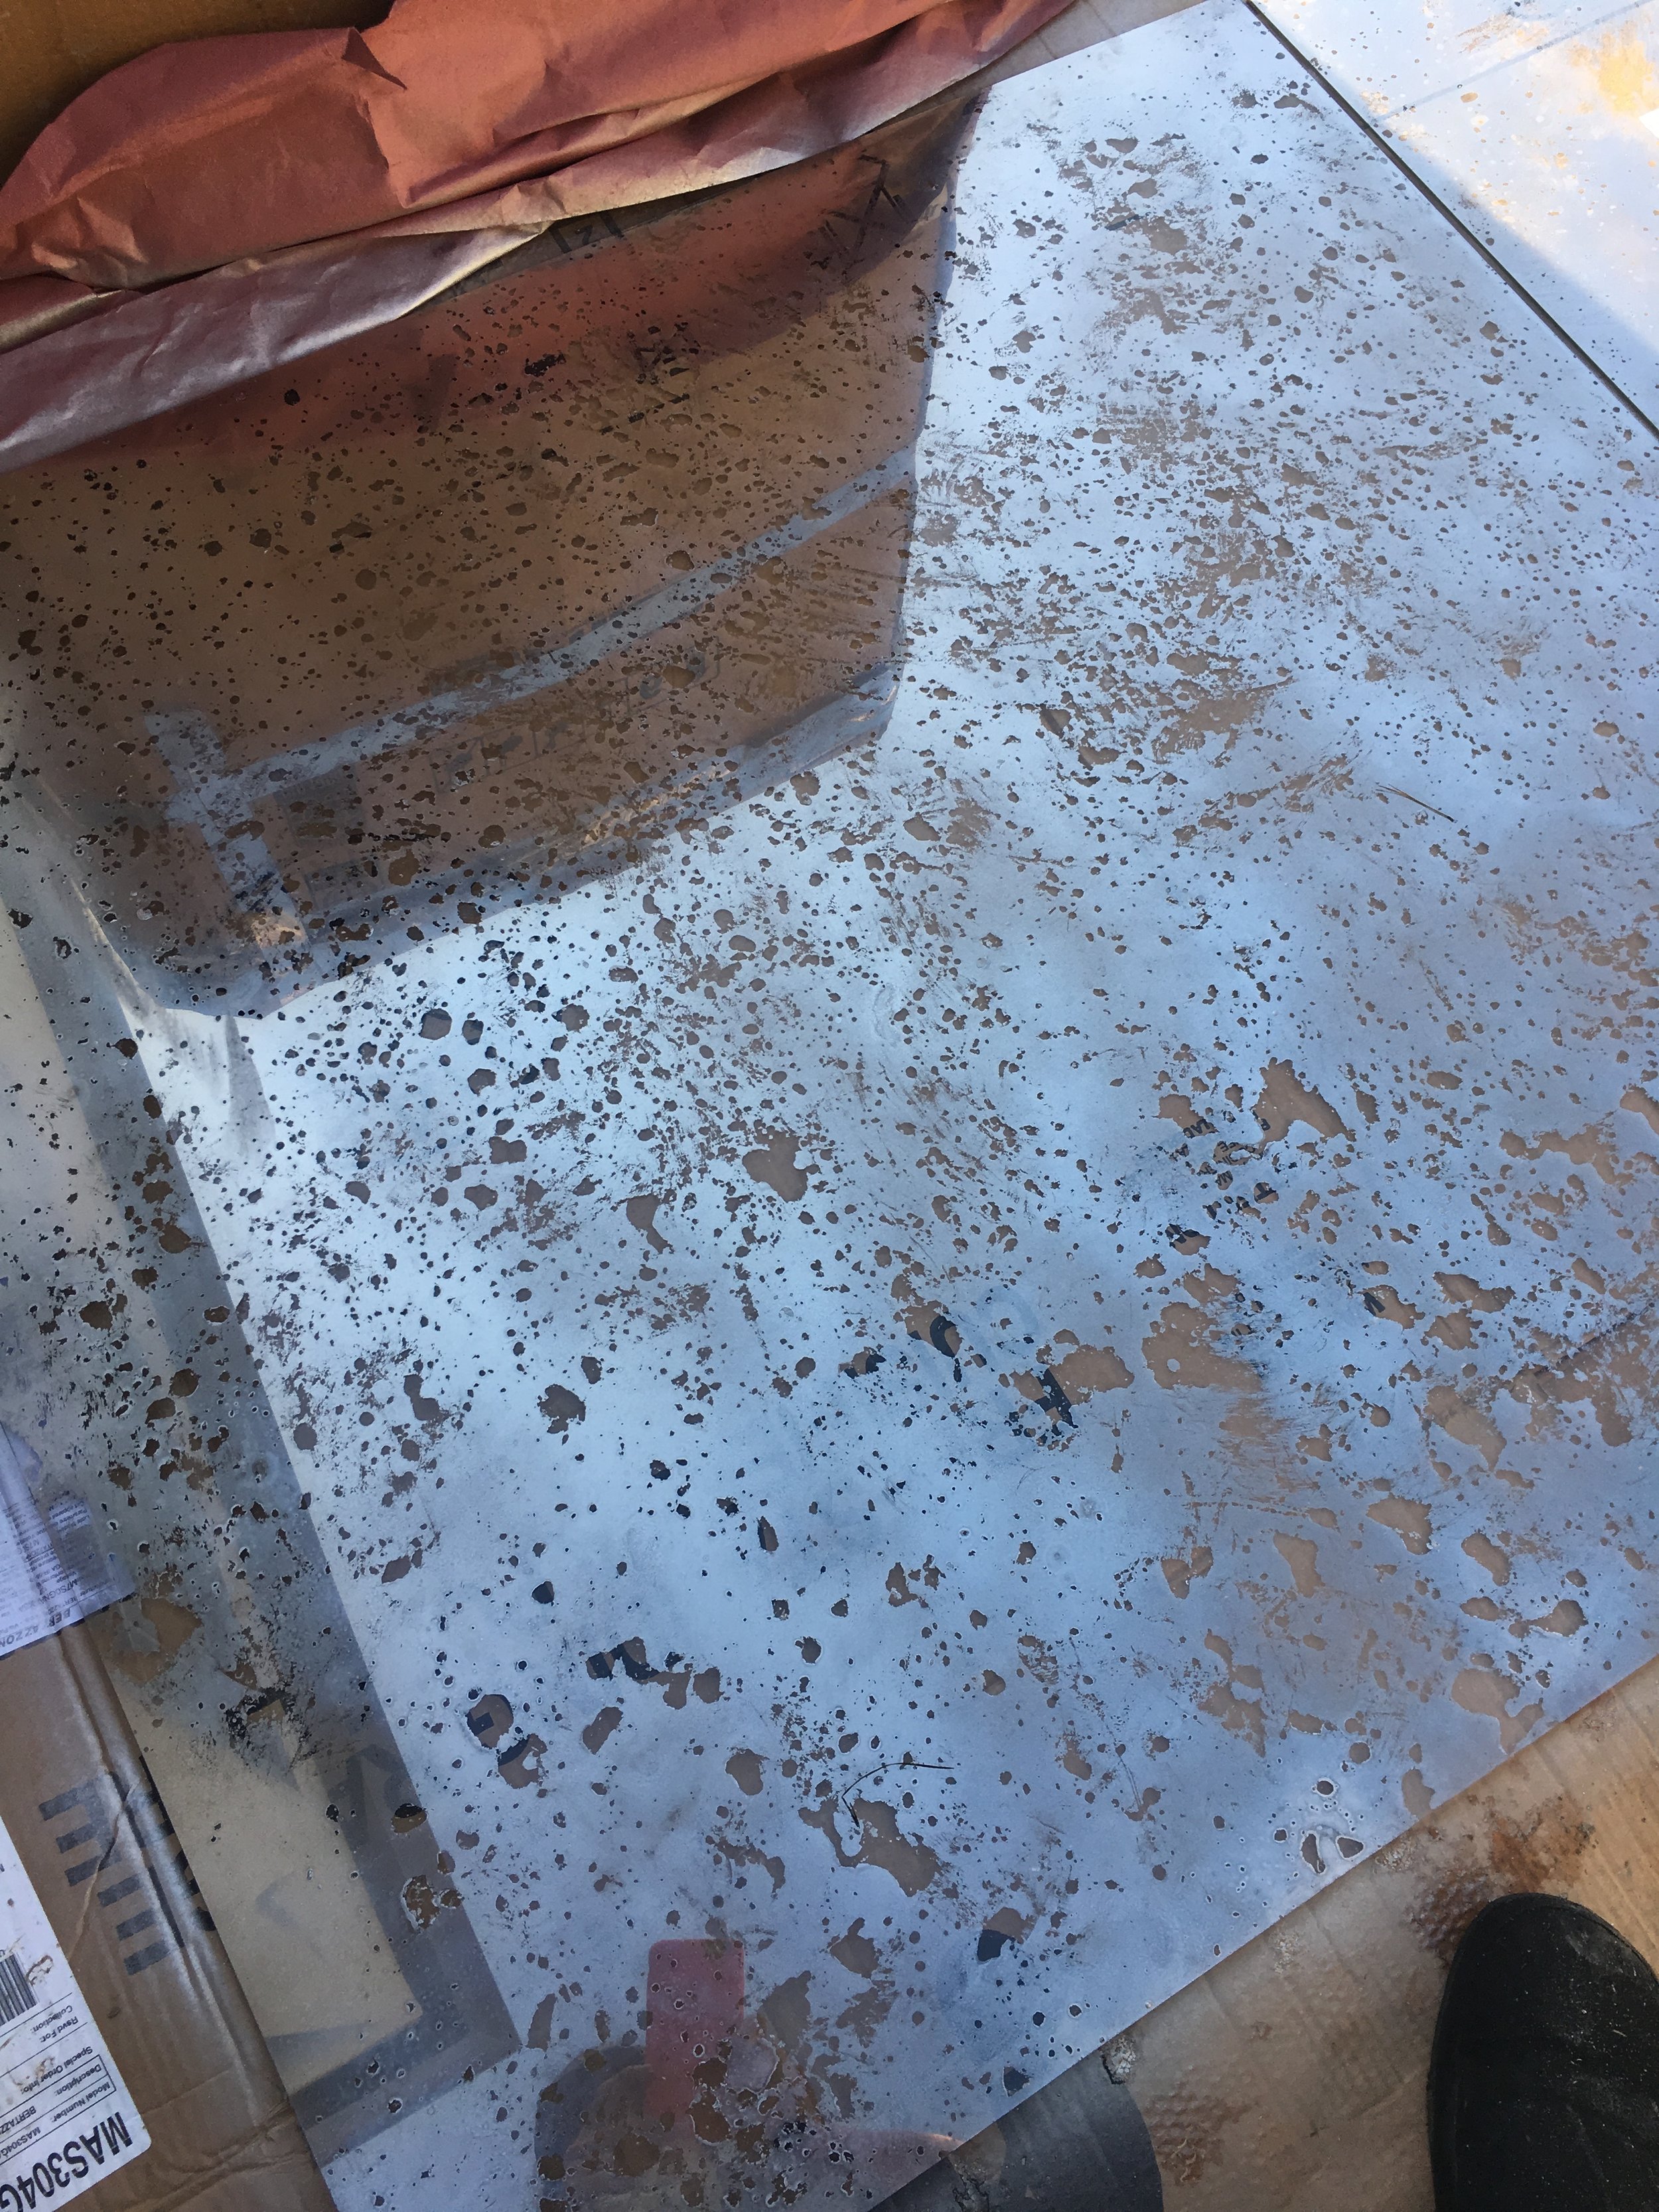
5. Spray white vinegar/water mixture
There are two ways you can do this, you can use a spray bottle full of water, for more consistent, smaller dots. Or you can flick water on with your fingers (for a more coarse texture). It is best to do this within the first few minutes after the silver paint is sprayed so it's still wet.

This is what it looked like after I splashed water on the back side. I literally dipped my hand in a jelly jar of water and flicked it. You can see that I got some smaller pools of water and larger ones.
6. Dab off the vinegar
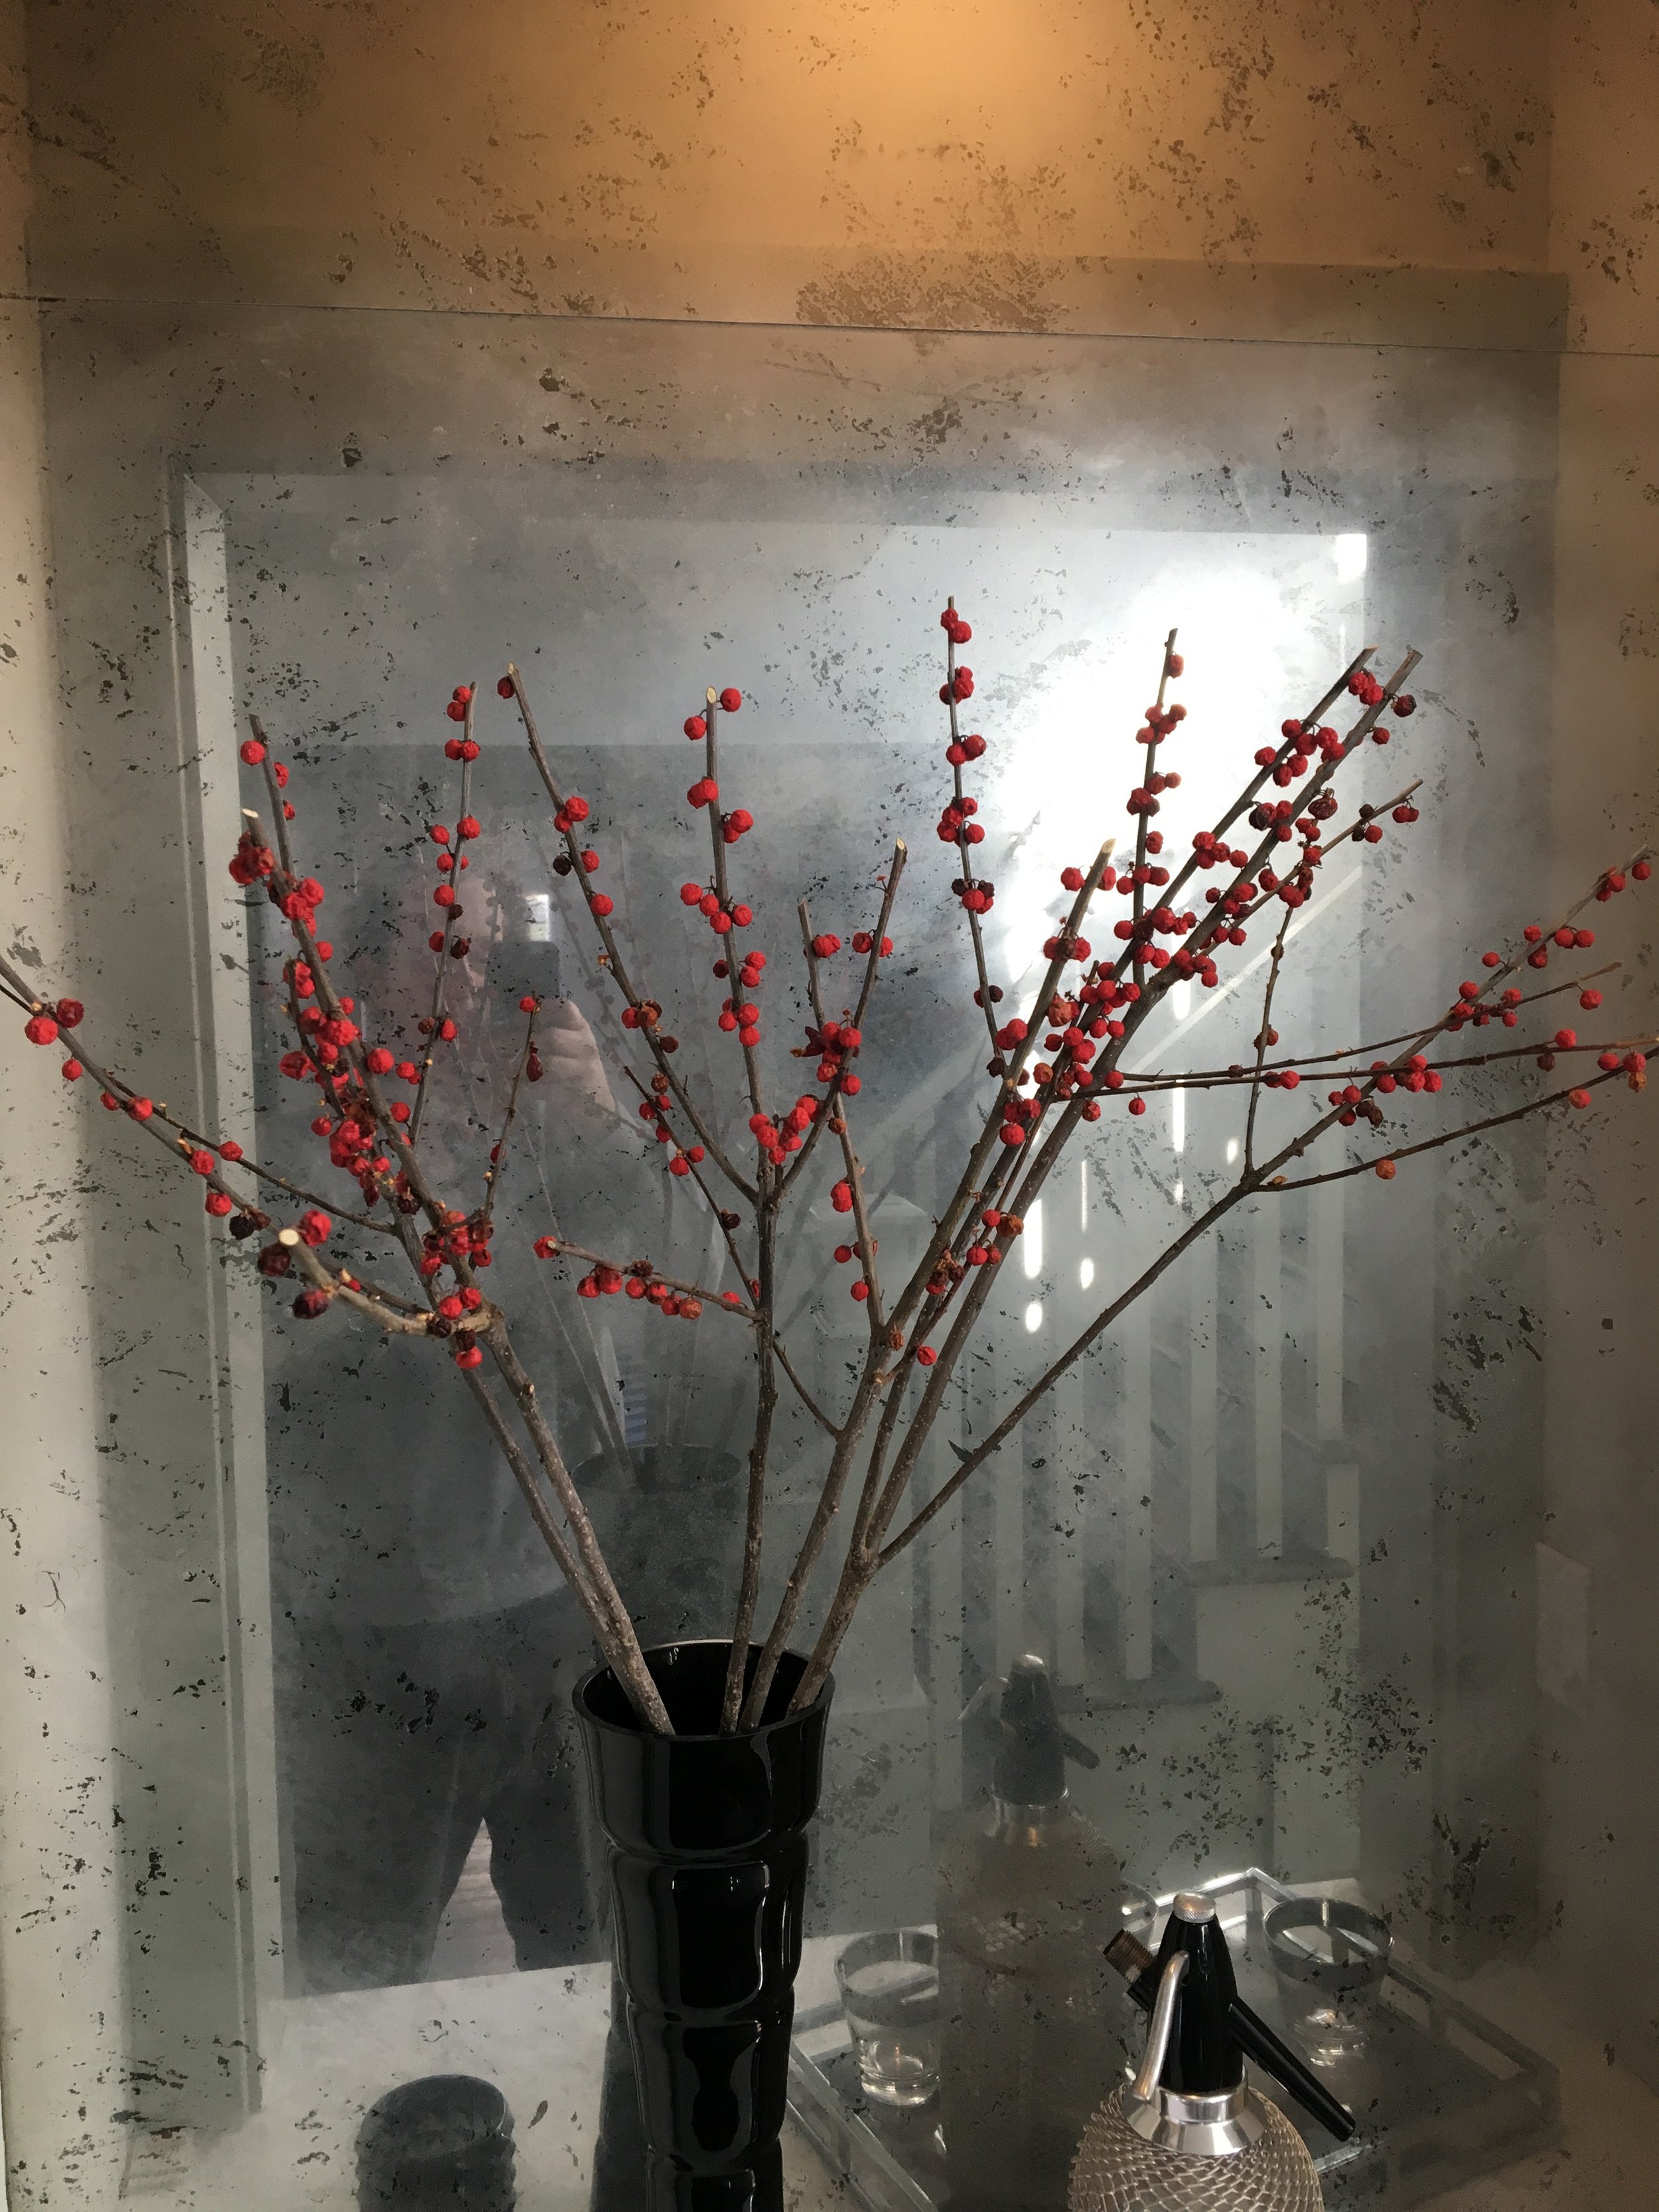
The vinegar forms small bubbles which will wipe off. This is what gives the texture. I used a paper towel. Be careful to dab it carefully and don't wipe it or you'll see the wiping movement. This is what it looked like when i was done.
At this point, you can start to see what you have created. If it is too much texture, you can still fix it. I wasn't happy with this result so I did the process again and was more subtle in my spraying of the vinegar.
7. Black spray paint (optional)
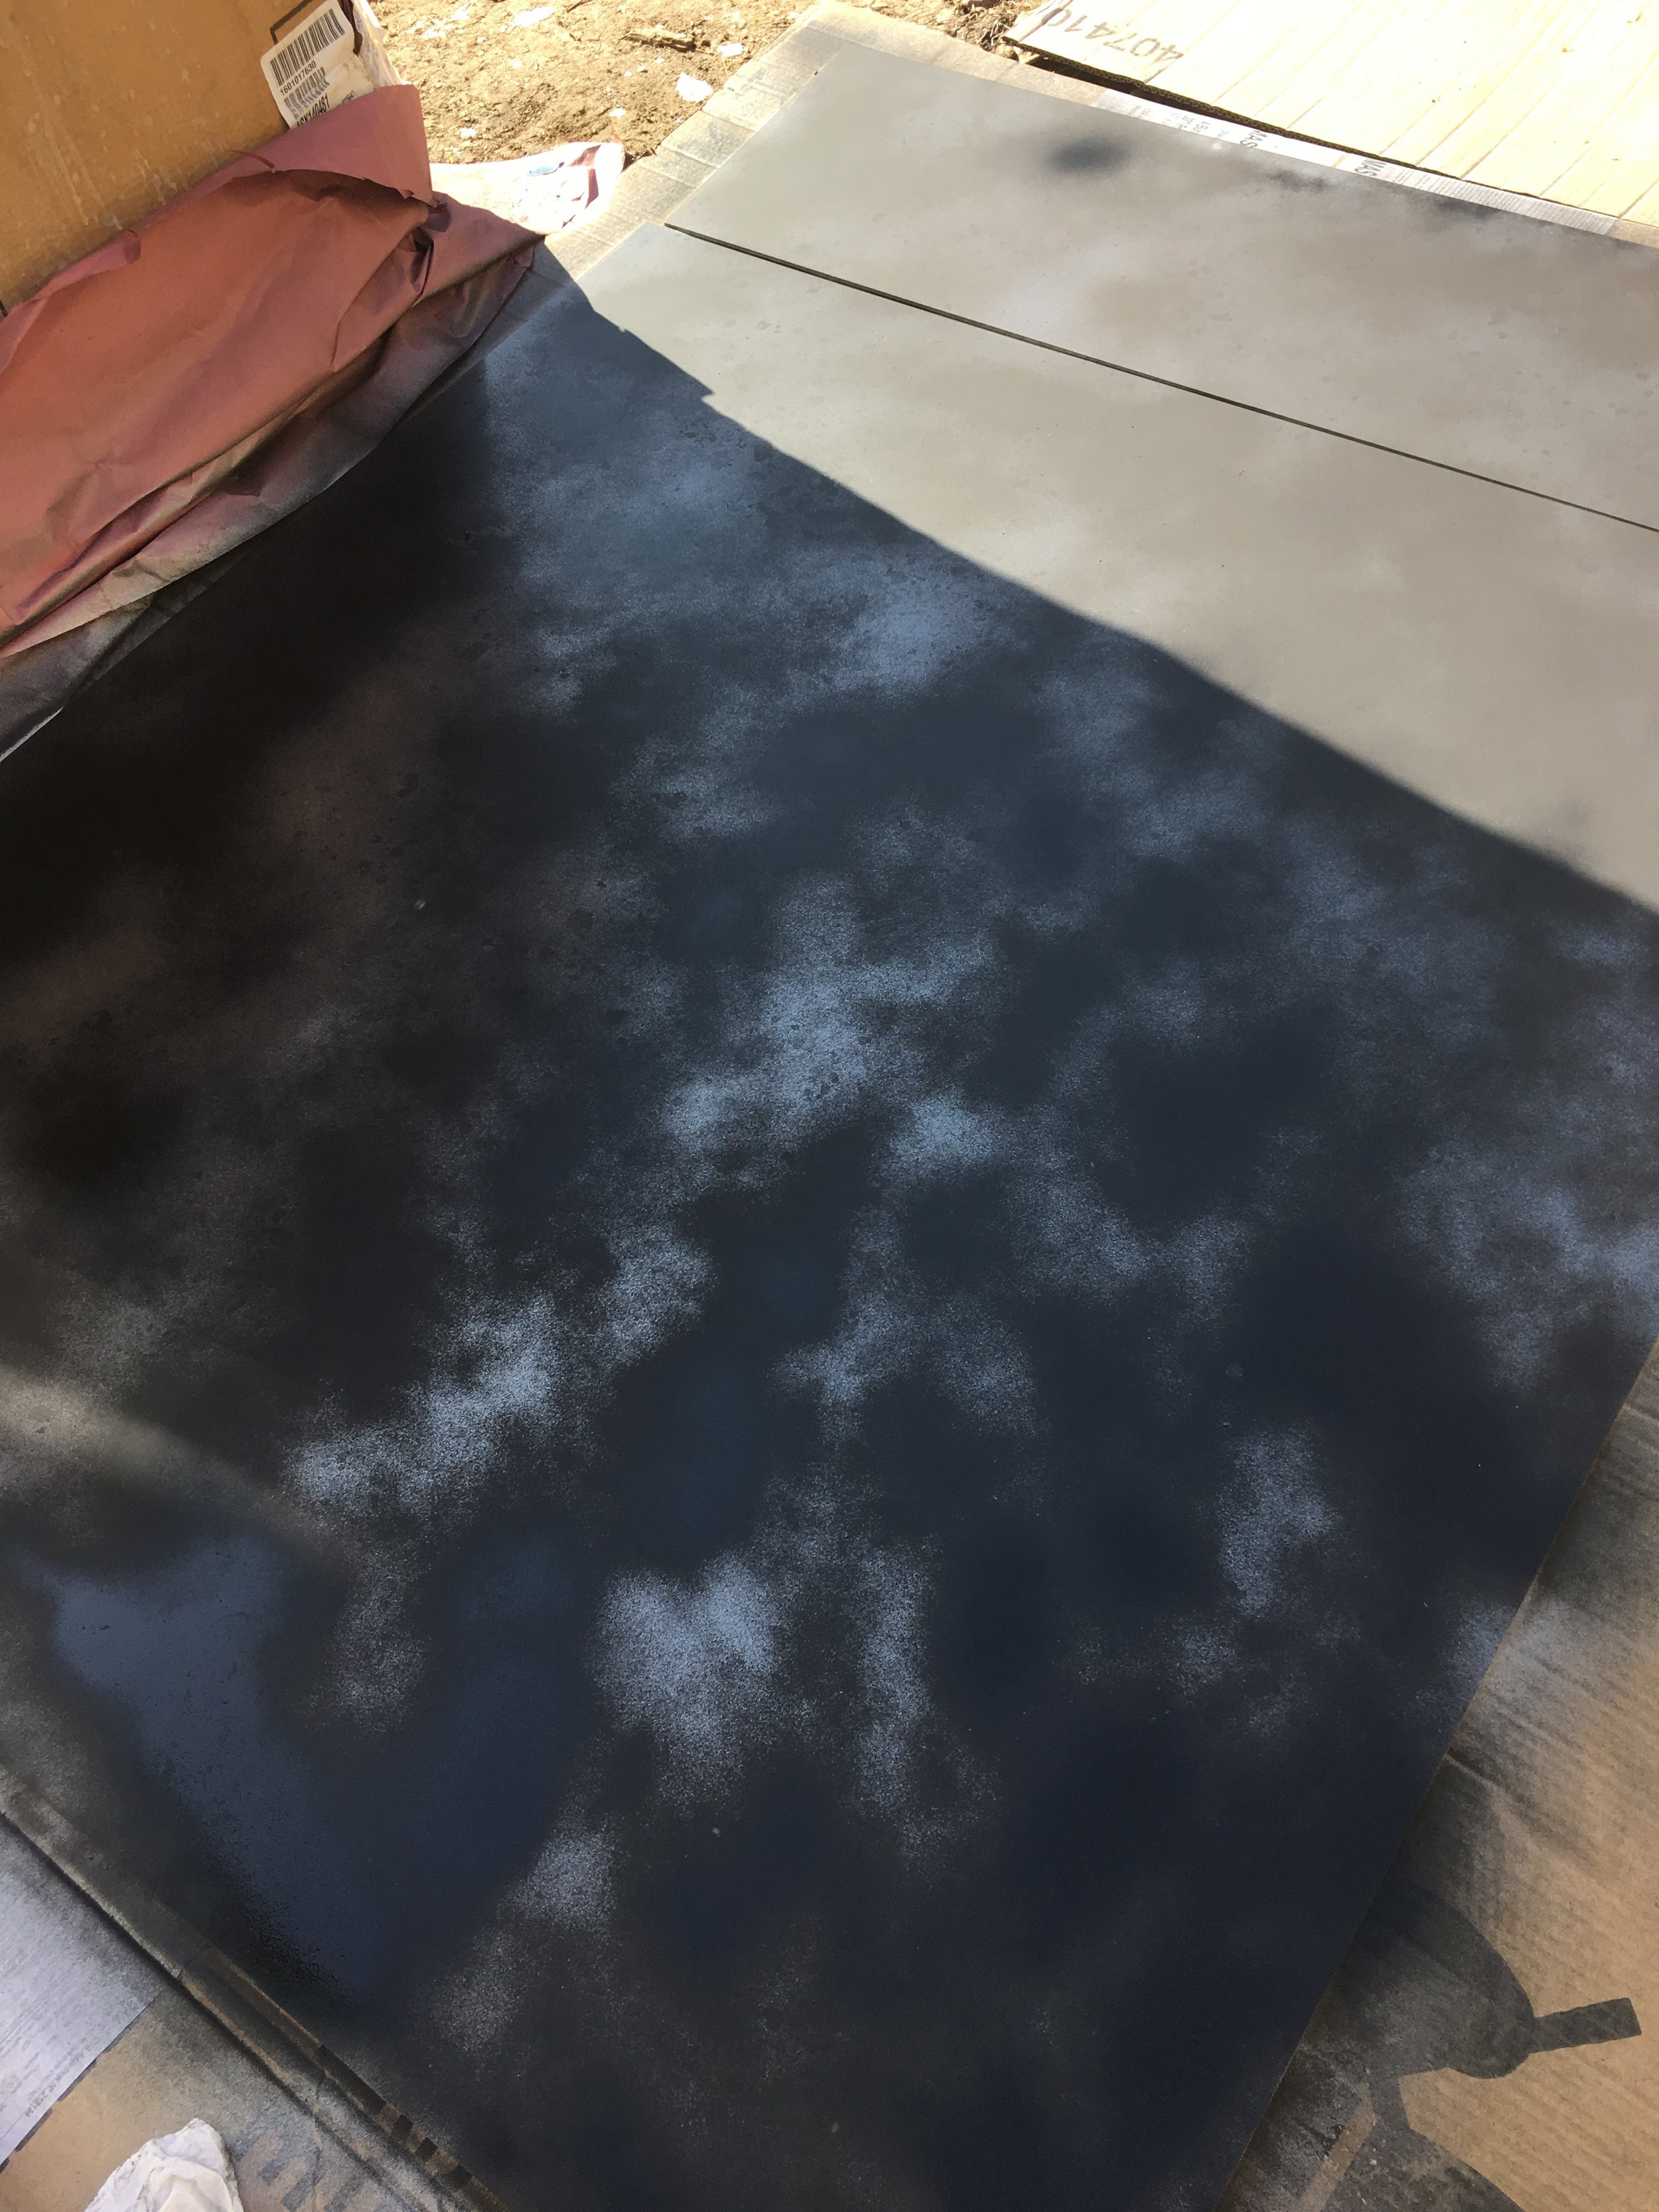
This step is not necessary. I chose to do it because i was putting it against a wall and i didn't want any of the wall glue to show through. However, before you do it, take a look at your glass and see if you want that opaque look that the black will provide.
7. Learn from our mistakes

First mistake: This is where the Antique glass is going to be installed. However, we didn't install it before all the trim went up. So the glass didn't fit into the space! I had to bring it back to the glass place and have them trim it for me. Ugh.

Next mistake: We tried to glue it to the wall with mirror glue. Normally this would work but the glue interacted with the paint and ended up showing right through. OMG. So I had to scrape it off and start all over. Not kidding. I was an expert by the time this was over.
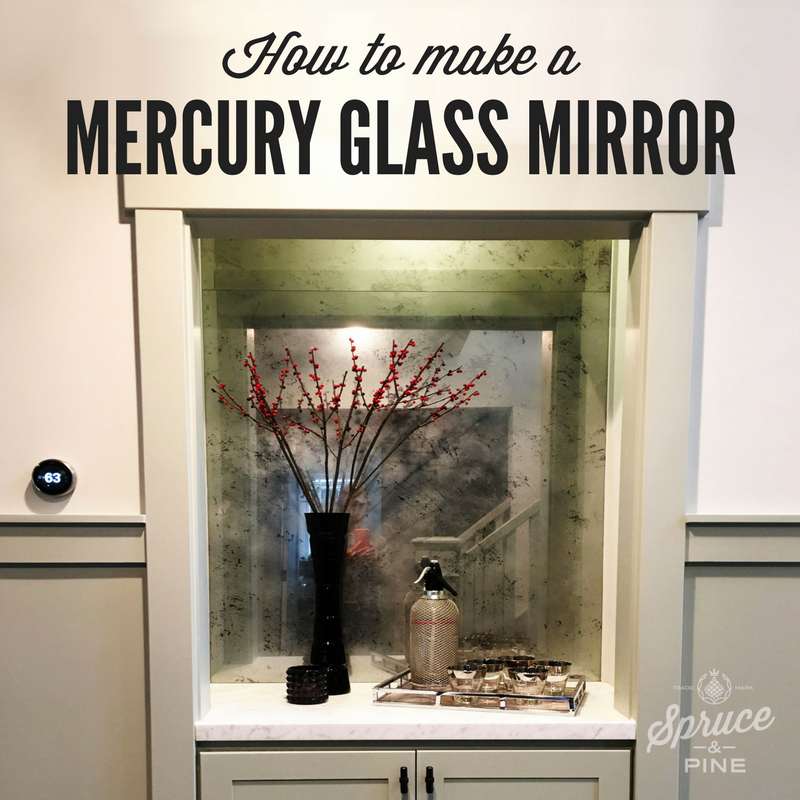
8. Install

Here is Lance putting it into the very tight space.
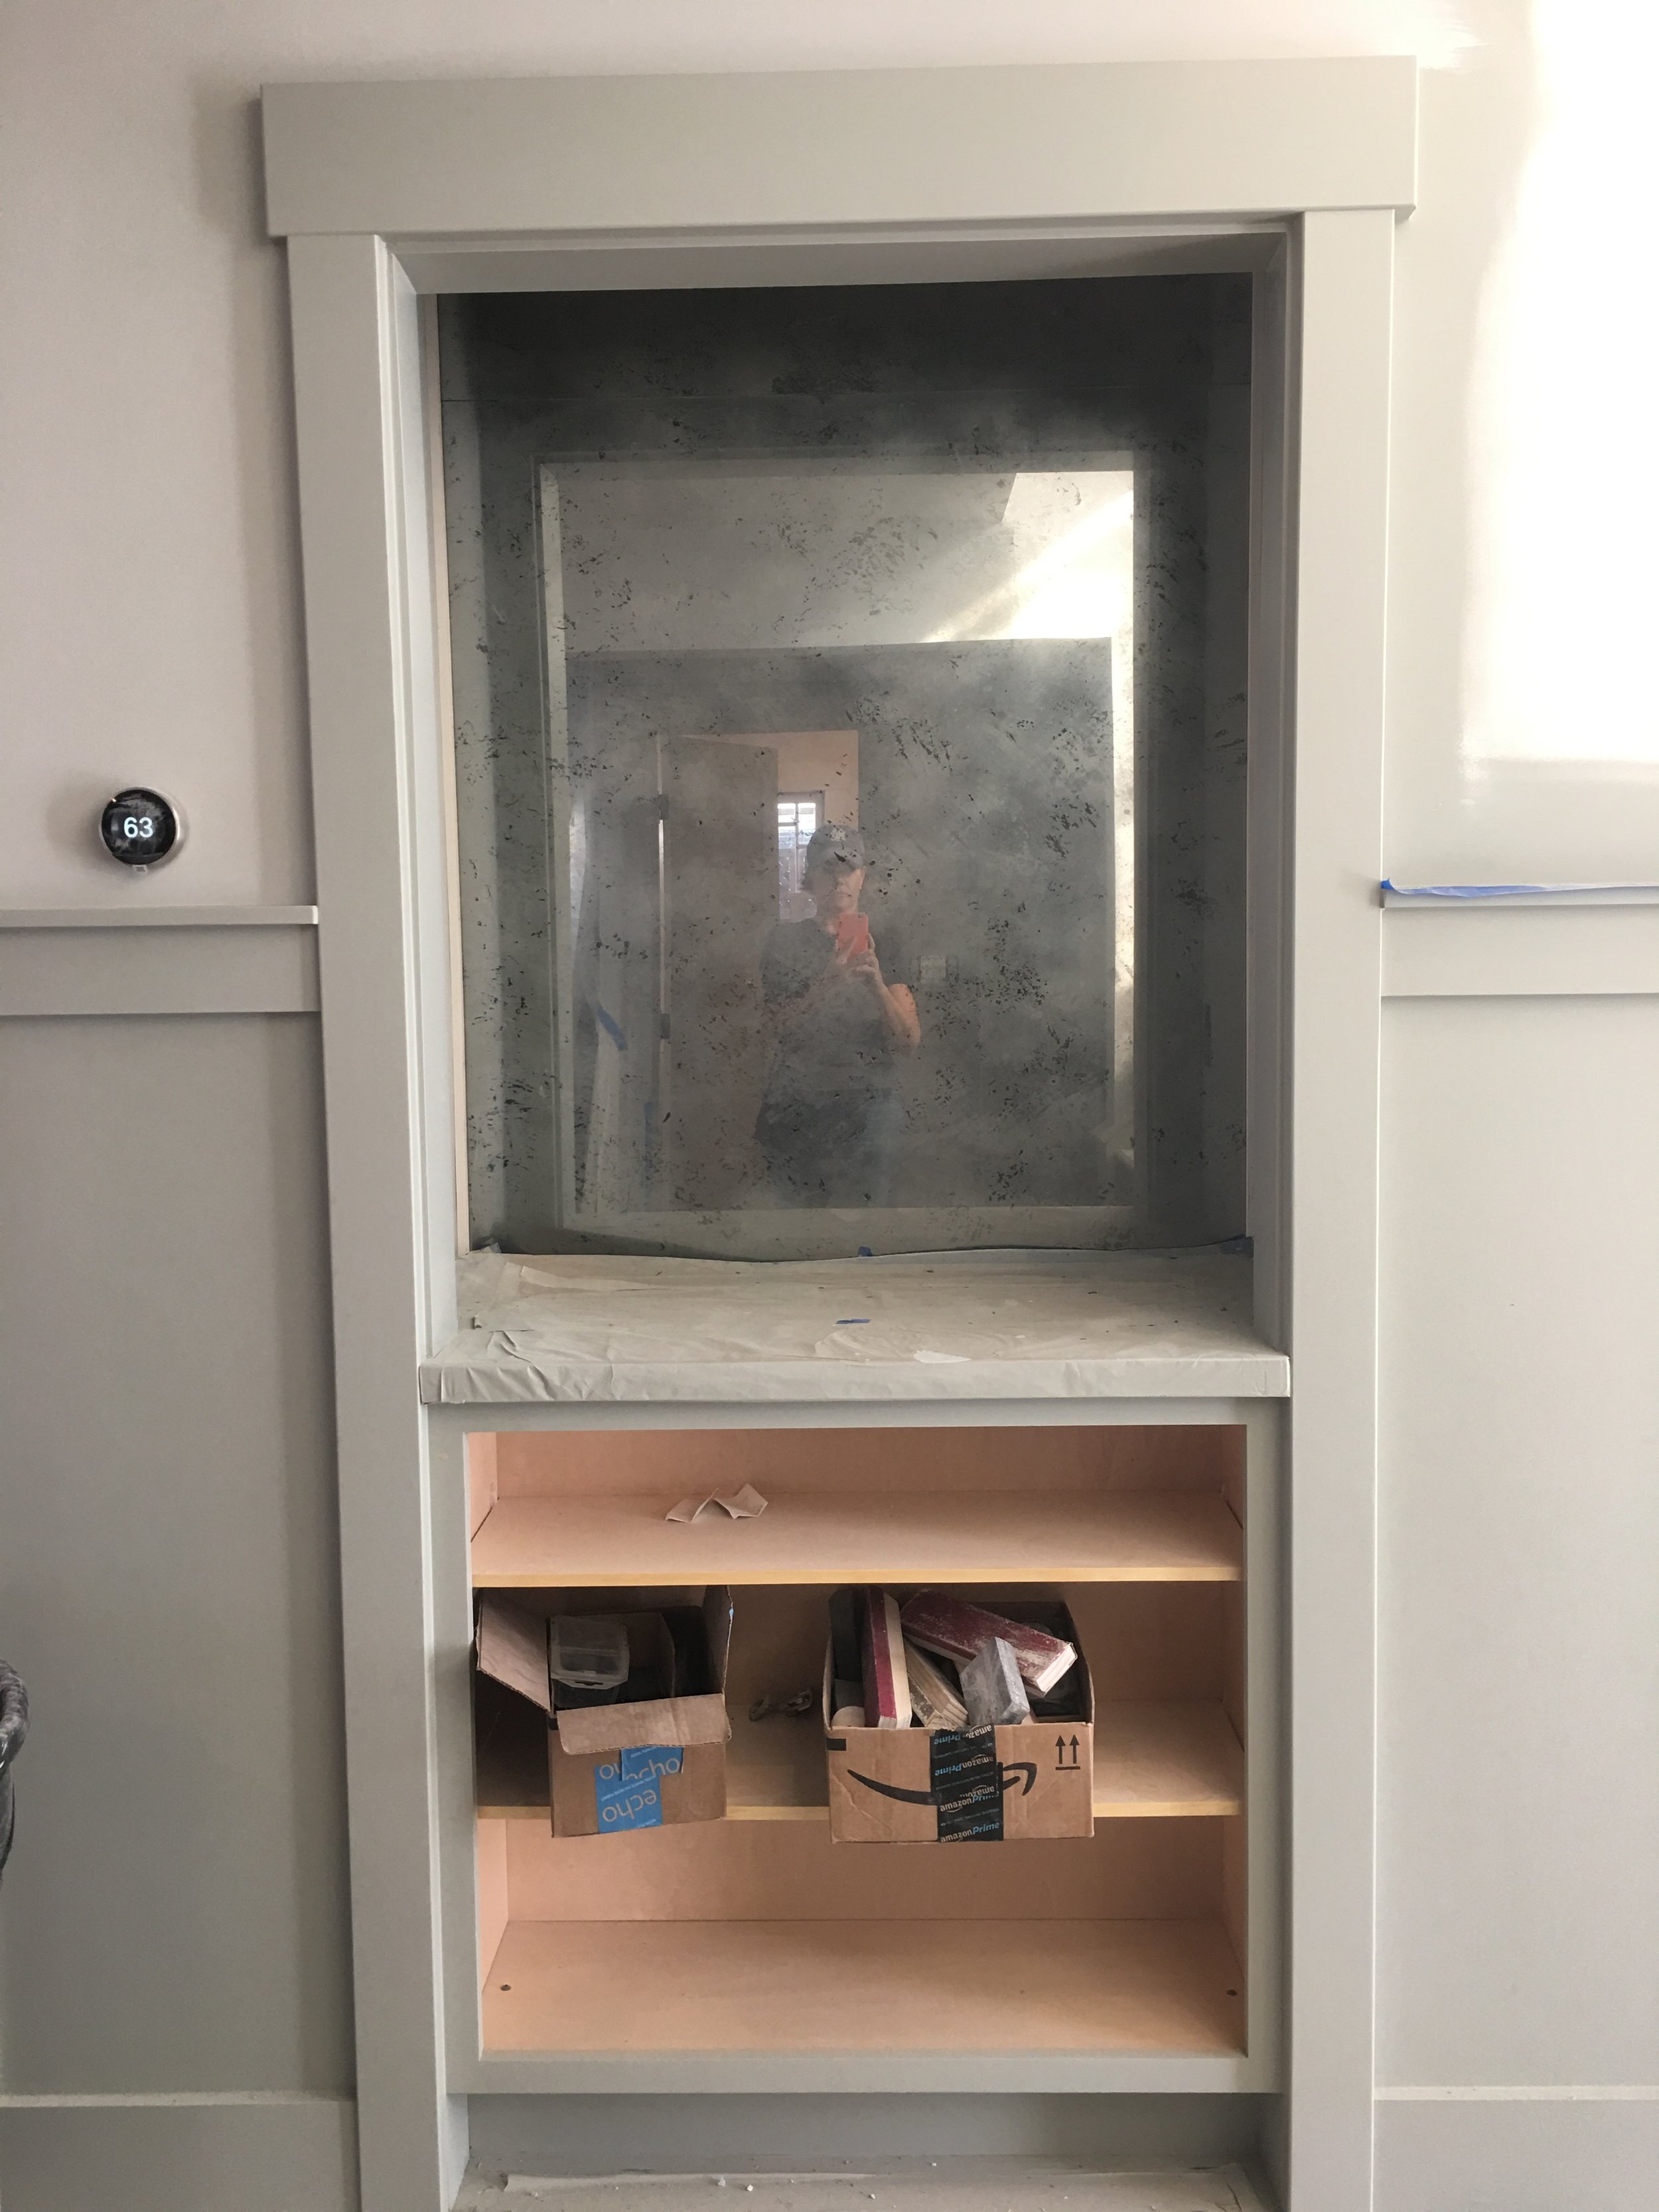
It's finally in. We ended up securing it by nailing small pieces of vertical trim on each side since the glue was such a disaster.
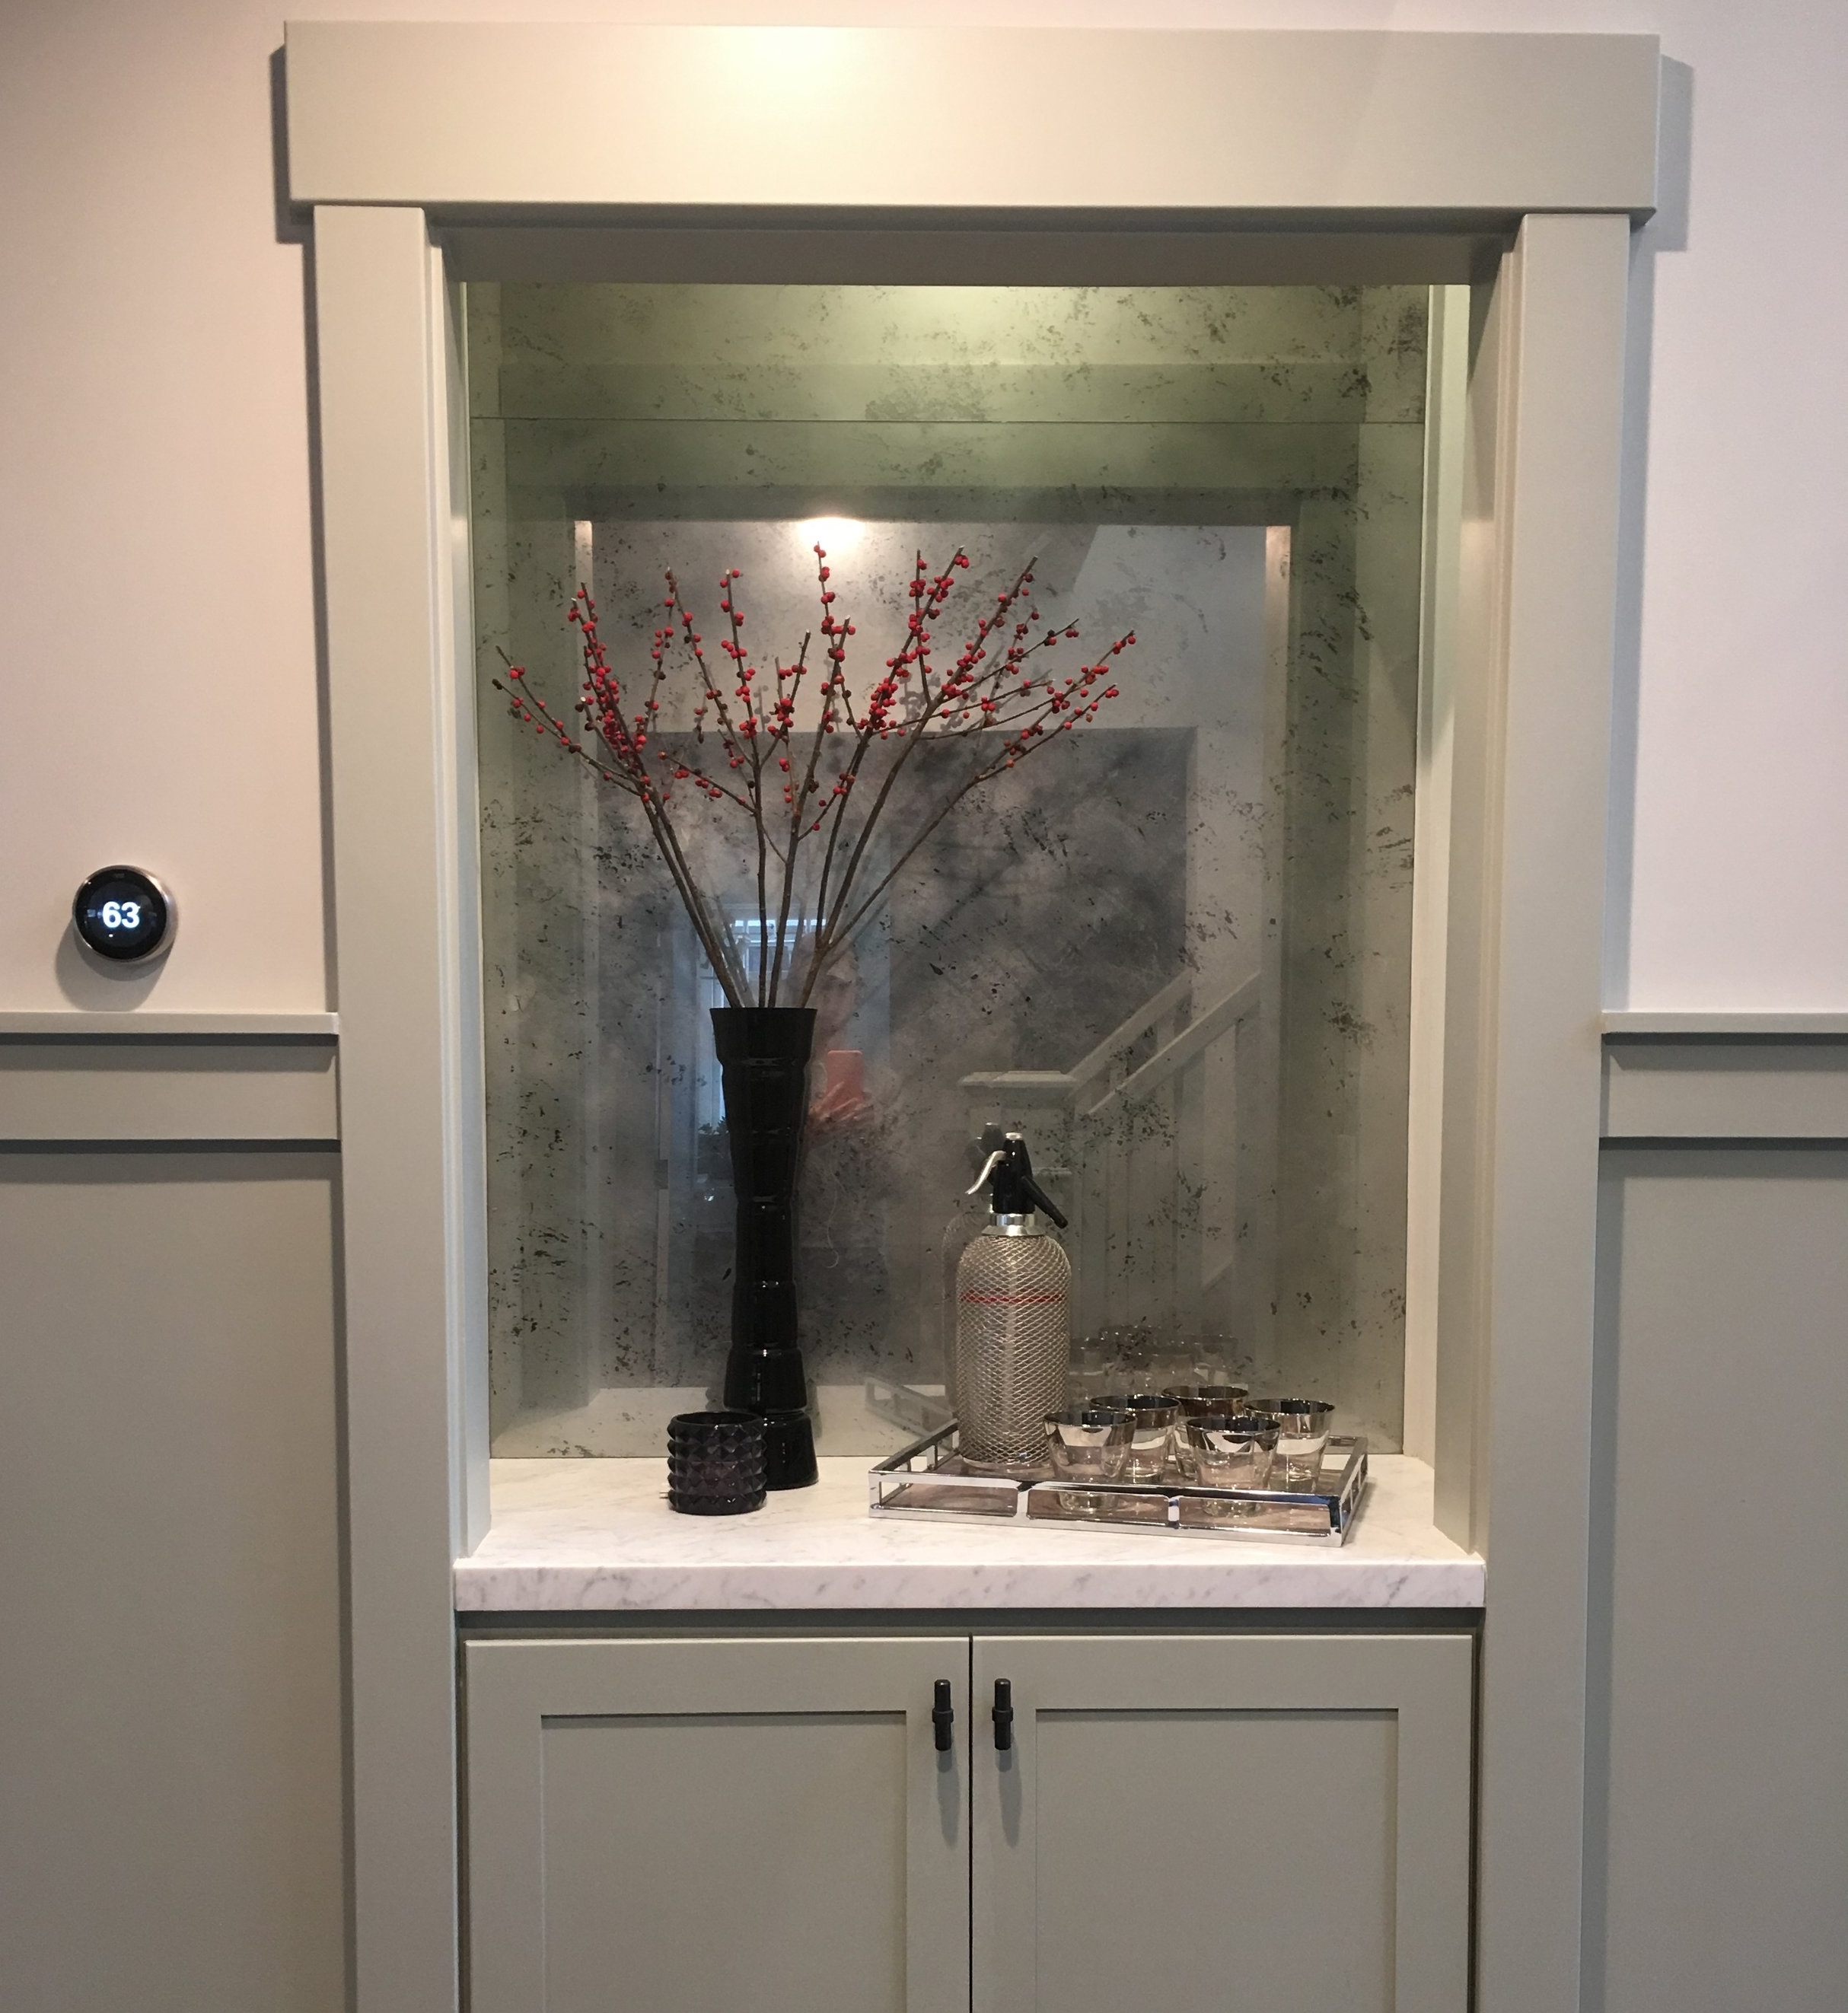
Here is the bar, all staged. Ready for a cocktail?
But what if I want to do a smaller object, like a vase?


Here is an exam of some vases. You can see that they didn't spray black paint on the back side. It's a different look and it's also beautiful.
Do you prefer the gold look?
Check out this blog (below) for different variations.


I hope you enjoyed learning about mercury glass.
OTHER DIY PROJECTS
Create a Criss Cross Vine Wall
How paint transformed my small, ugly bathroom
Add a shower to a small half bathroom
How to make a mirrored barn door
Know anyone who is interested in flipping homes?
We documented the renovation of lincoln avenue.
TAKE A LOOK and PLEASE SHARE.
1. Flipping Lincoln Ave: Be brave...begin
2. Flipping Lincoln Ave: Yikes, this place is a mess
3. Flipping Lincoln Ave: Fun with tack strips
4. Flipping LIncoln Ave: Demo Day
5. Flipping Lincoln Ave: Ready Set Go!
6. Flipping Lincoln Ave: Up You Go
7. Flipping Lincoln Ave: We're Deep In Now
8. Flipping Lincoln Ave: Meet Cousin It
9. Flipping Lincoln Ave: It's a numbers game
10.Flipping LIncoln Ave: A long, overdue update