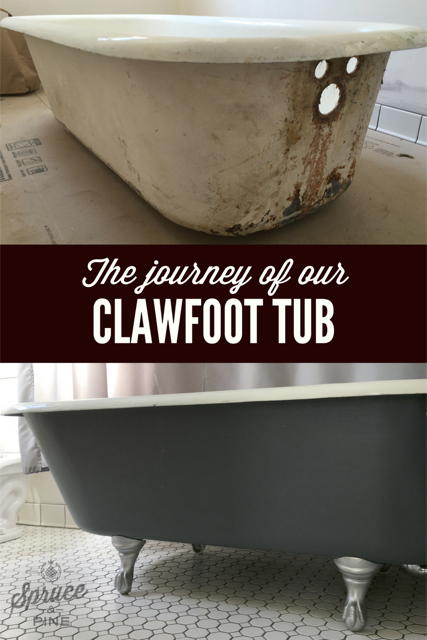
The Journey of our Clawfoot Tub
The cottage we were renovating had a Clawfoot tub. But, geez, it was a mess. We could have replaced. But where's the fun in that?
I had always seen gorgeous Claw foot tubs. After much searching, I found my inspiration. Don't get too excited - this is just inspiration. But I'm pretty proud of our final product.

Here's what we started with.
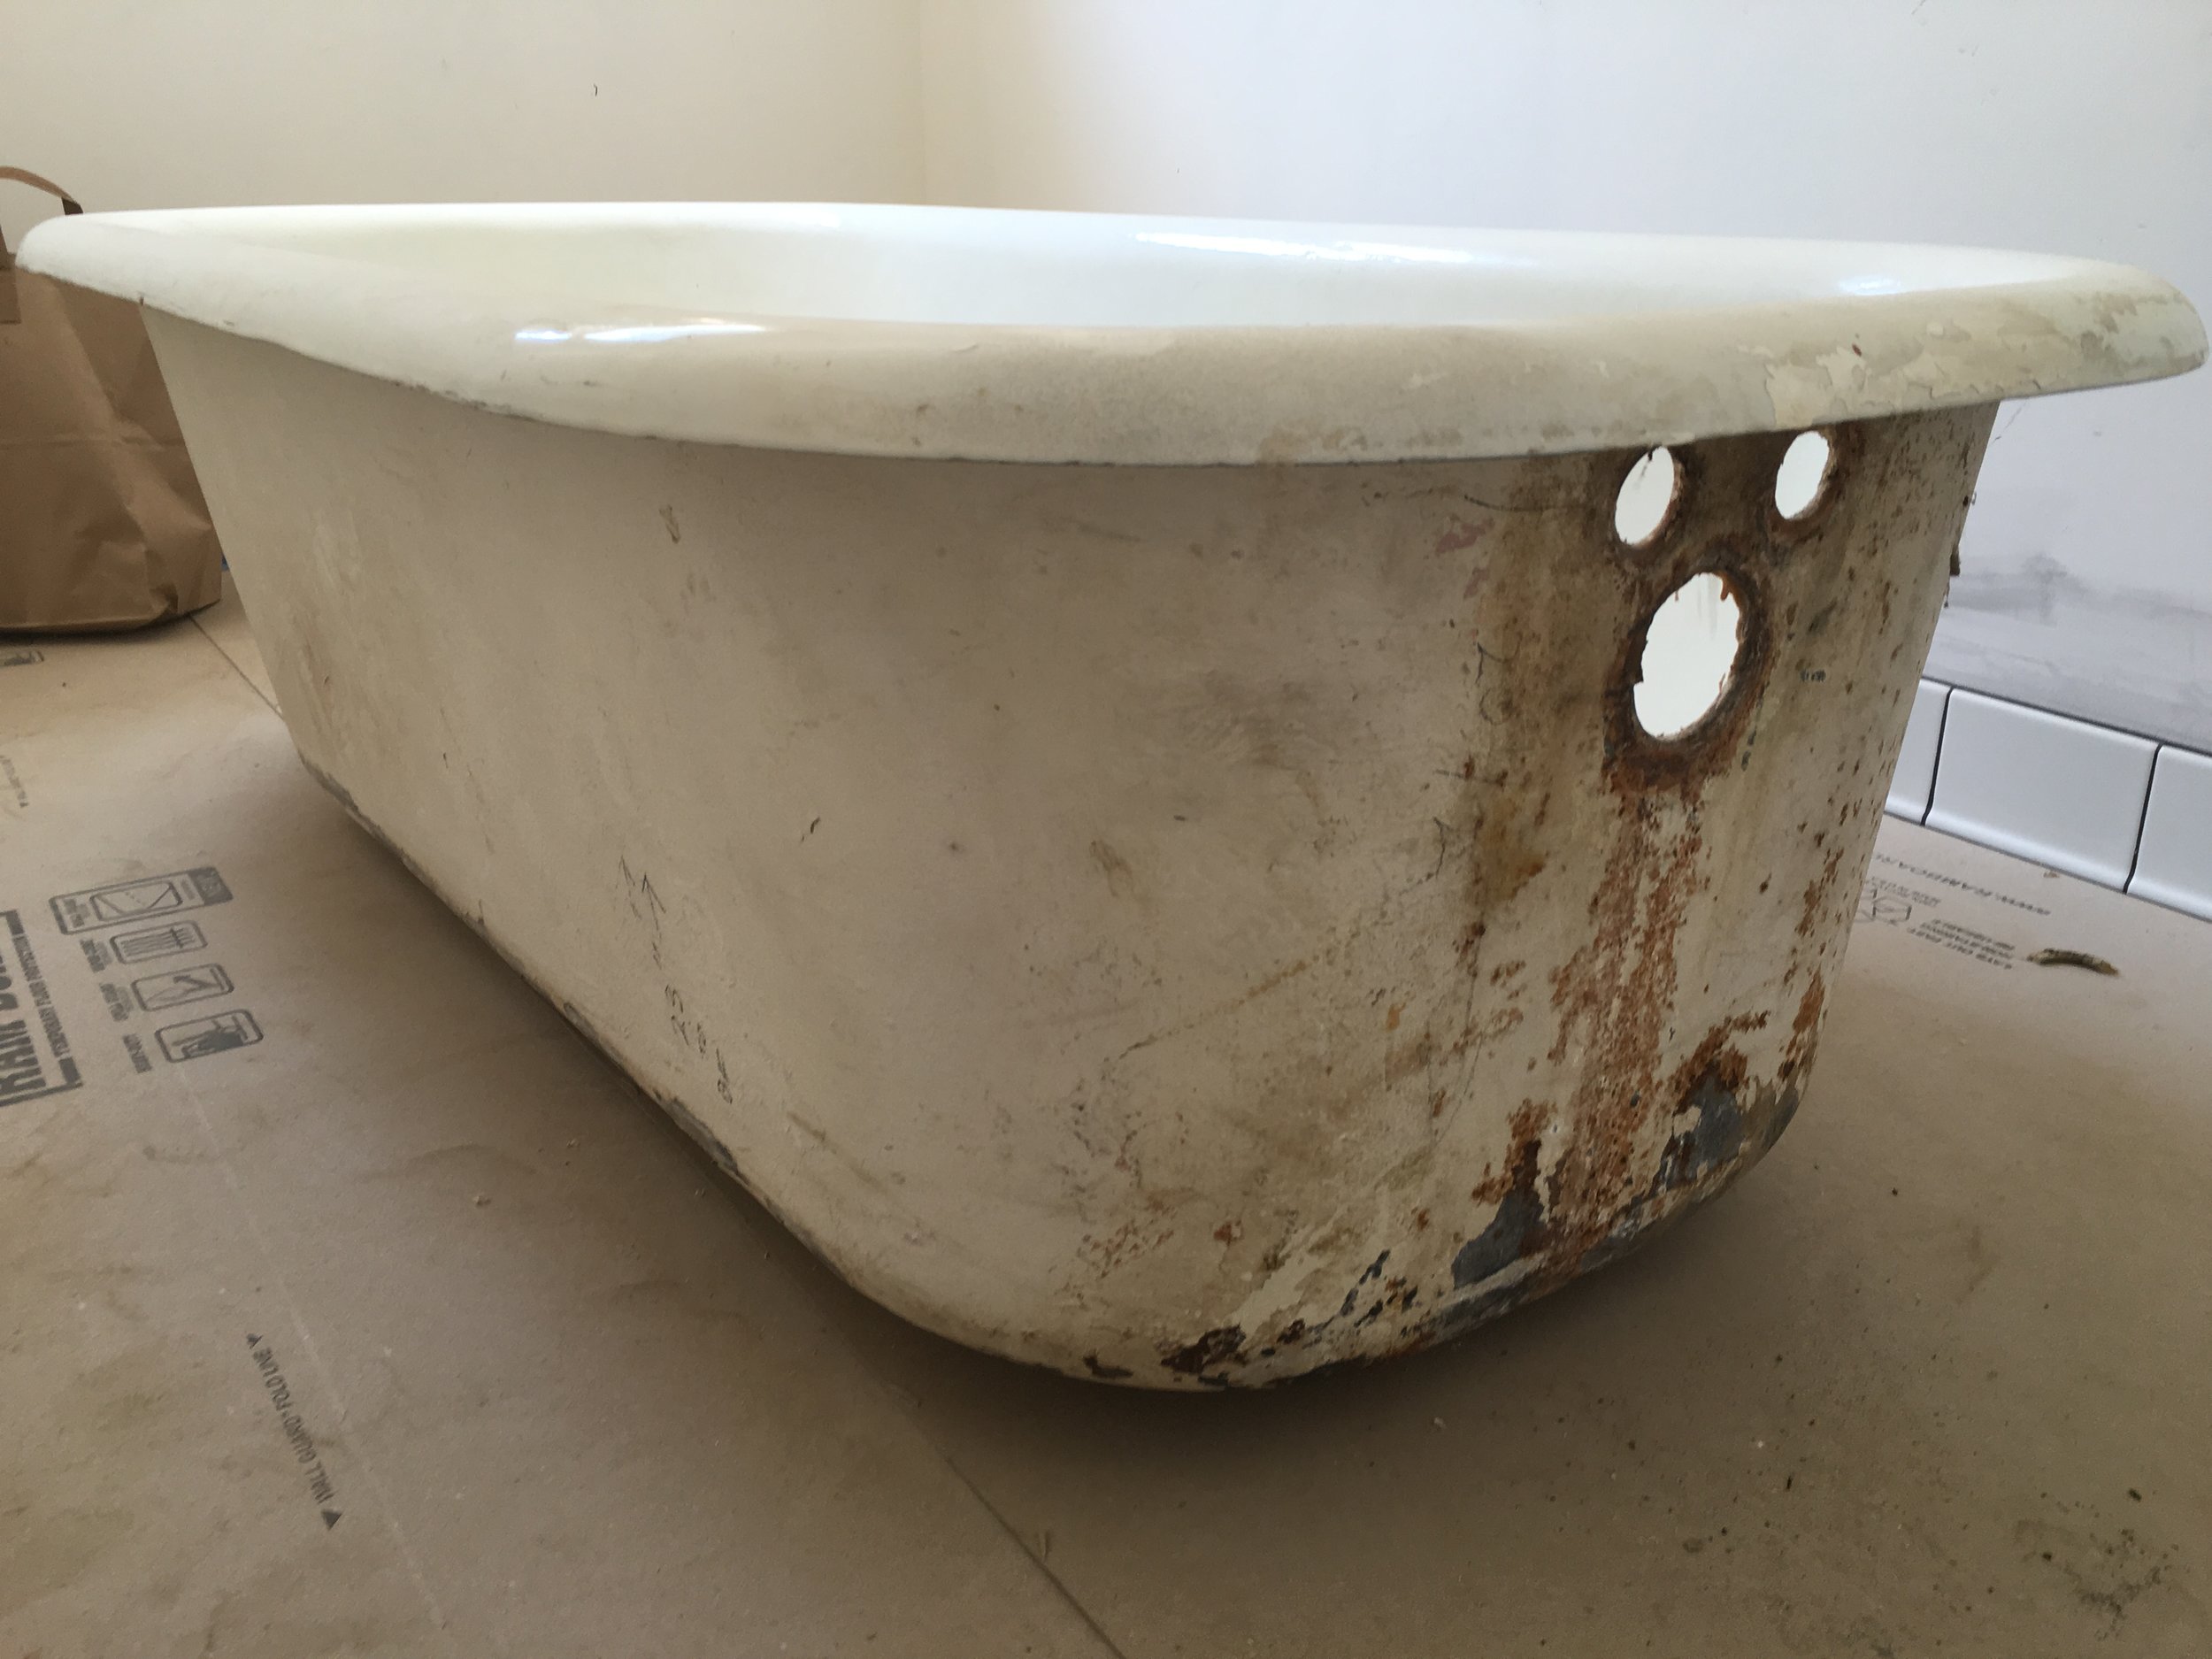
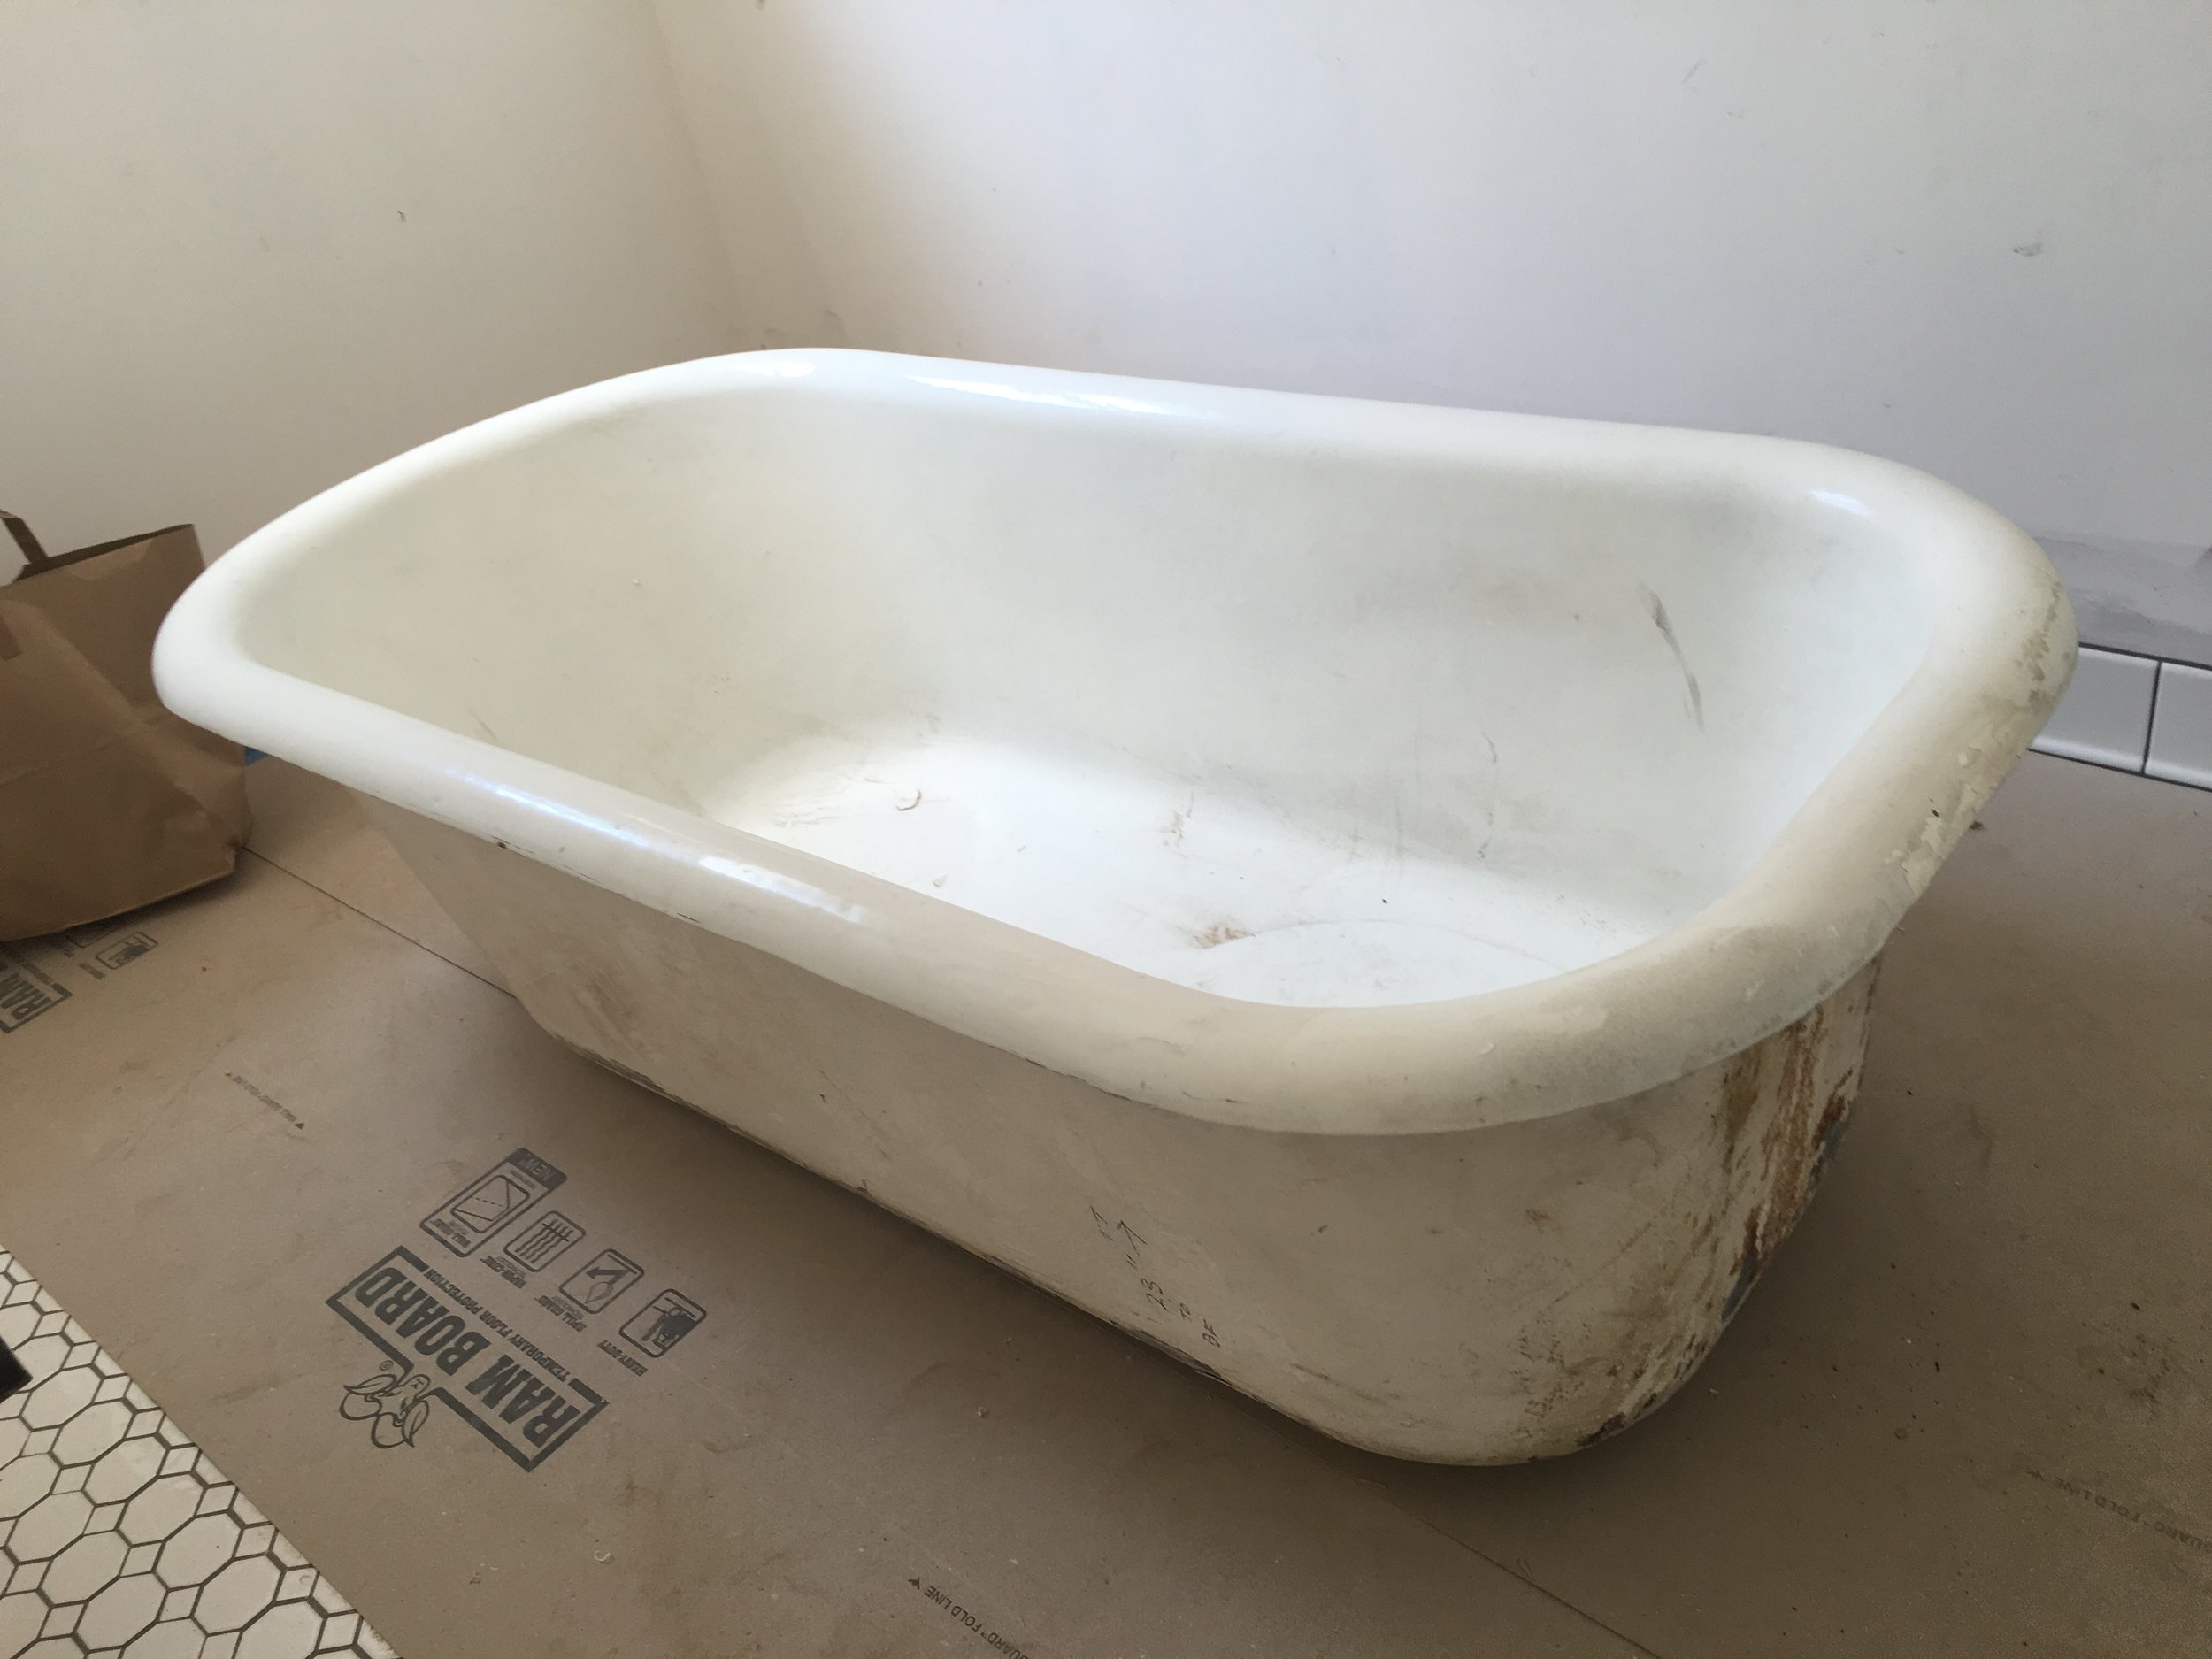
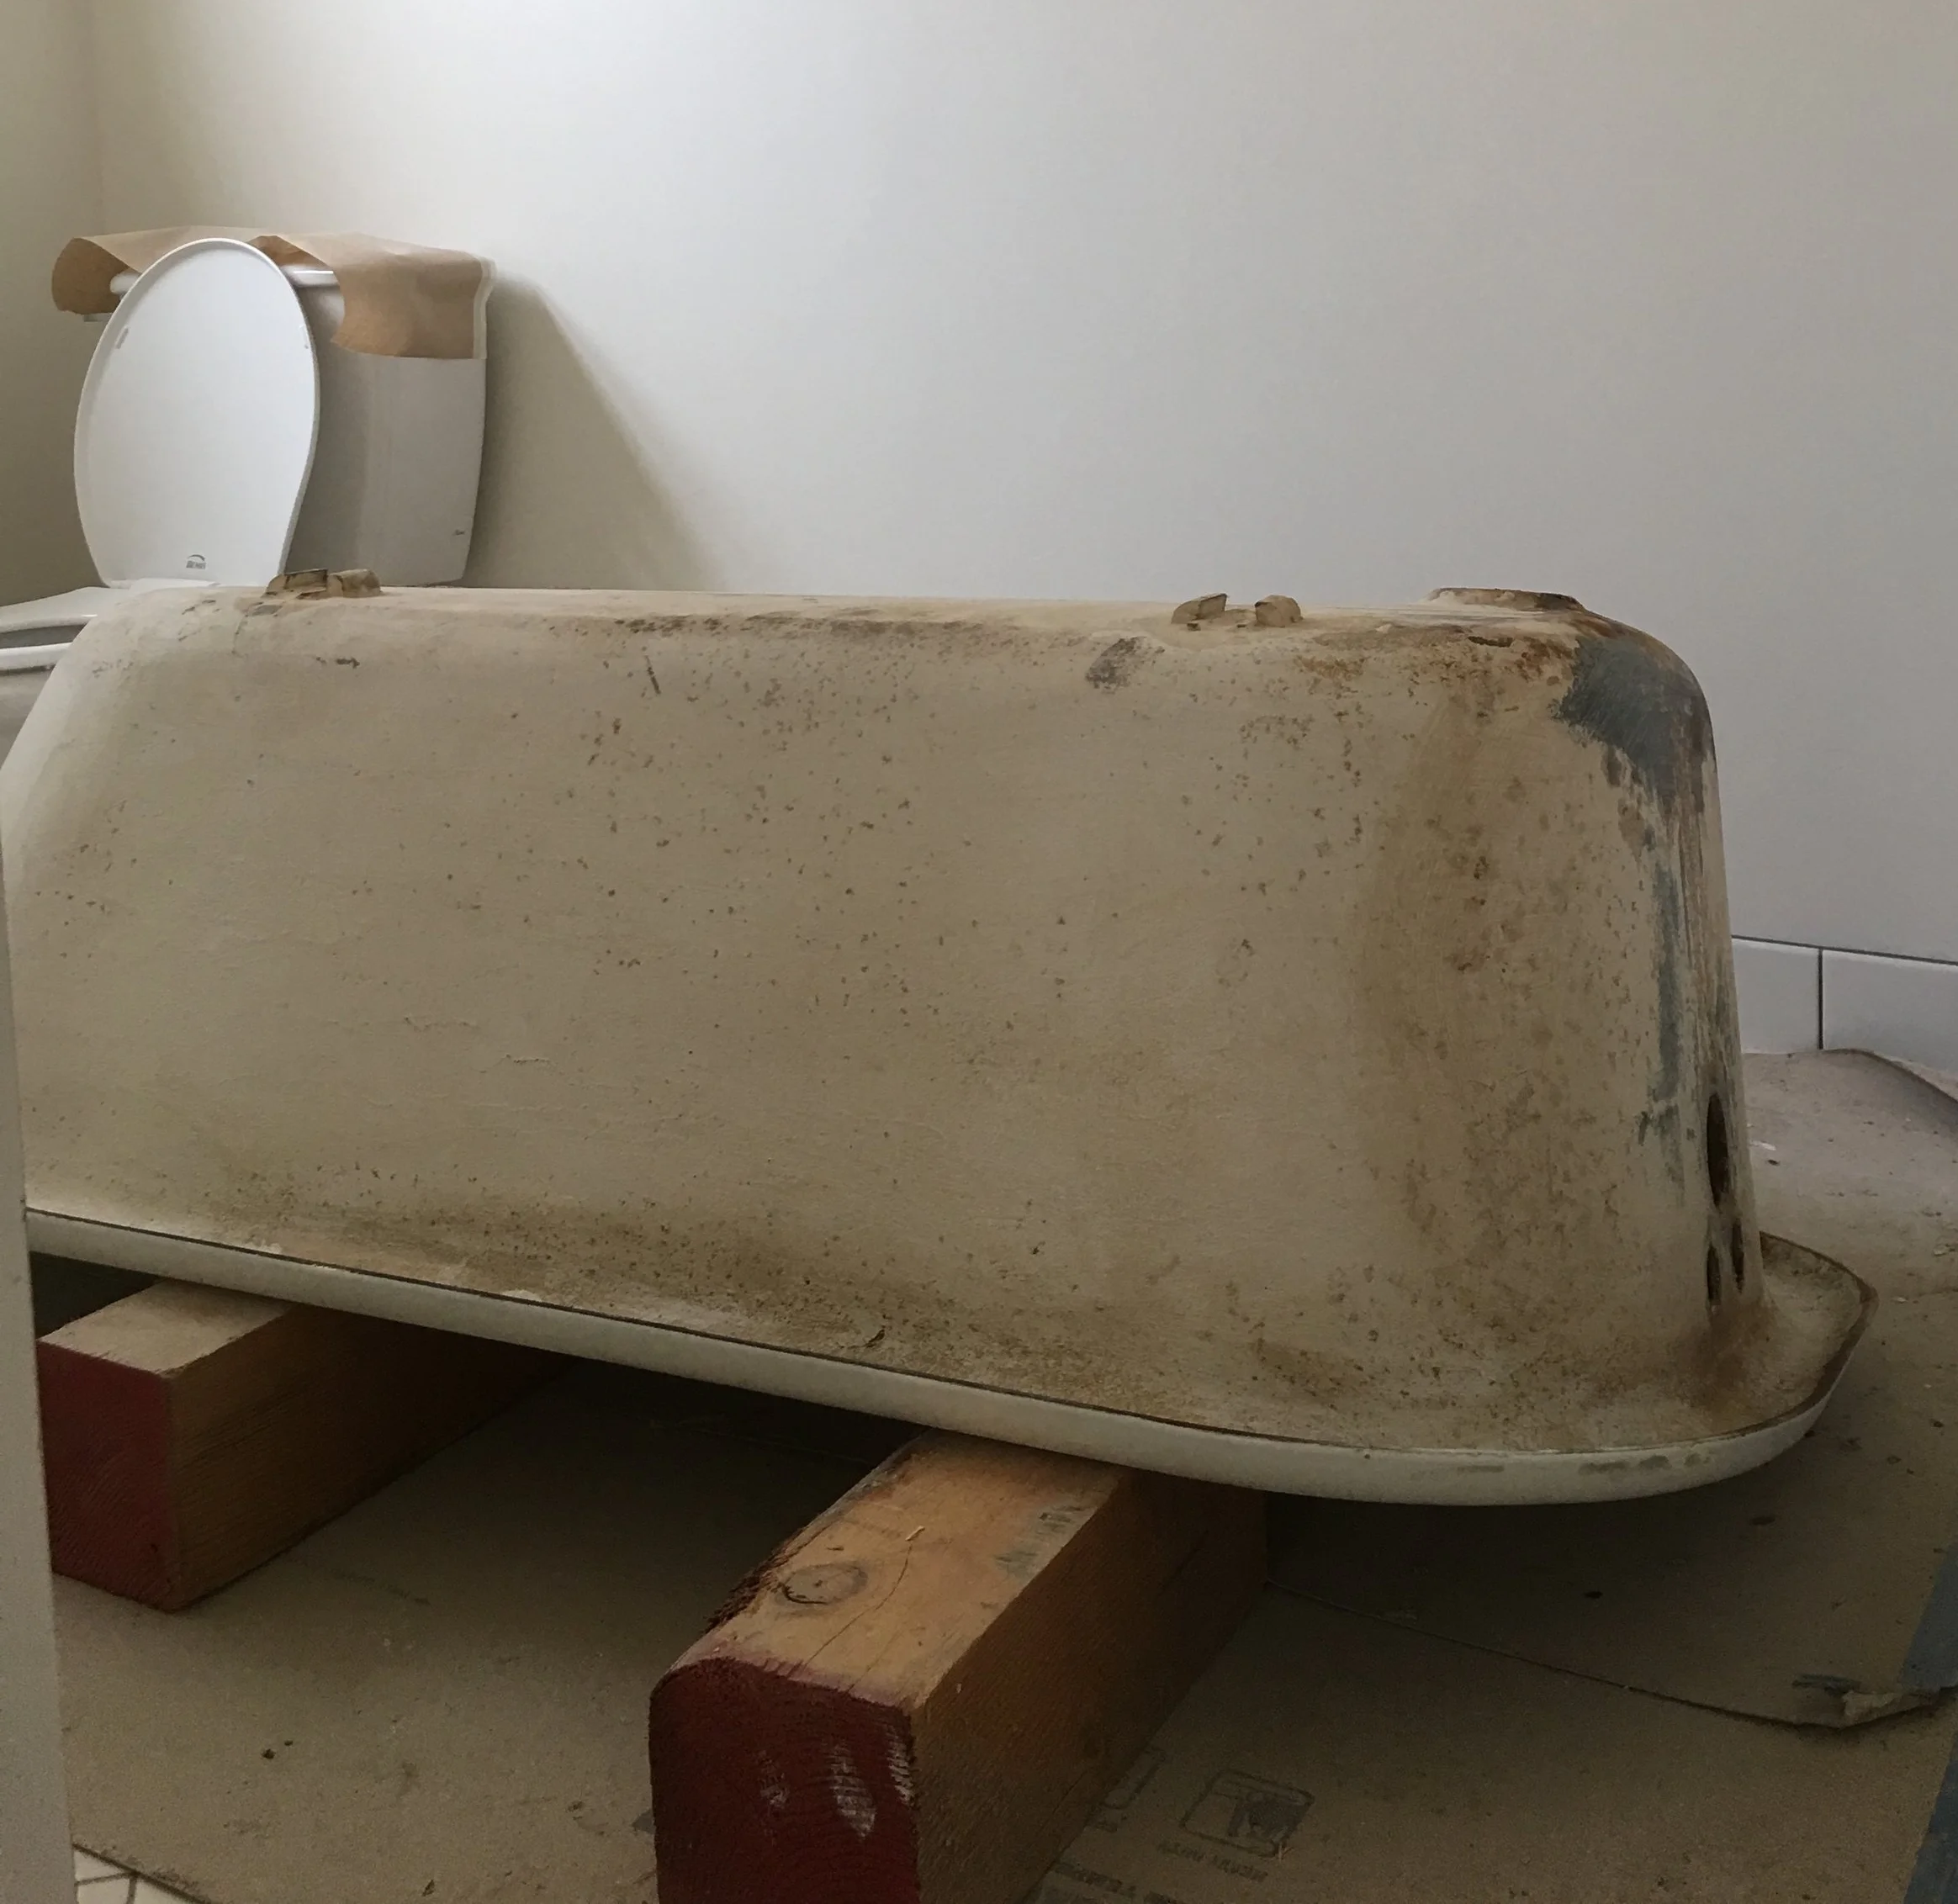
And here is the tub making a good working counter during the remodel.

Let's get started
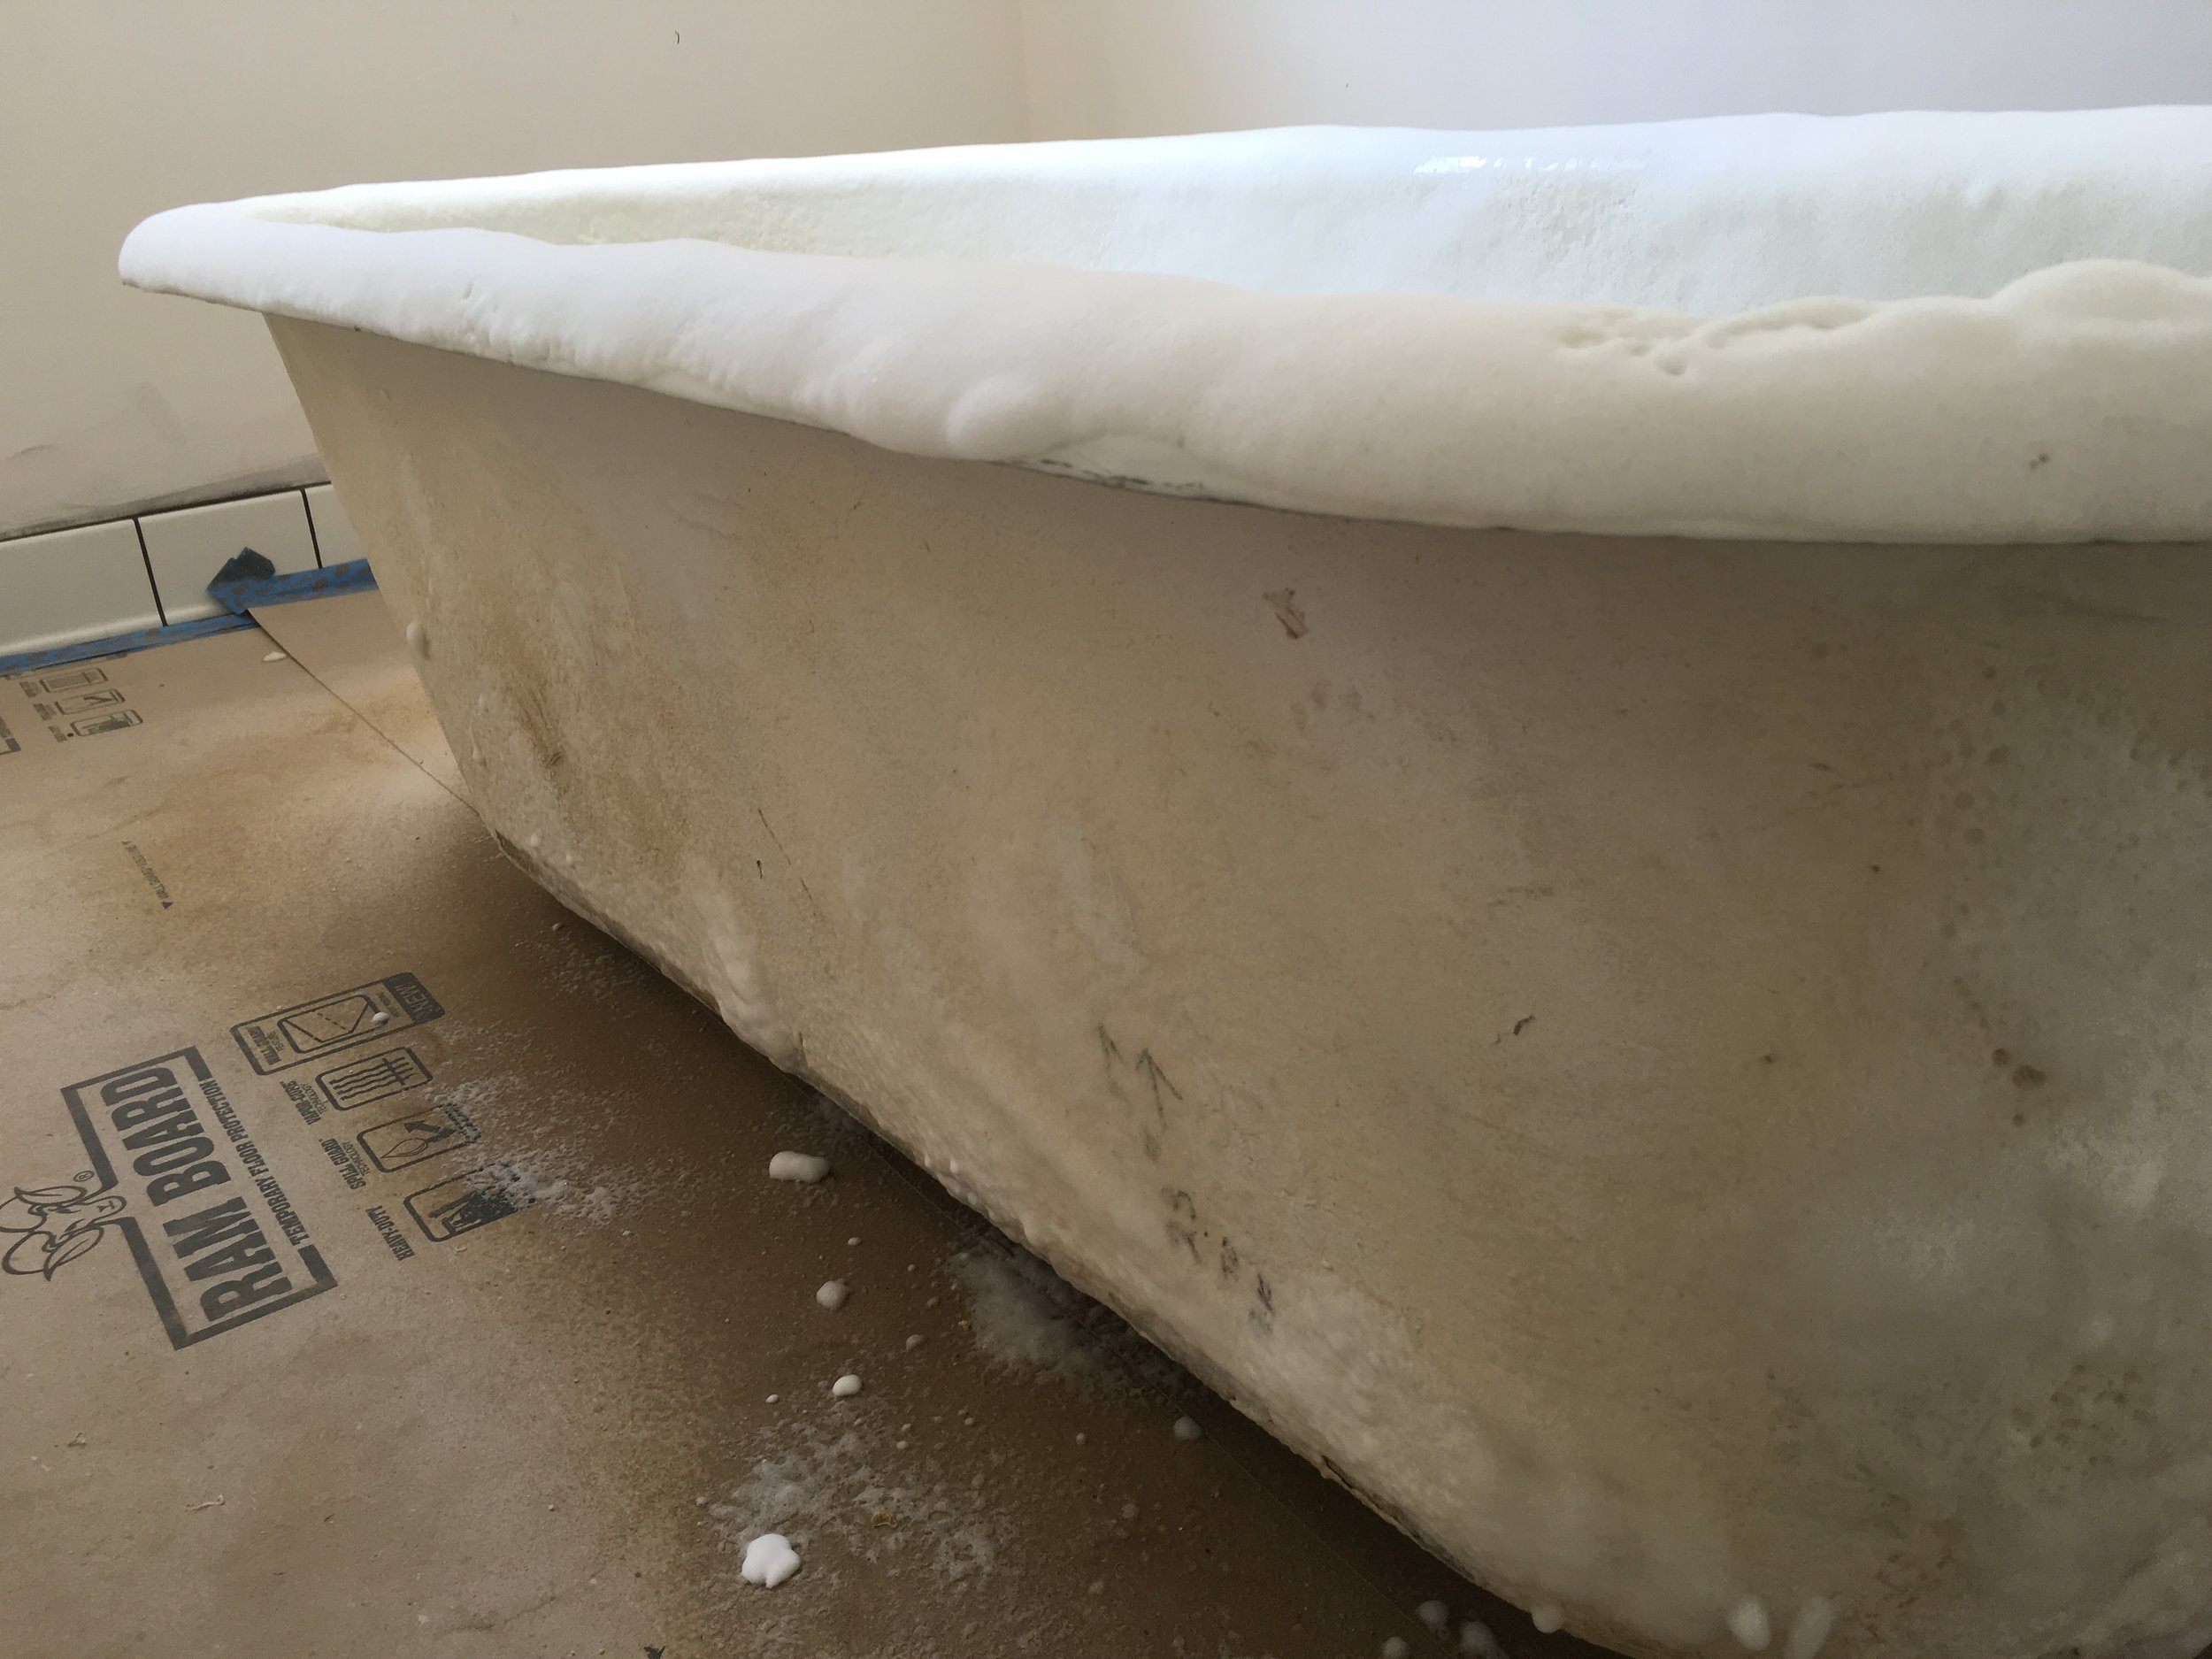
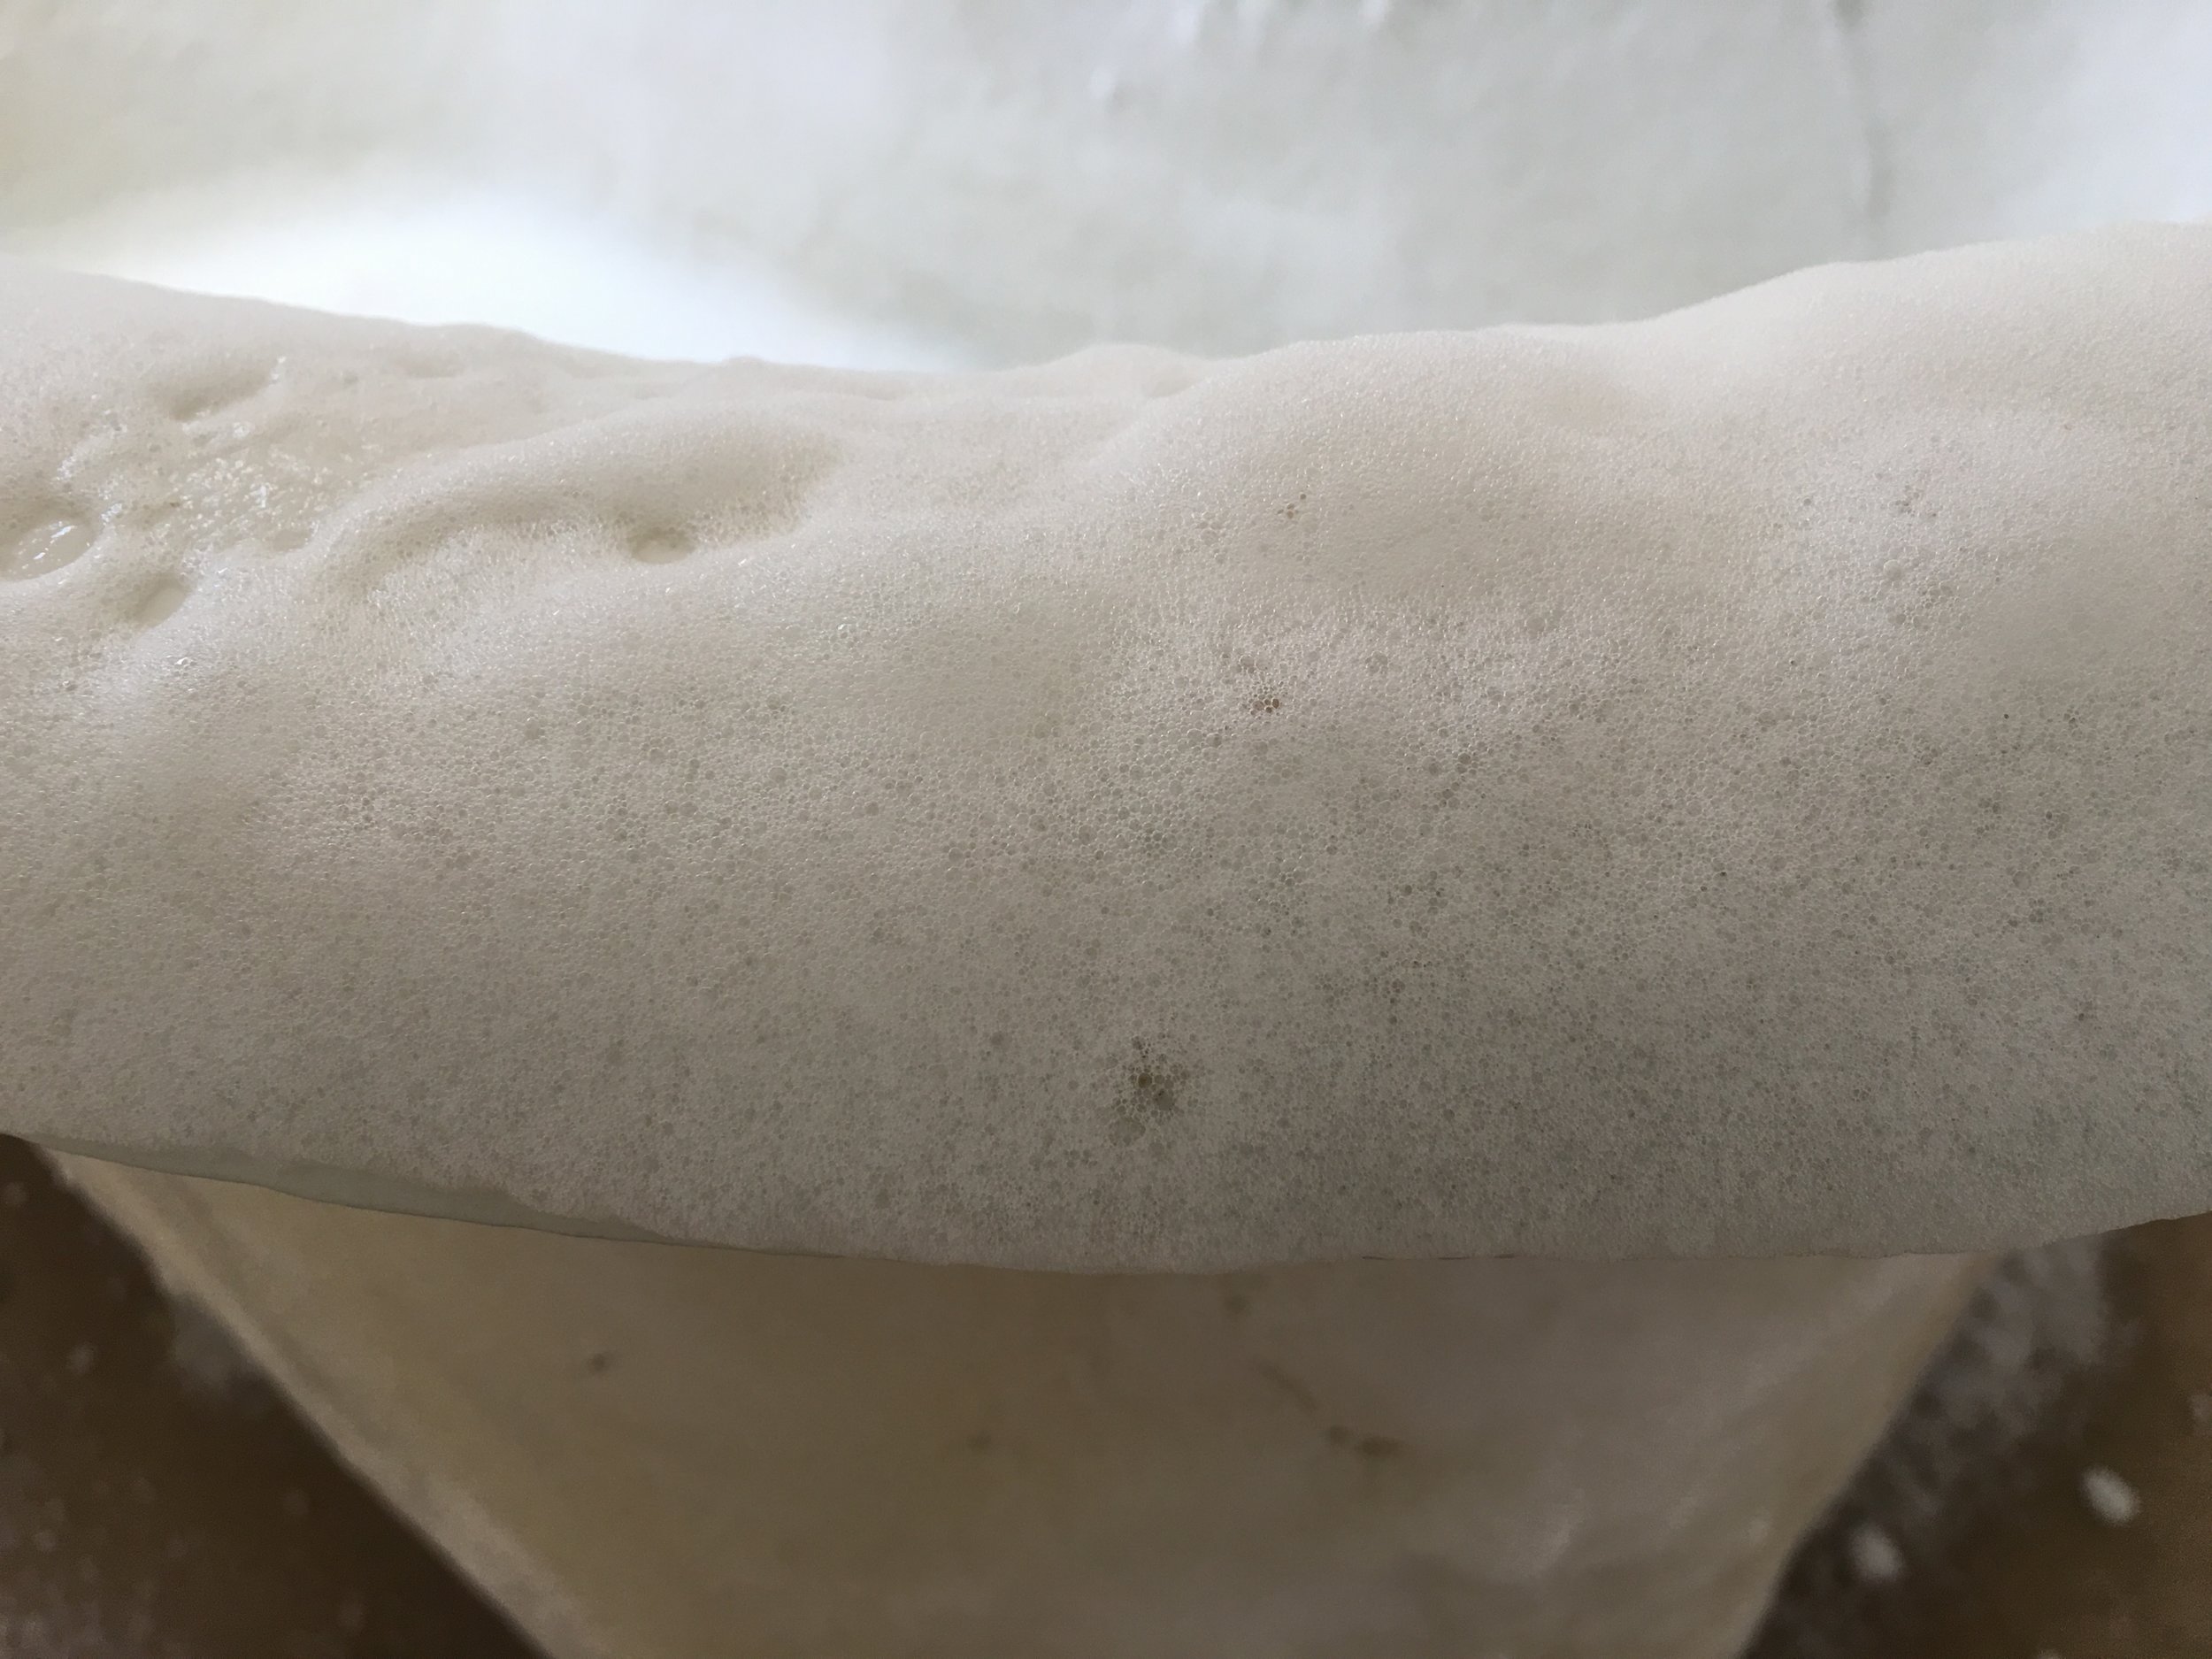
First, clean the tub
First you need to clean the tub so you can figure out what is temporary and what is not.
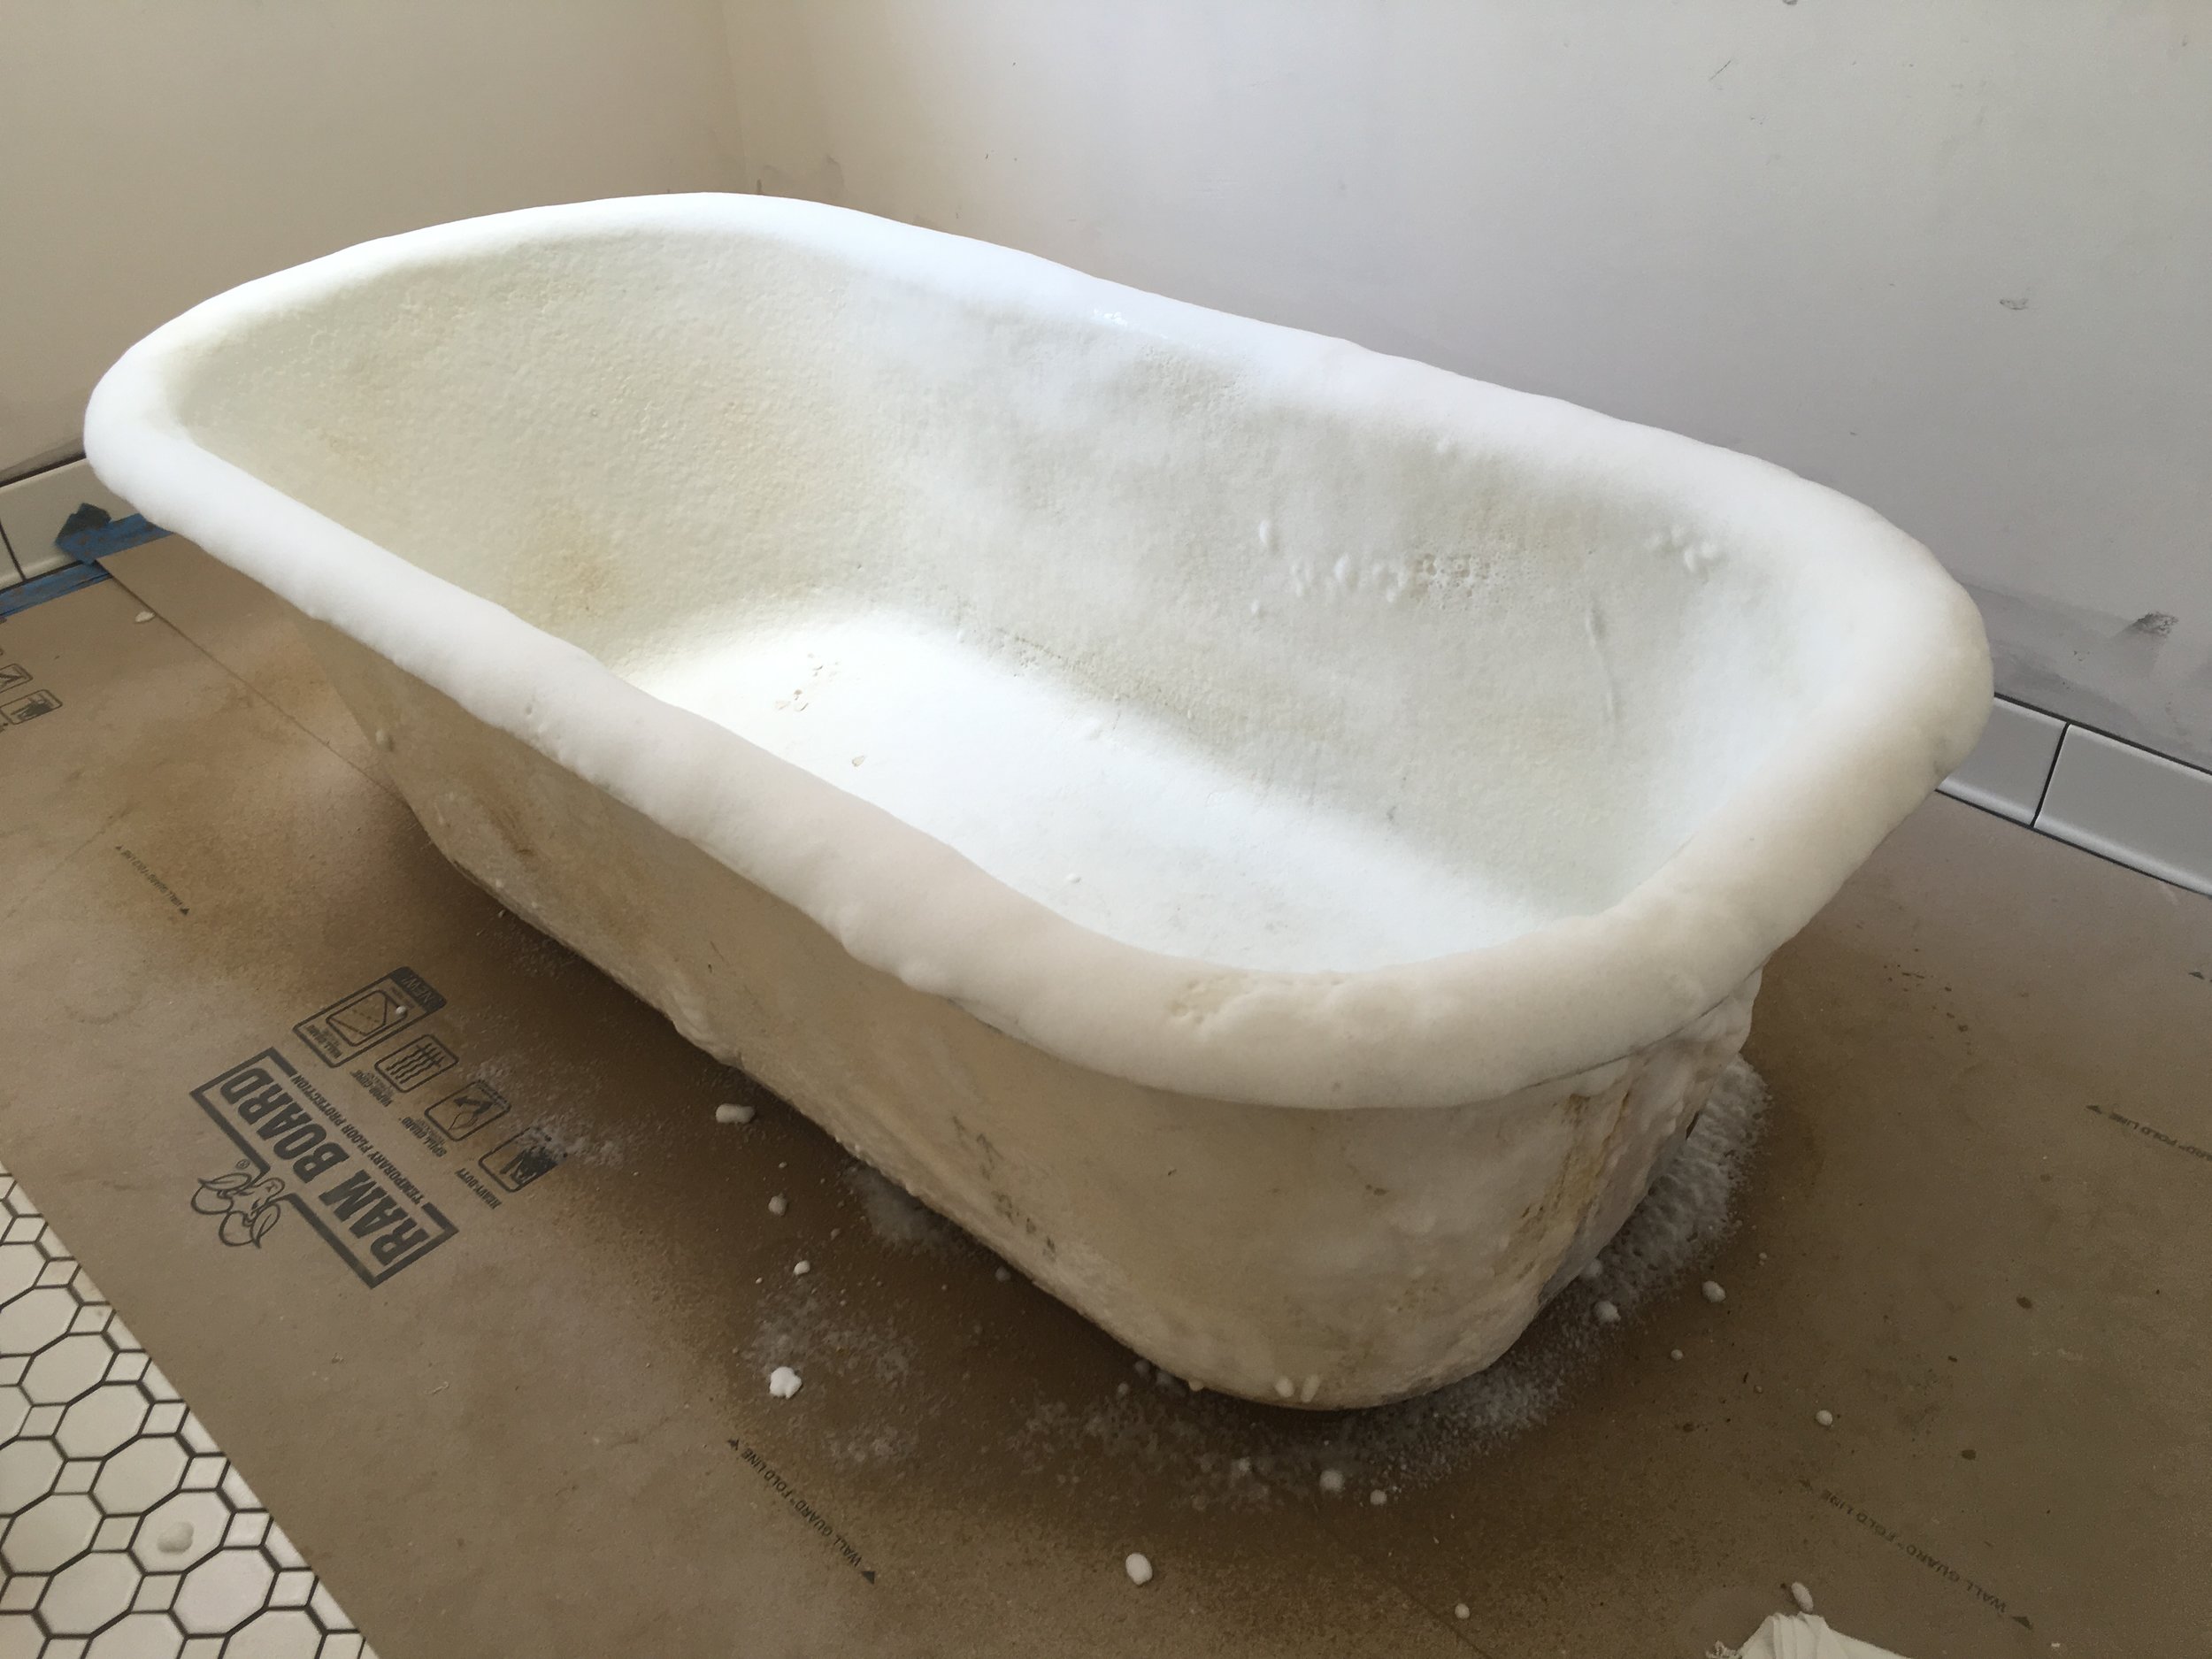
For Deep Cleaning
Pour warm water into a bucket and add 1/4 cup of baking soda and 1/4 cup of ammonia. While baking soda is slightly abrasive, it's mild and generally safe to use on porcelain. The ammonia is great for cutting grease and removing soap scum buildup.
- Soak a non-abrasive sponge in the baking soda/ammonia solution. Scrub the surface of your porcelain bathtub or sink, paying particular attention to stained areas.
- Dip the sponge in the solution, scrub and repeat until you're satisfied.
- Rinse well.
- After rinsing, wipe thoroughly with a clean rag or the baking soda will leave a white film behind.
For tough-to-remove rust stains
Cover the stain with table salt. Take half of a lemon and squeeze the juice over the salt. Scrub the salt/lemon mixture with a clean cloth or a nylon sponge. If the stain still doesn't come up, leave the paste-mixture on the stain for an hour or so. Squeeze more lemon juice on the stain and try scrubbing the stain again, then rinse and wipe clean.
To add shine
Squeeze a small amount of lemon oil onto a clean rag and rub the lemon oil into the sides of the porcelain bathtub or sink, avoiding the bottom of the tub to prevent slipping. The lemon oil will help repel soap scum and other dirt to keep the sink/tub clean longer, and it smells good, too!
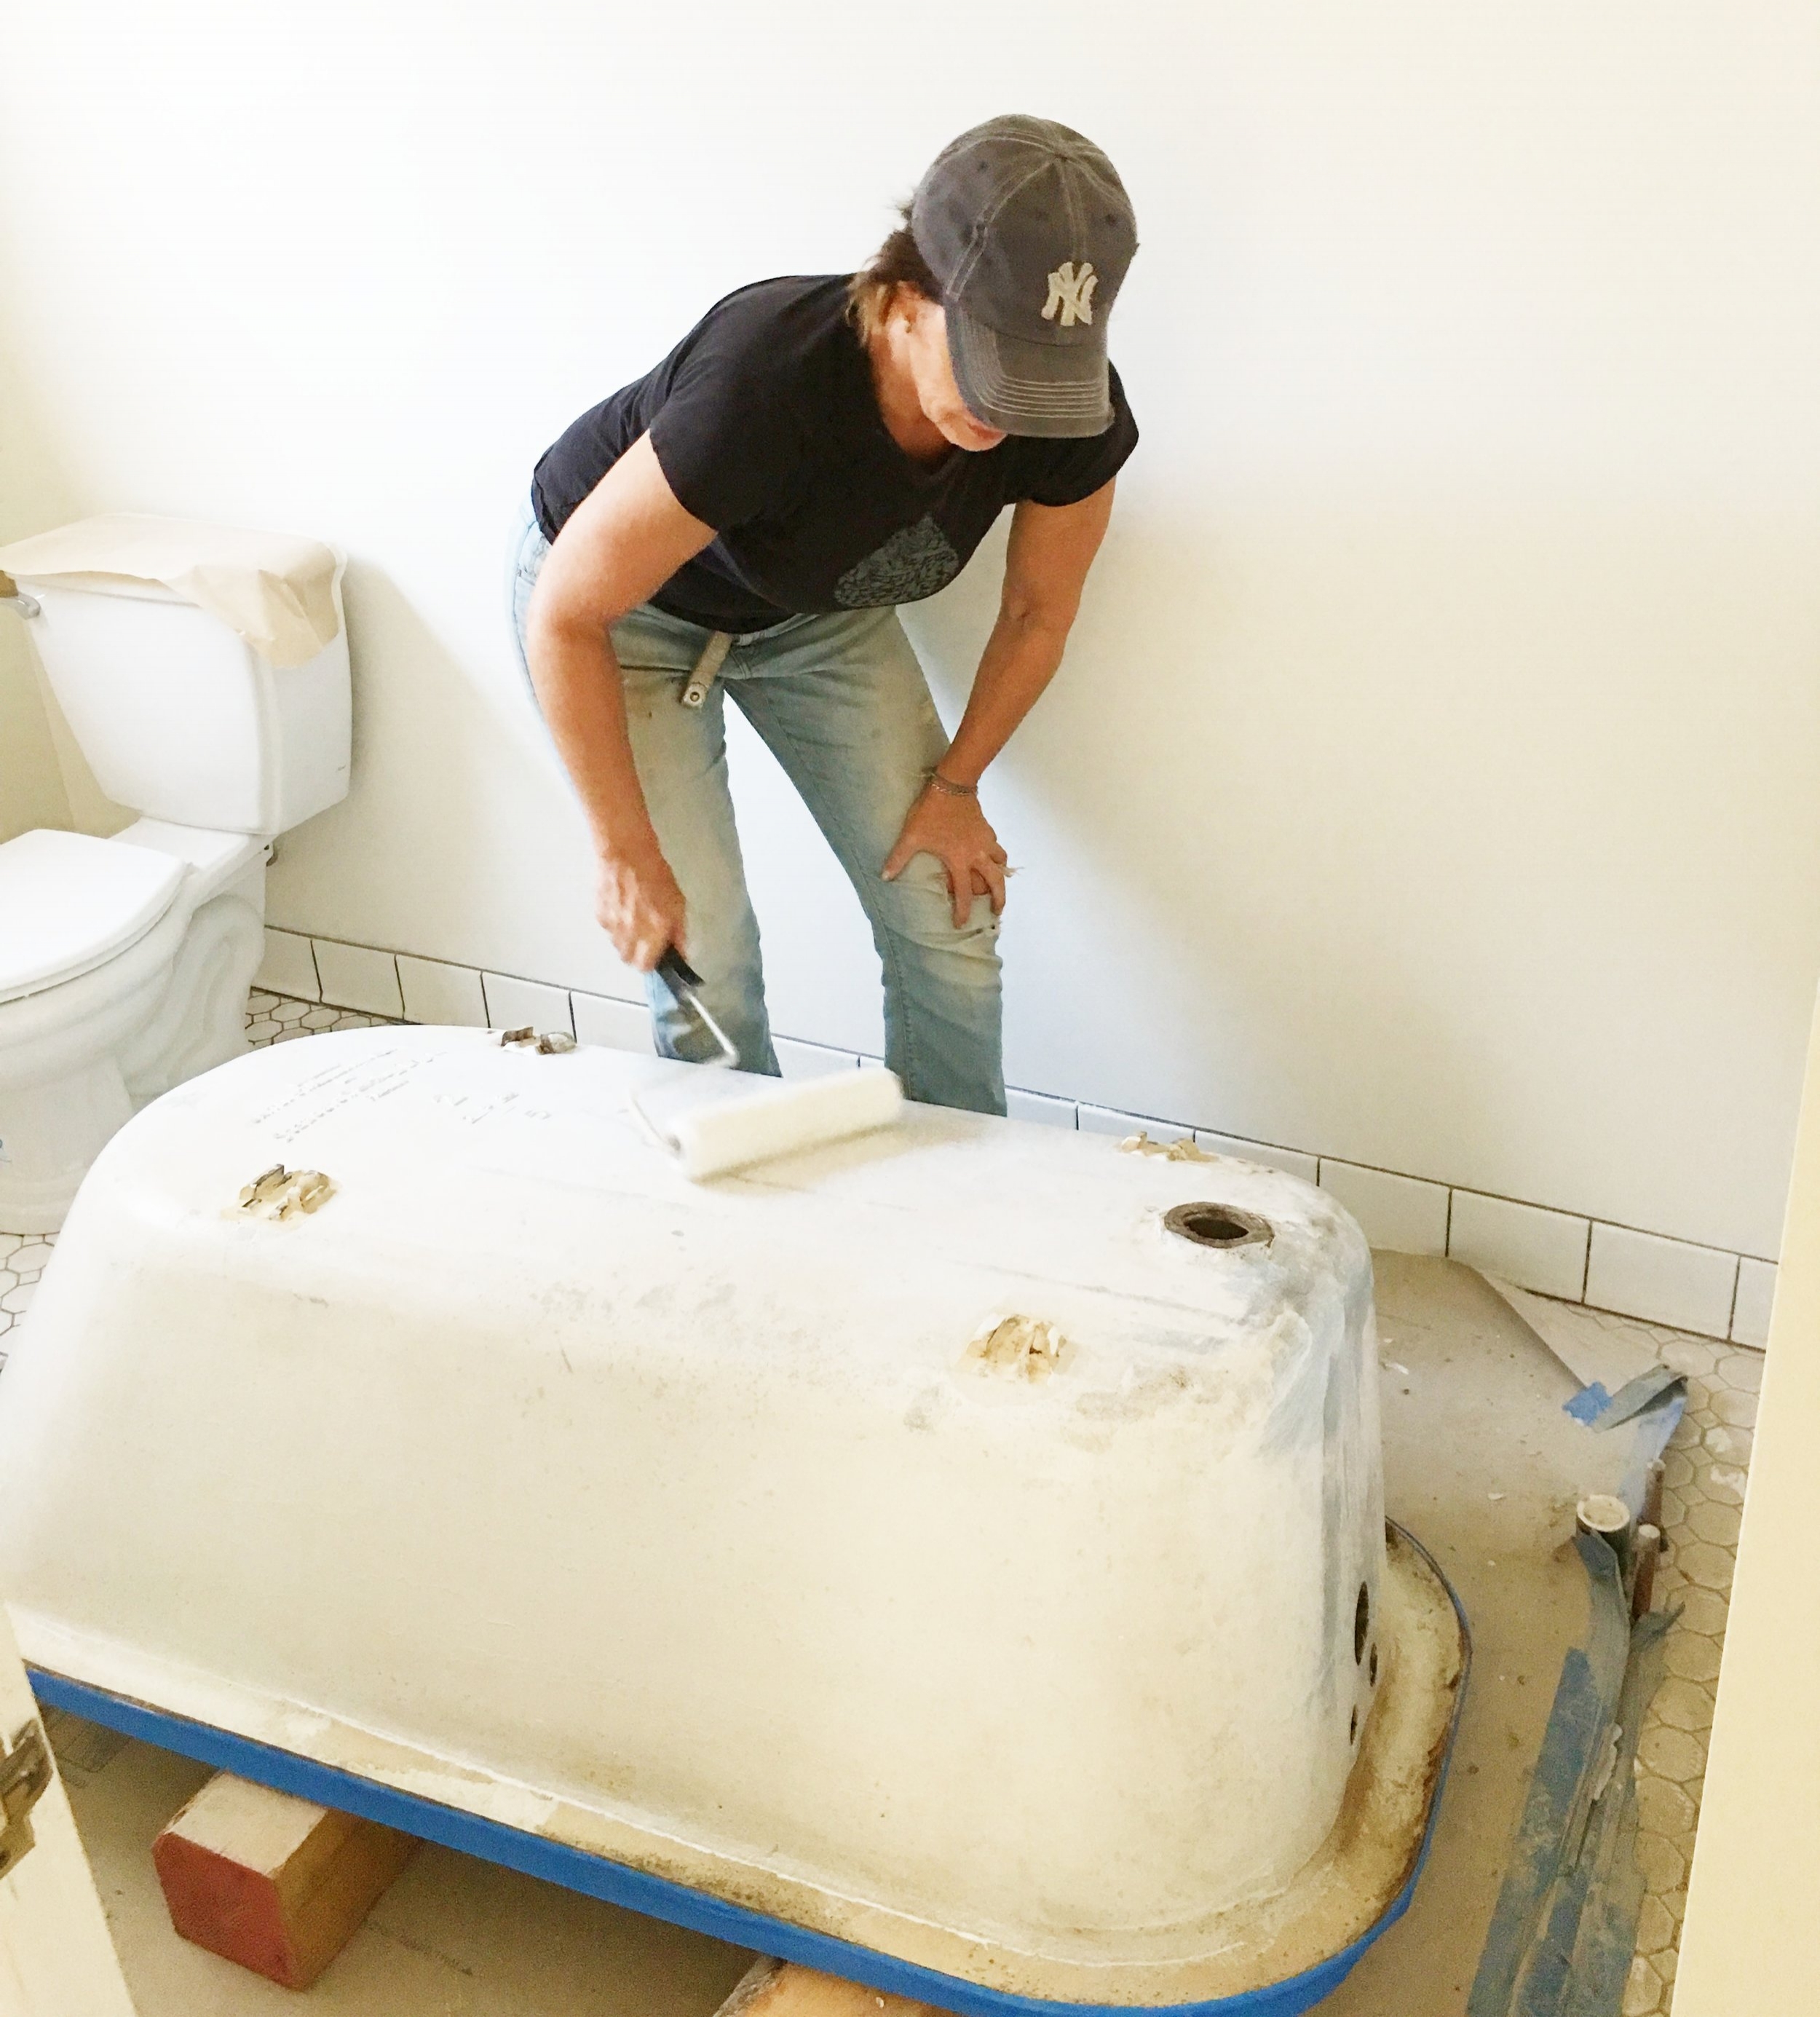
Sand the tub
I am not sure why I don't have a picture of our palm sander. It is one piece of electrical machinery that any DIY'er would be lost without. Here is a link to a bunch of info on the best ones and why.

Prep for painting

This is a DIY gal's best friend. I (almost) always use this between sanding and painting. It sticky and gets all the yucky stuff off so you are painting on a smooth surface.

Tape off non-paint areas
This probably isn't absolutely necessary. I just quickly masked off the ceramic area so I could paint quickly and didn't have to worry about being neat at the edge.
First layer of paint: Primer
Always best to primer before paint. It helps create a surface for the paint to really adhere to.
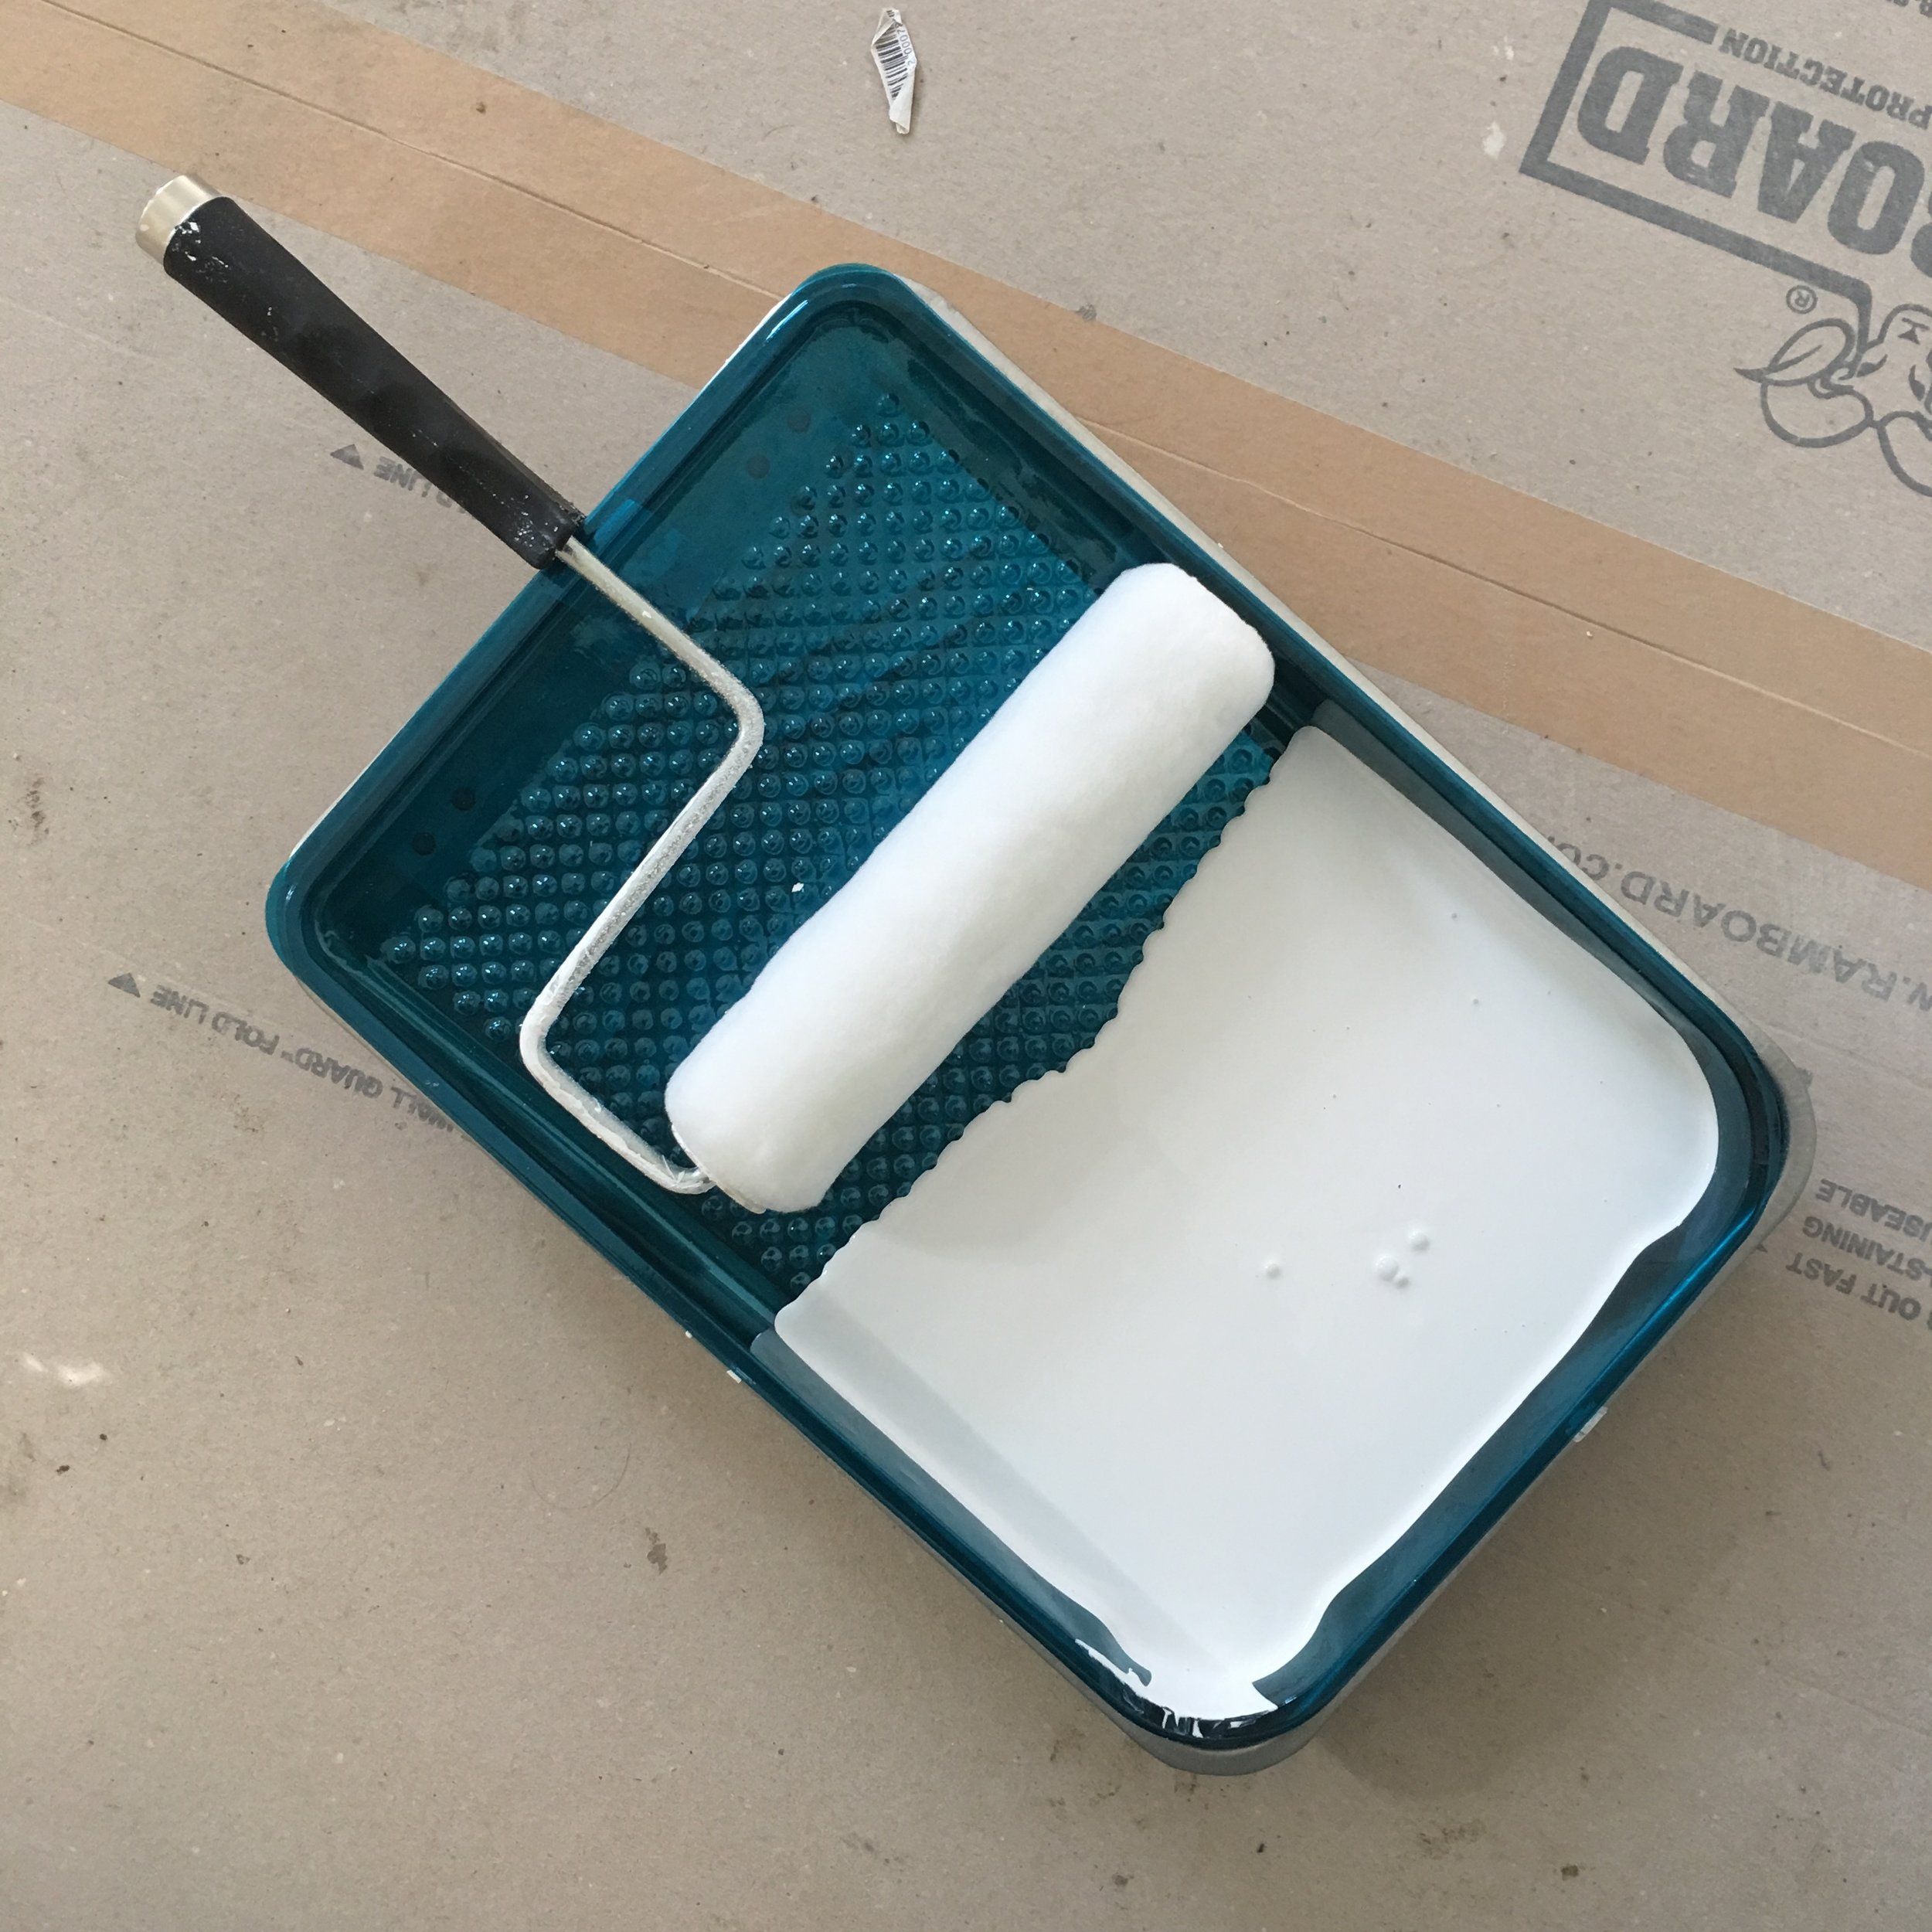
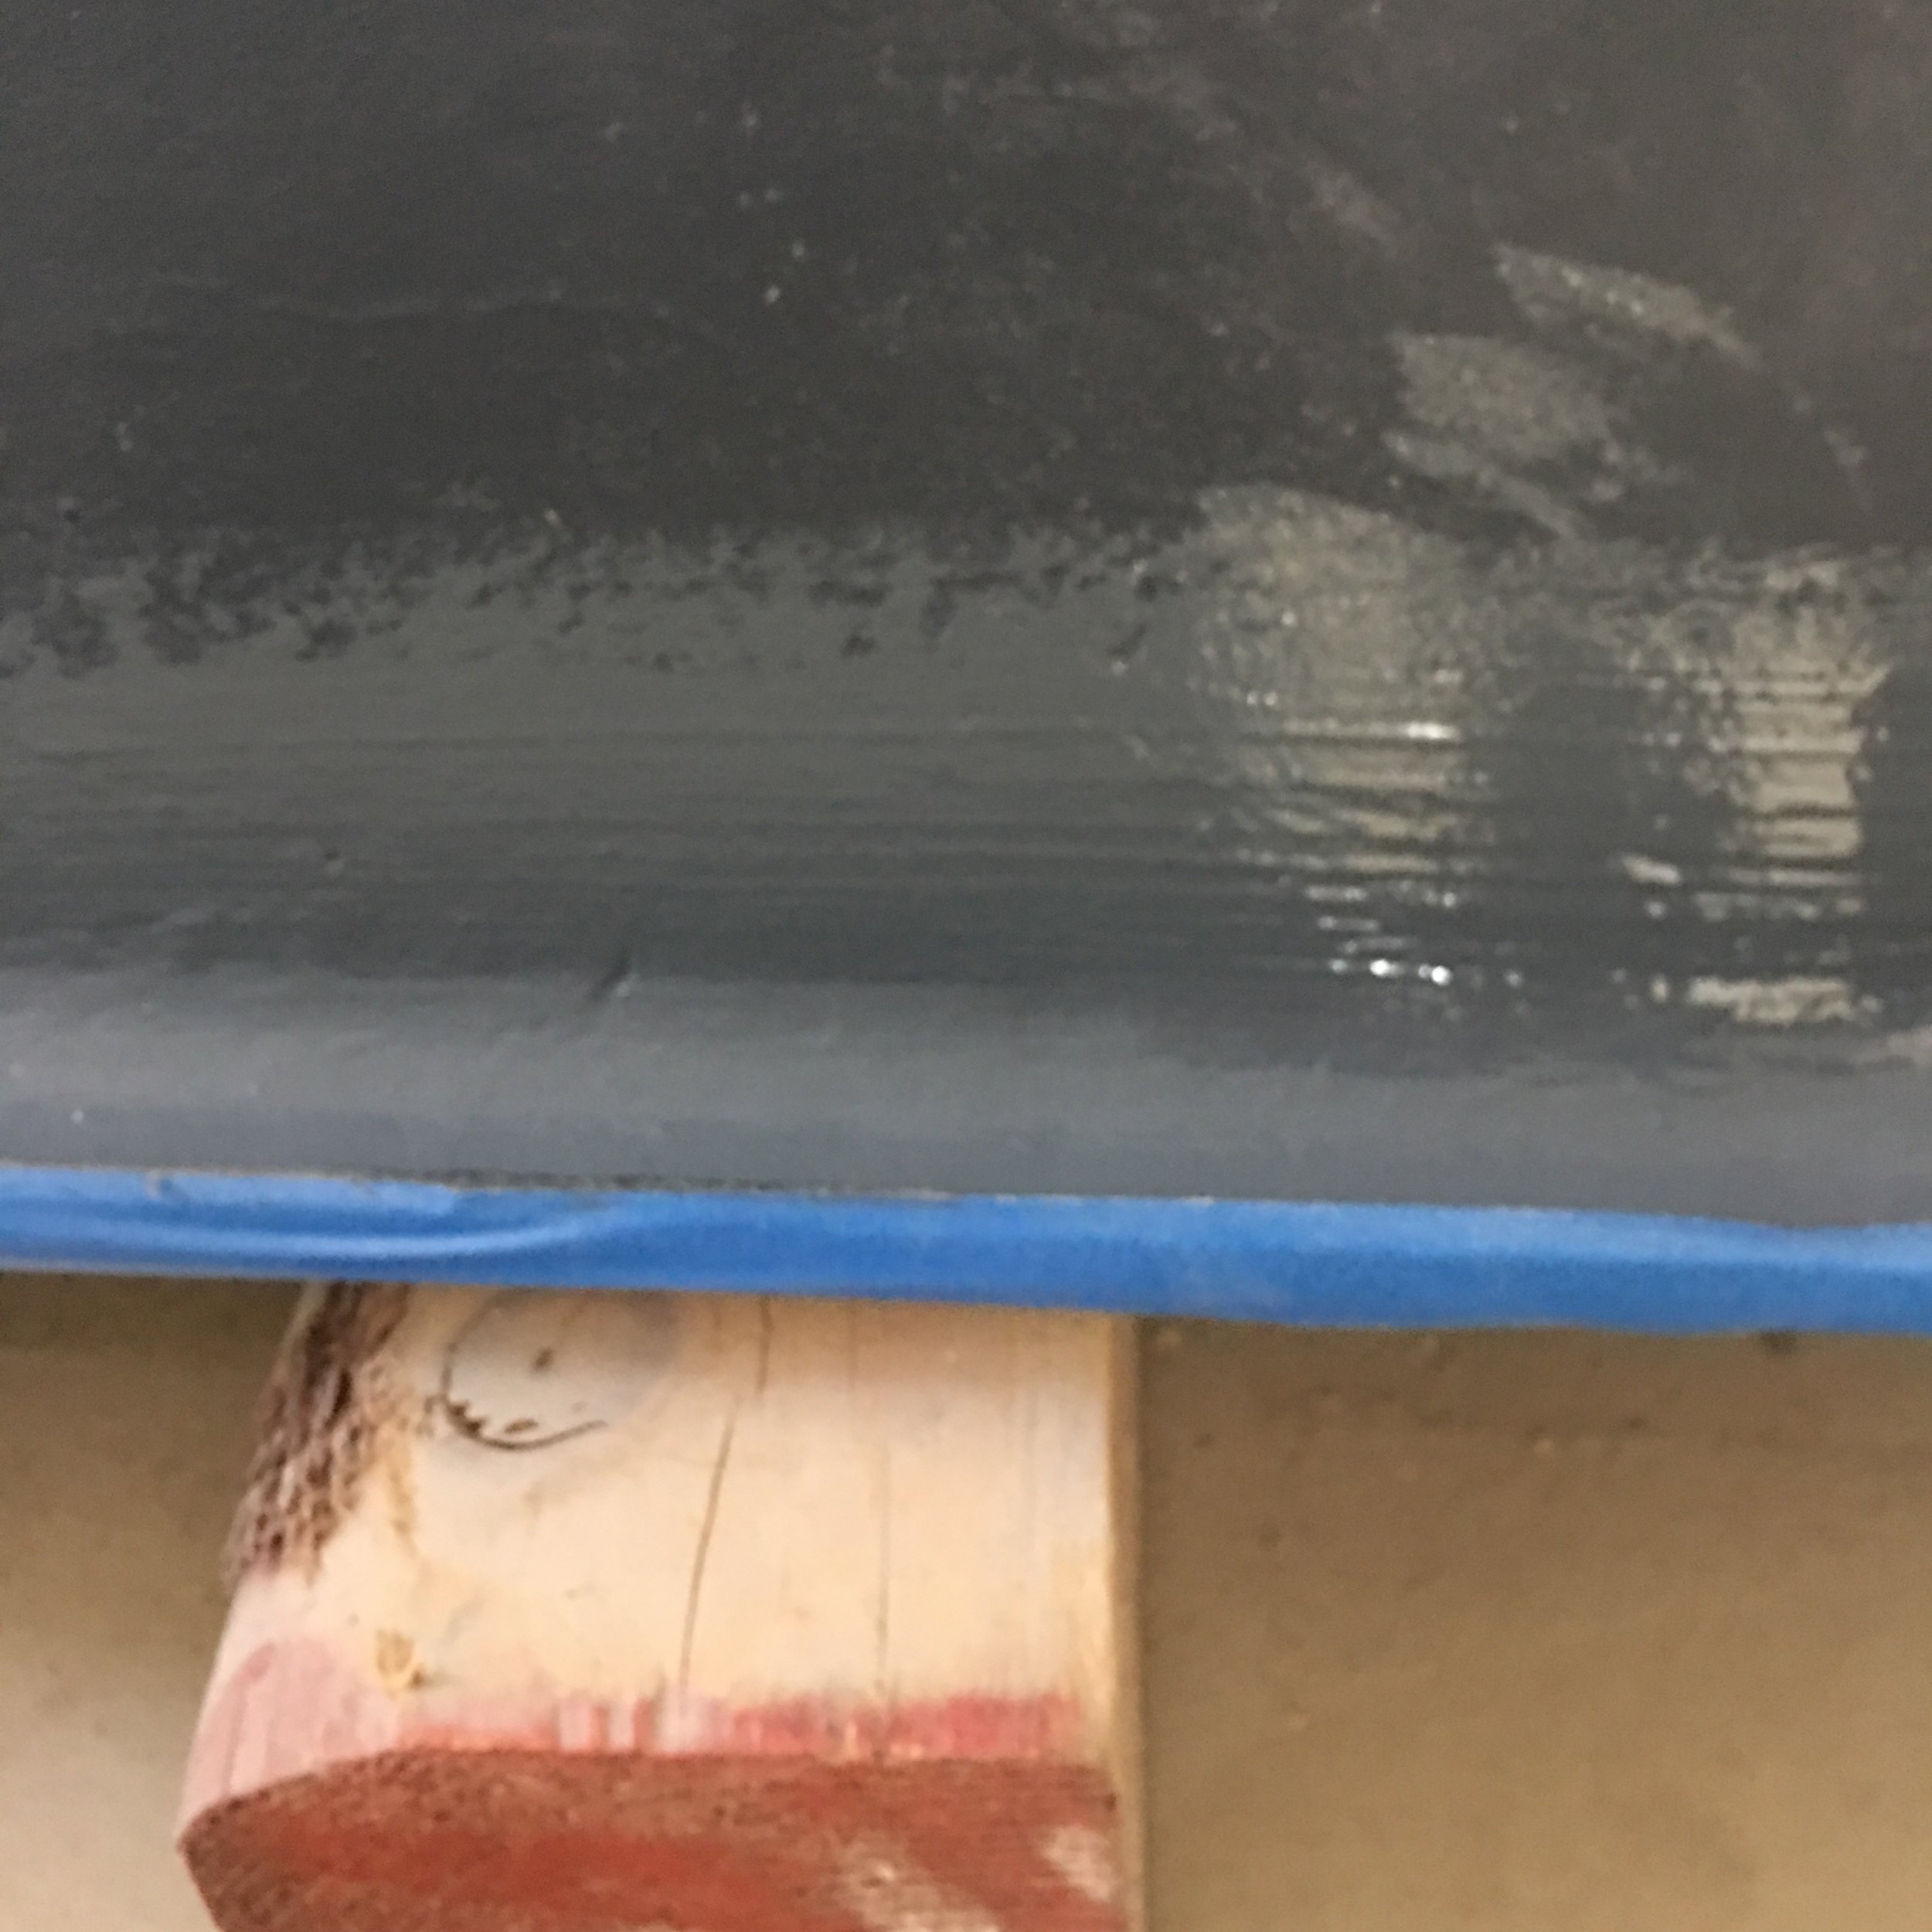
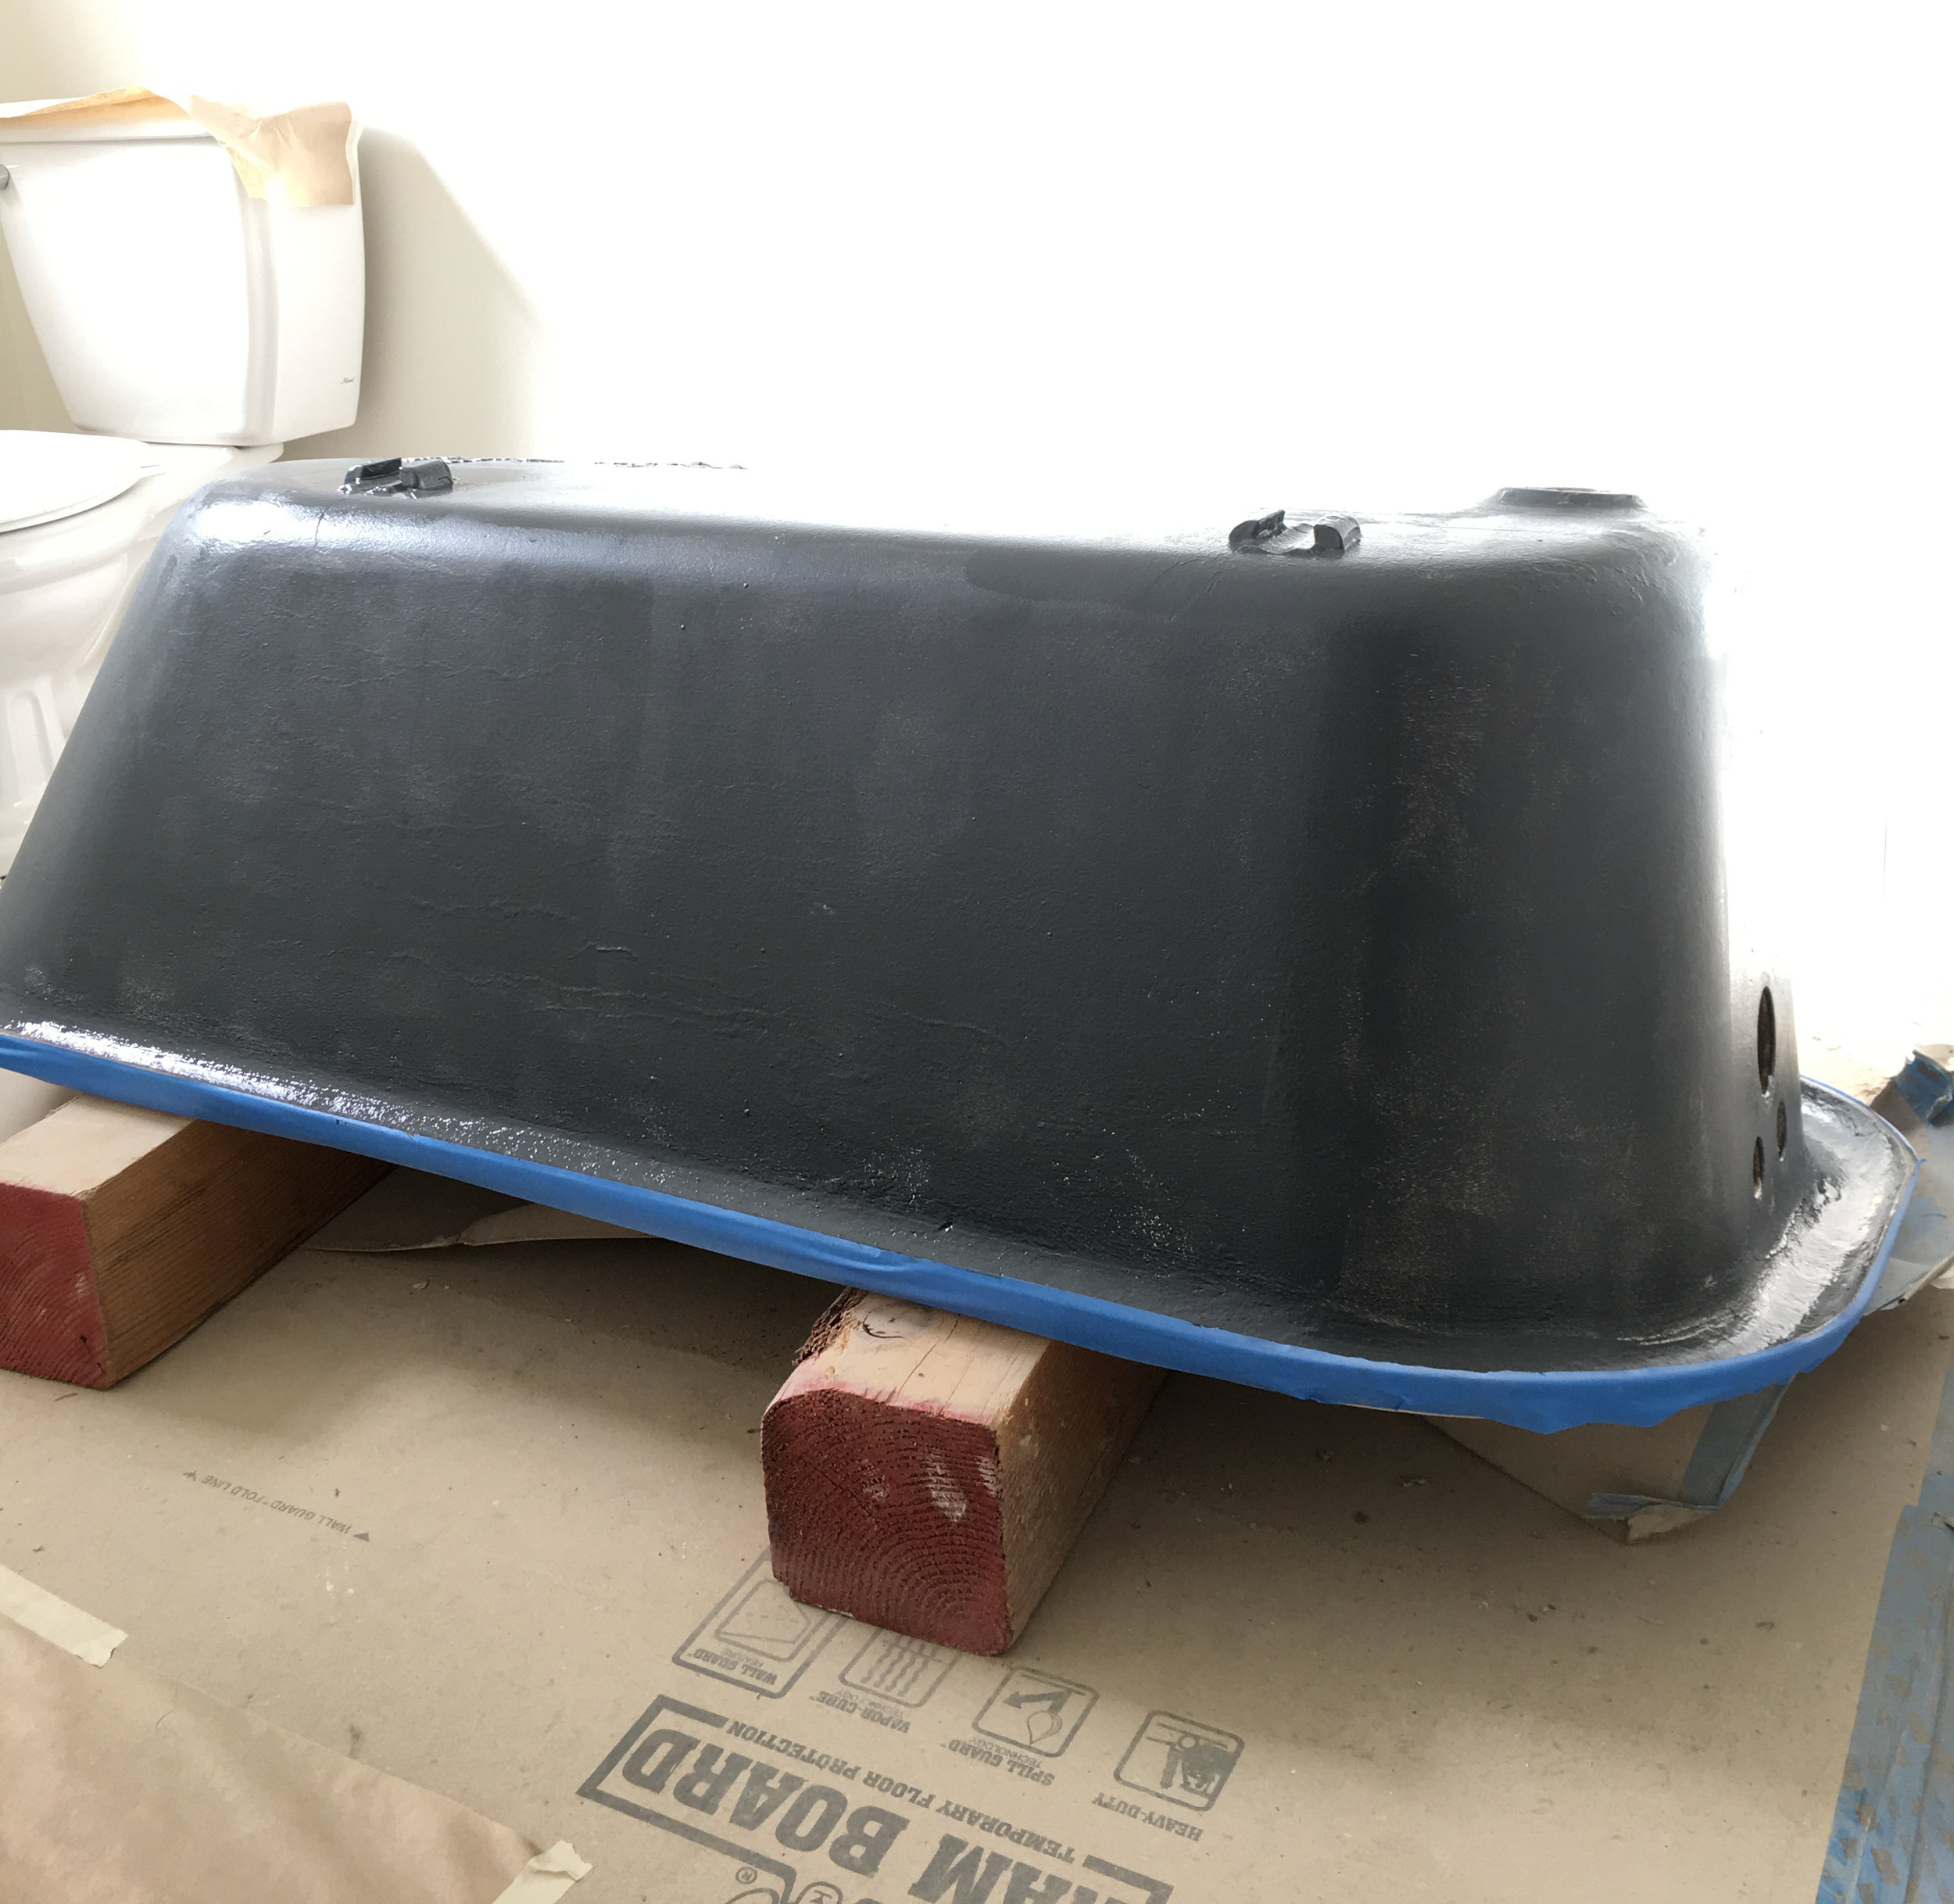
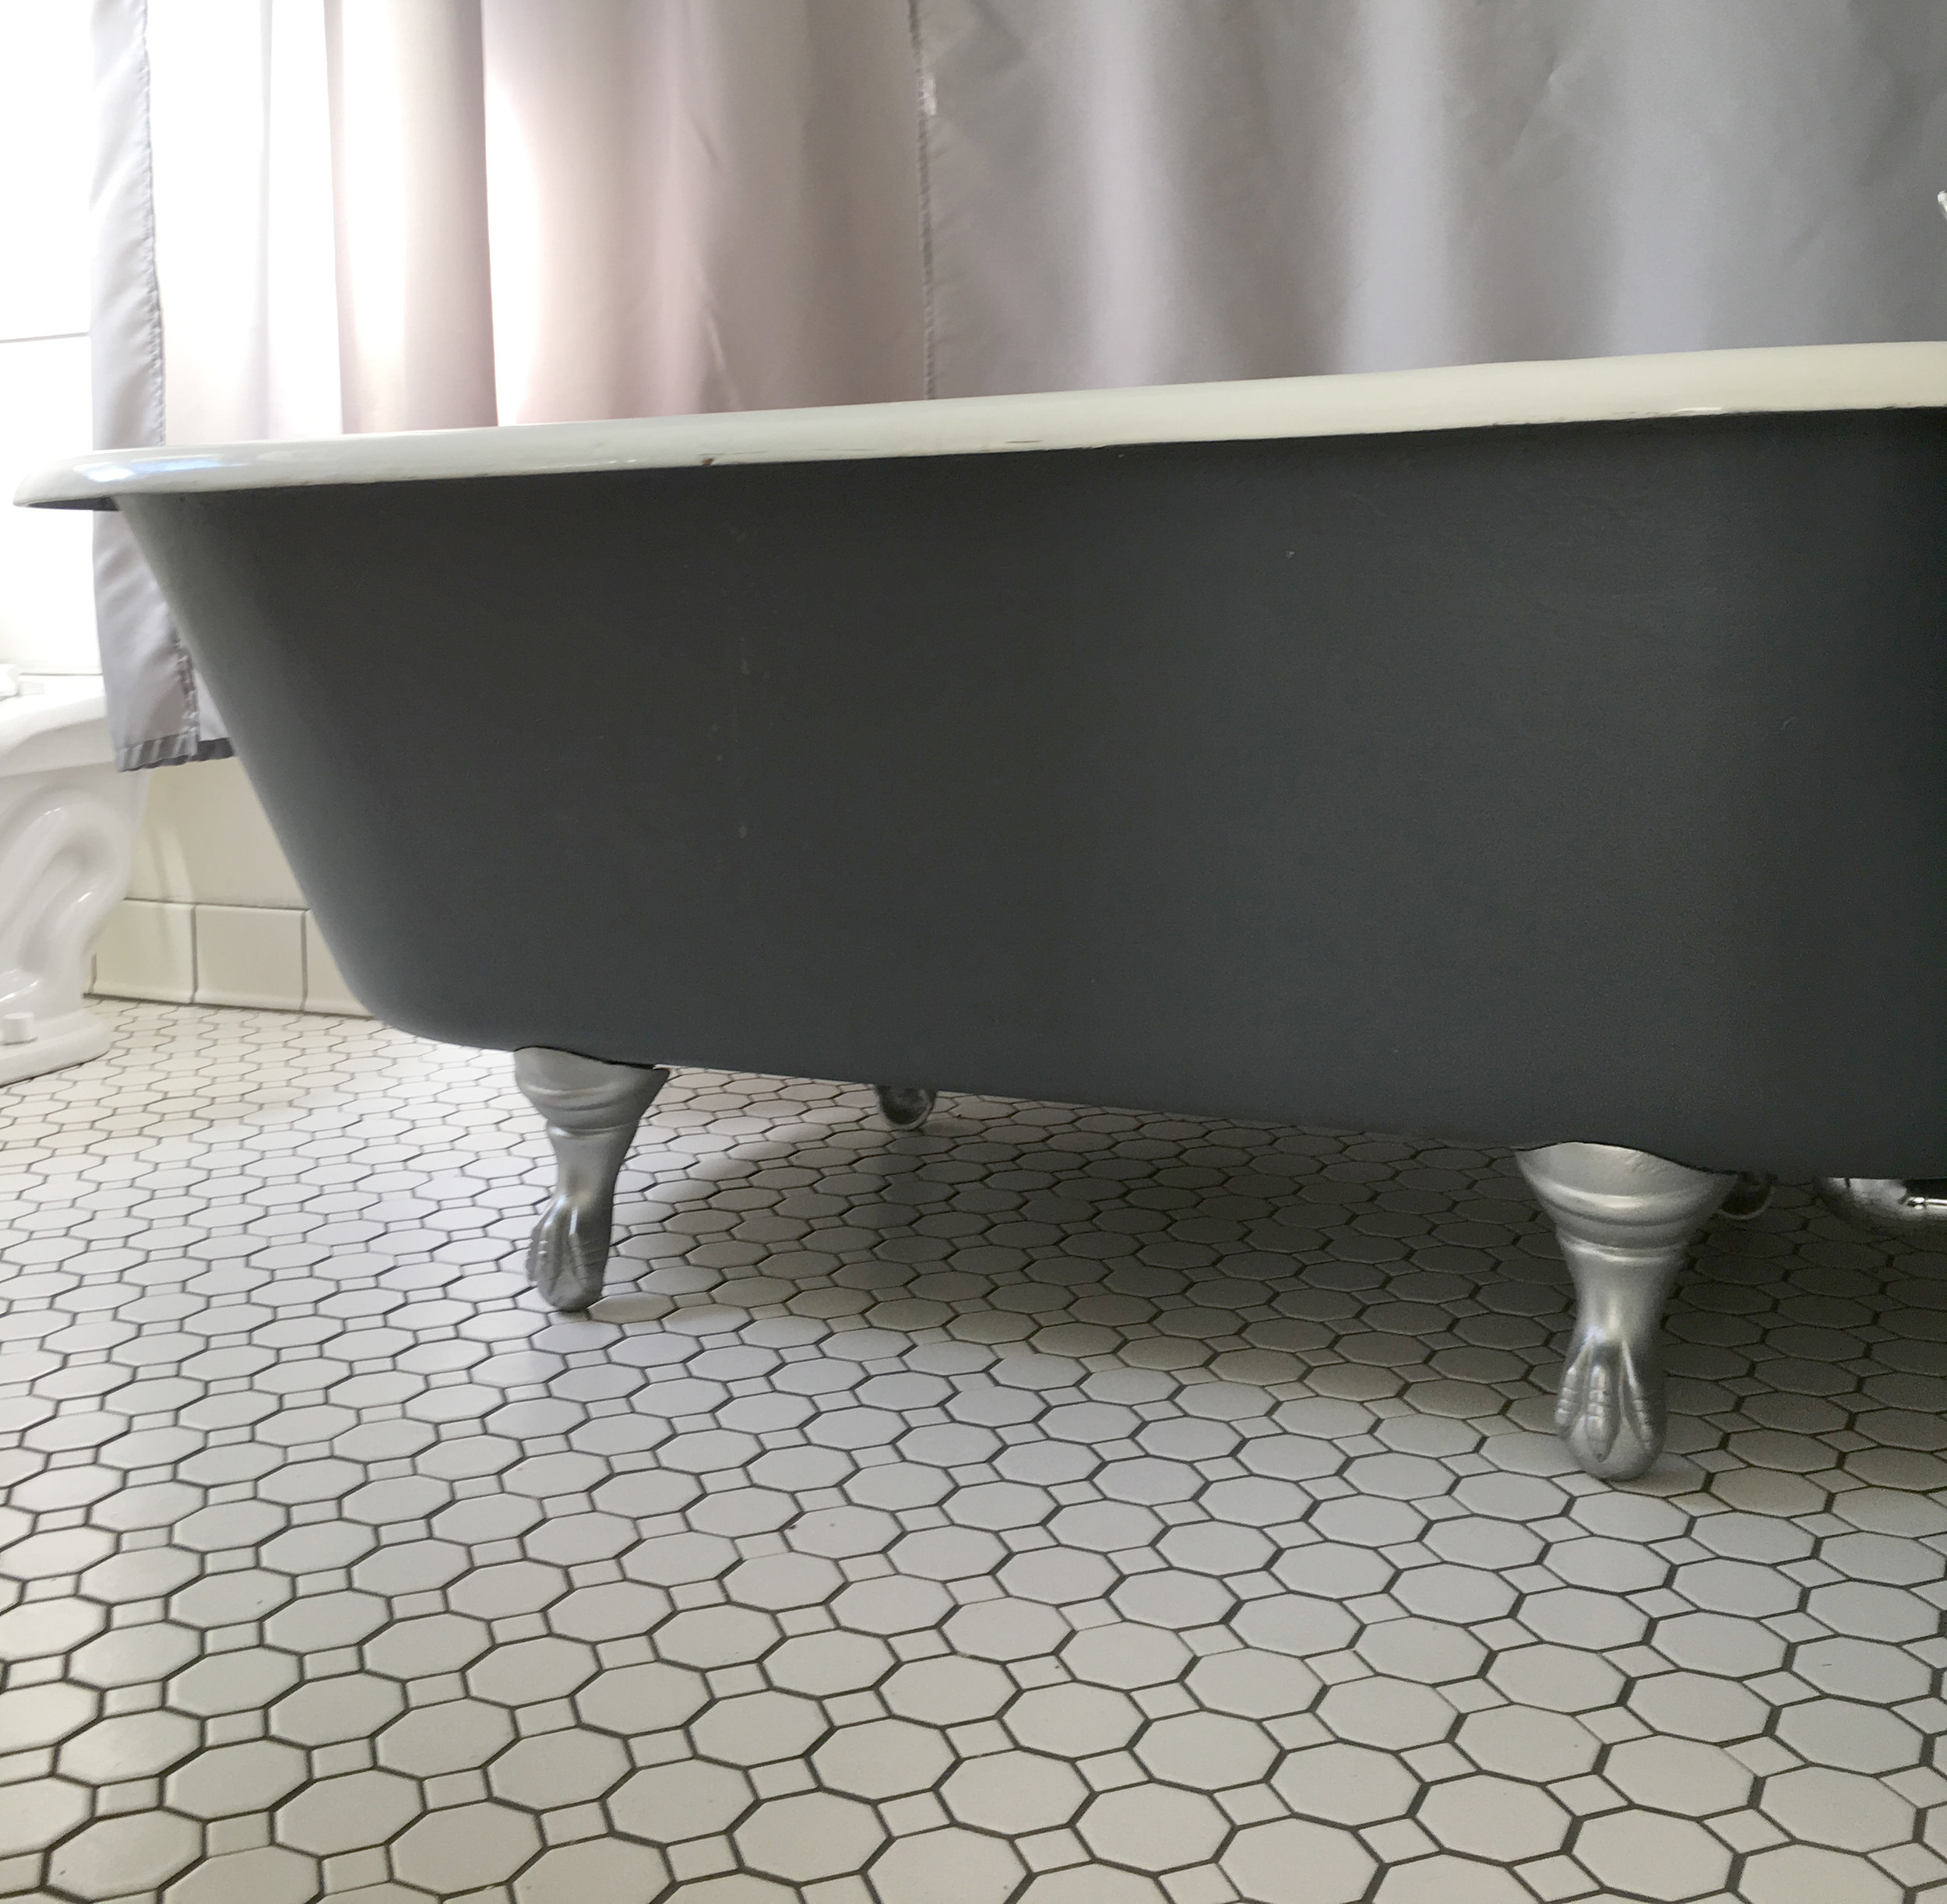
Now for the real coat of paint
I knew I wanted a rich, dark gray. But which one?

Full transparency: I started with Wrought Iron but it was way too dark. So I brought it down to my local paint store and chatted with them. They are lovely and helpful and made some suggestions about how much white to add. We sort of guessed and it came out okay.

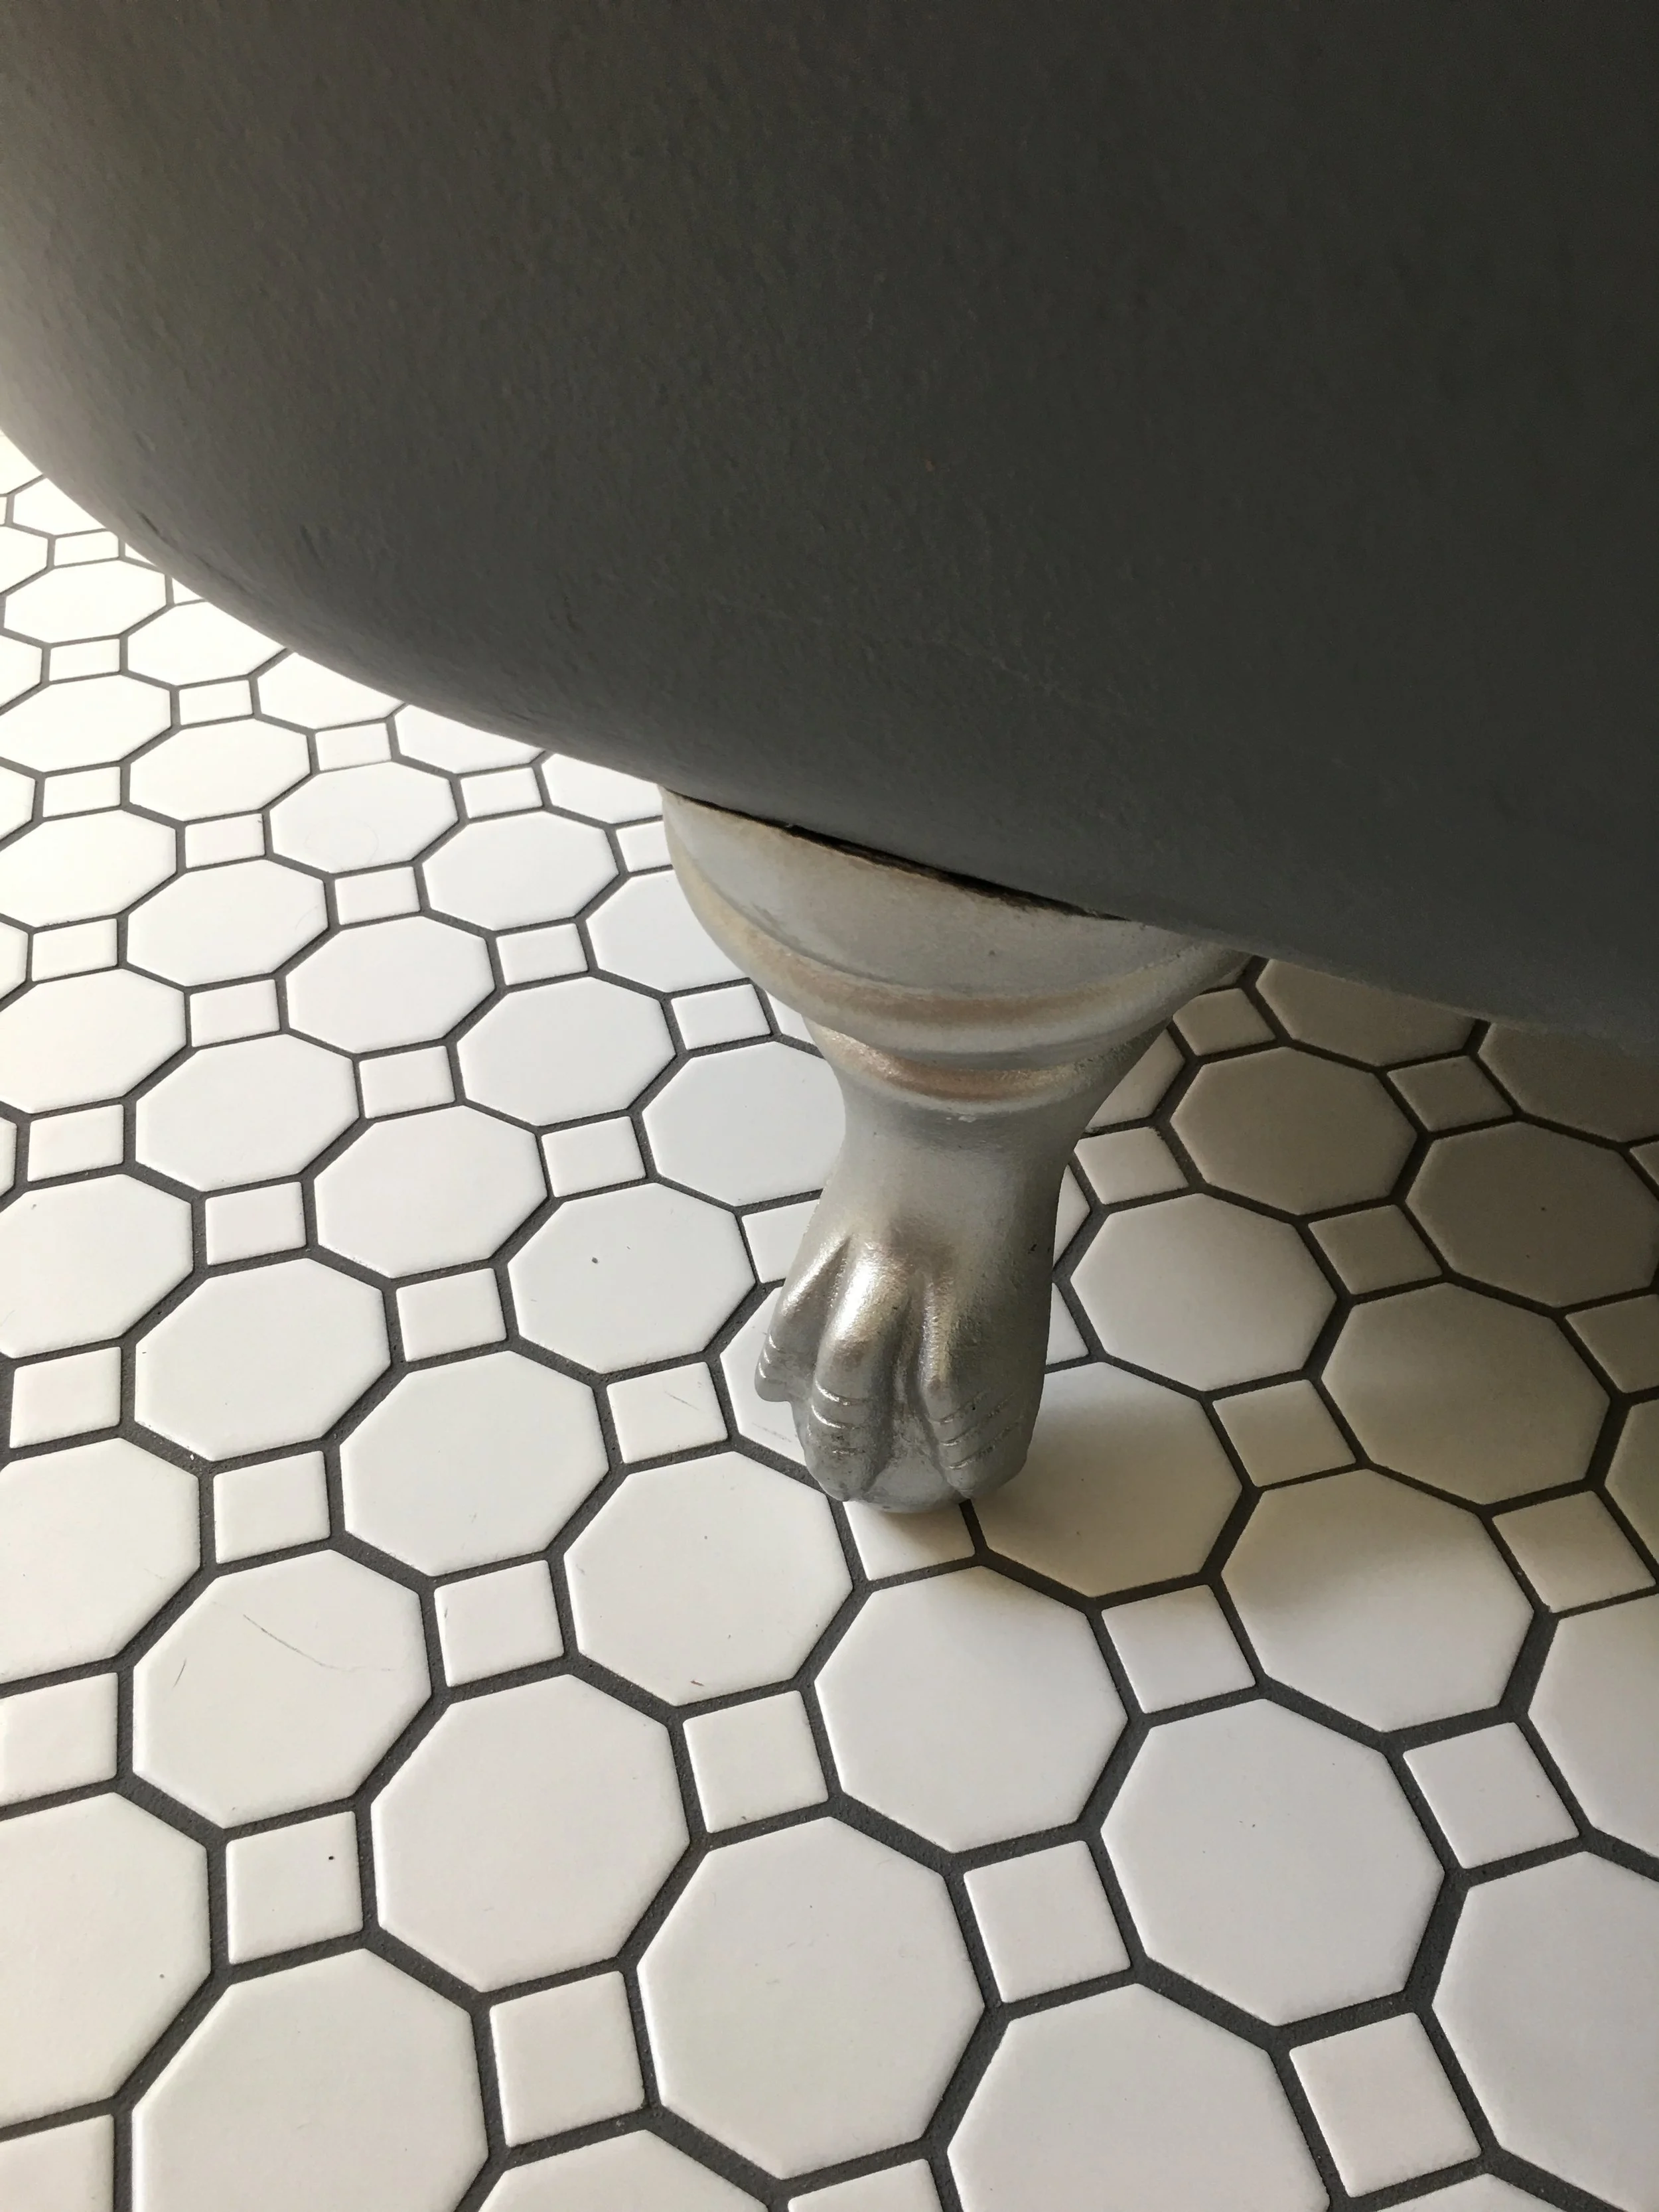
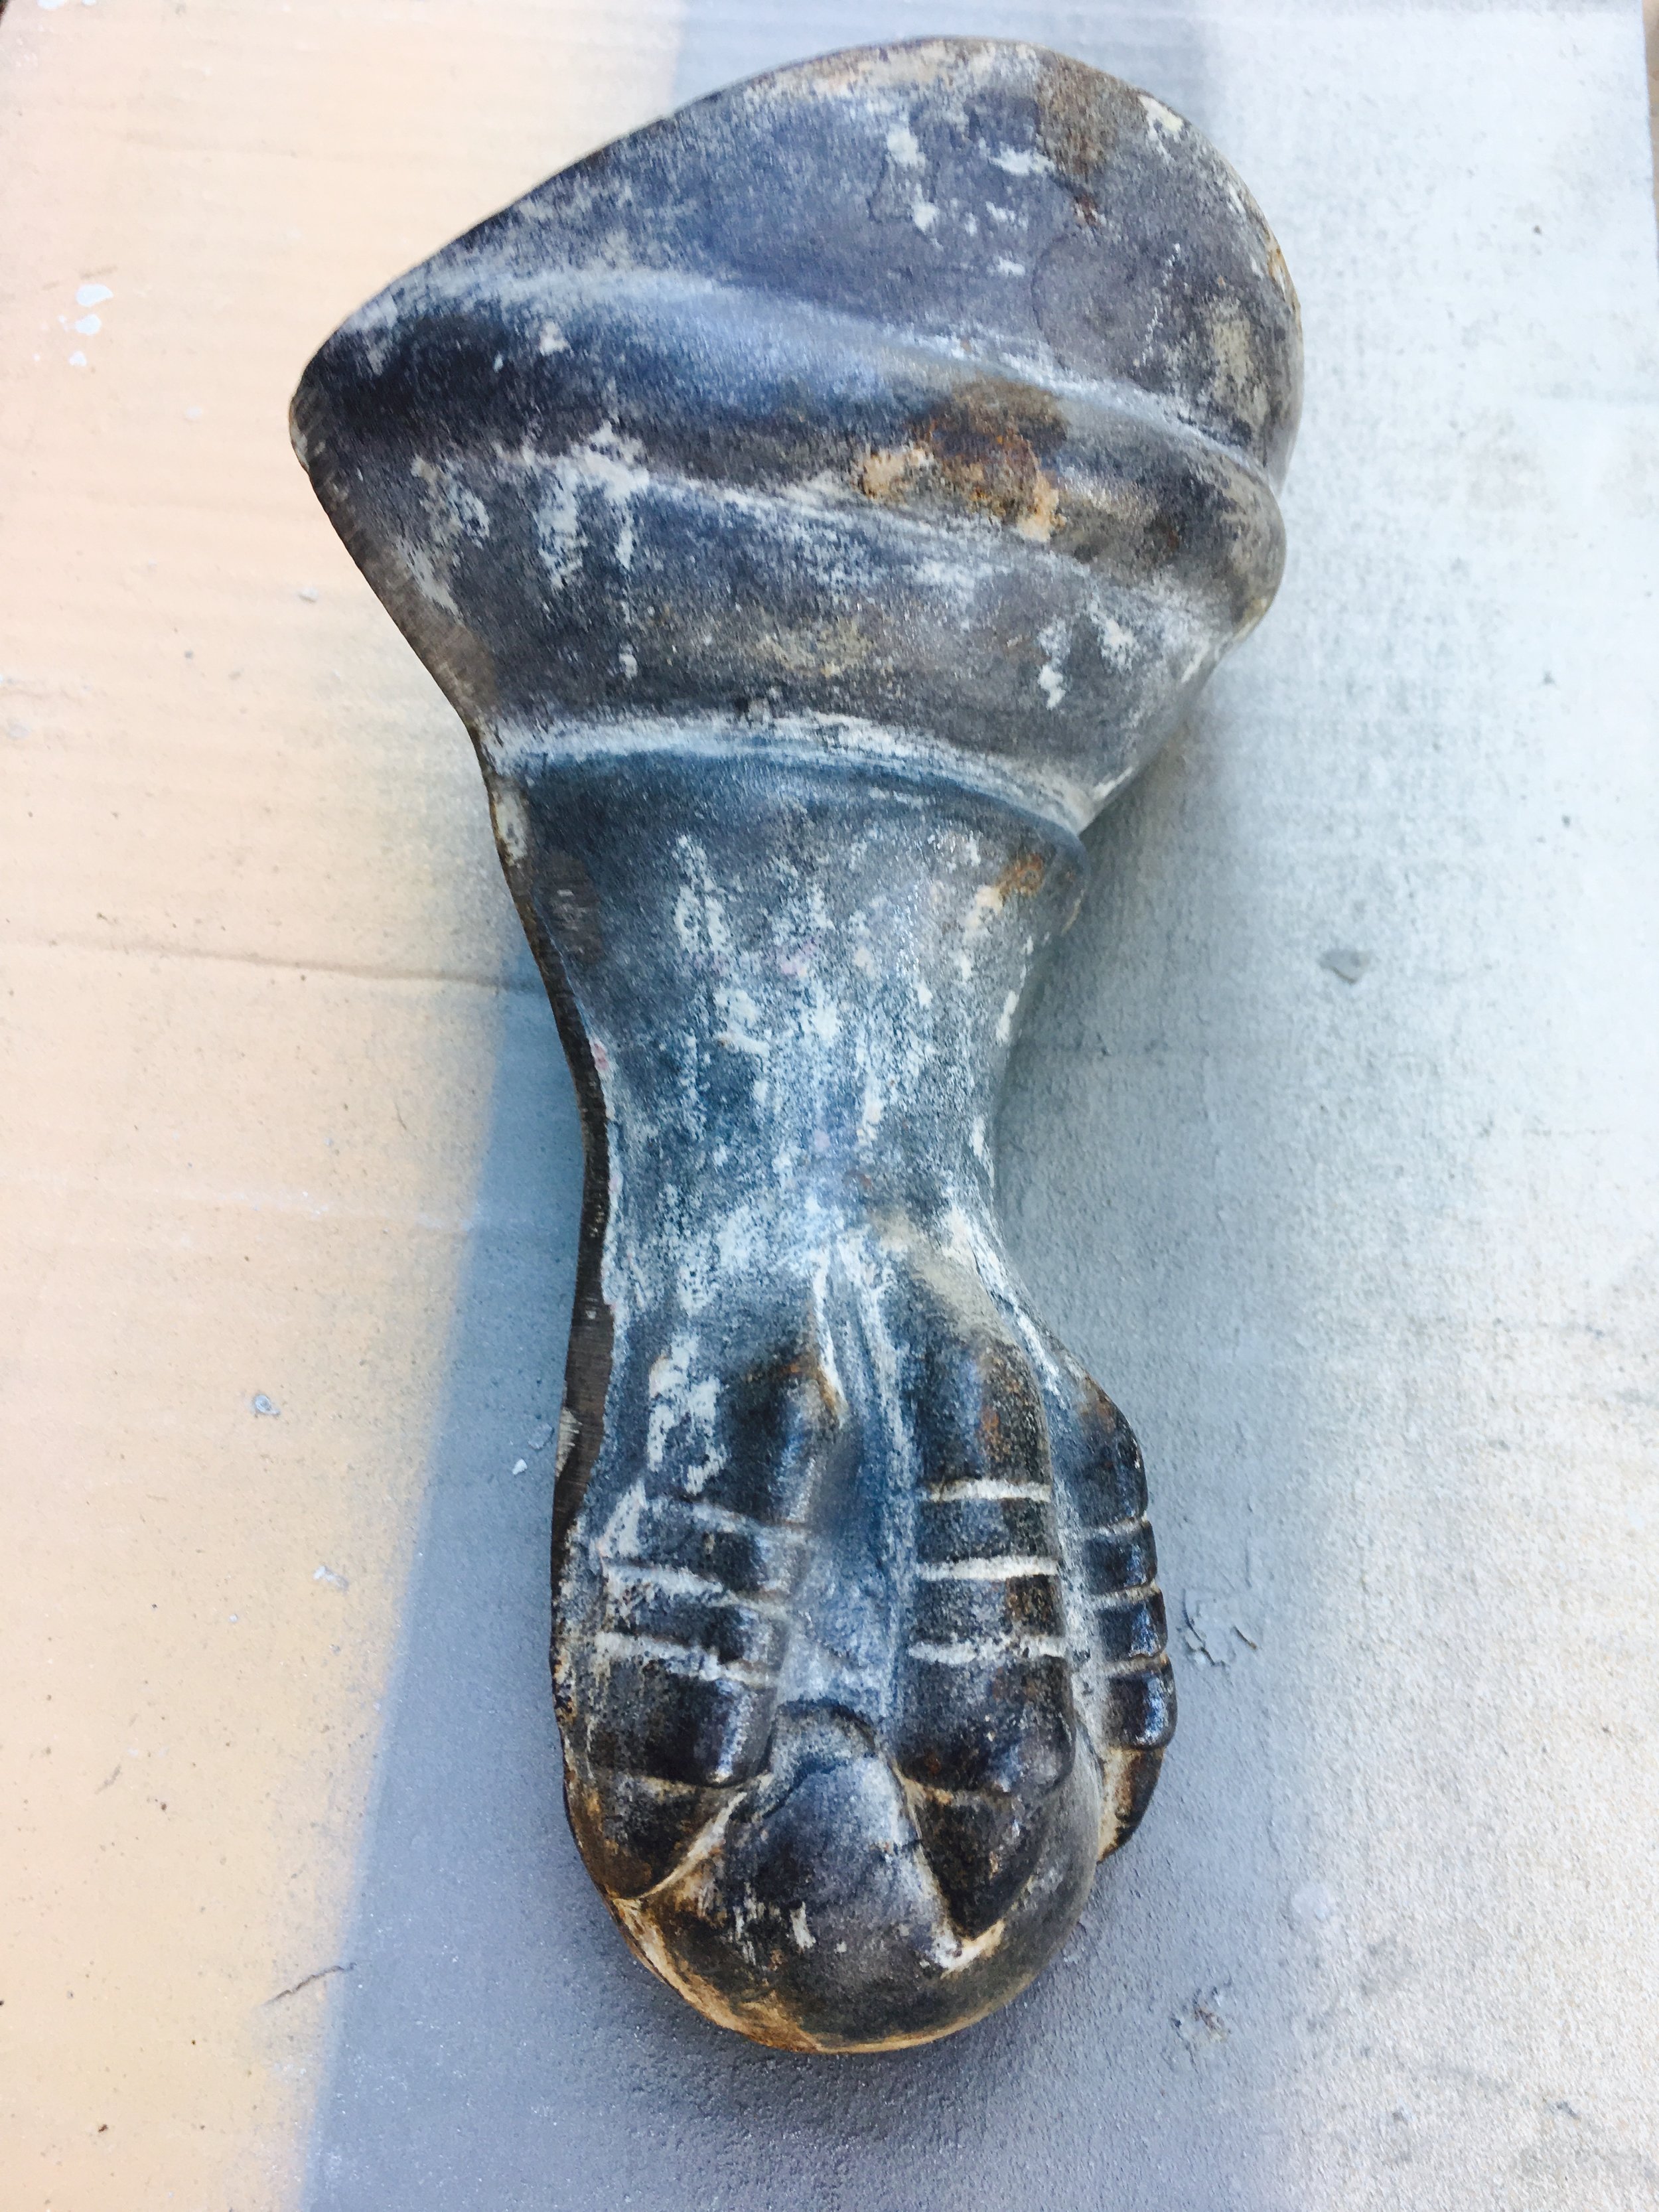
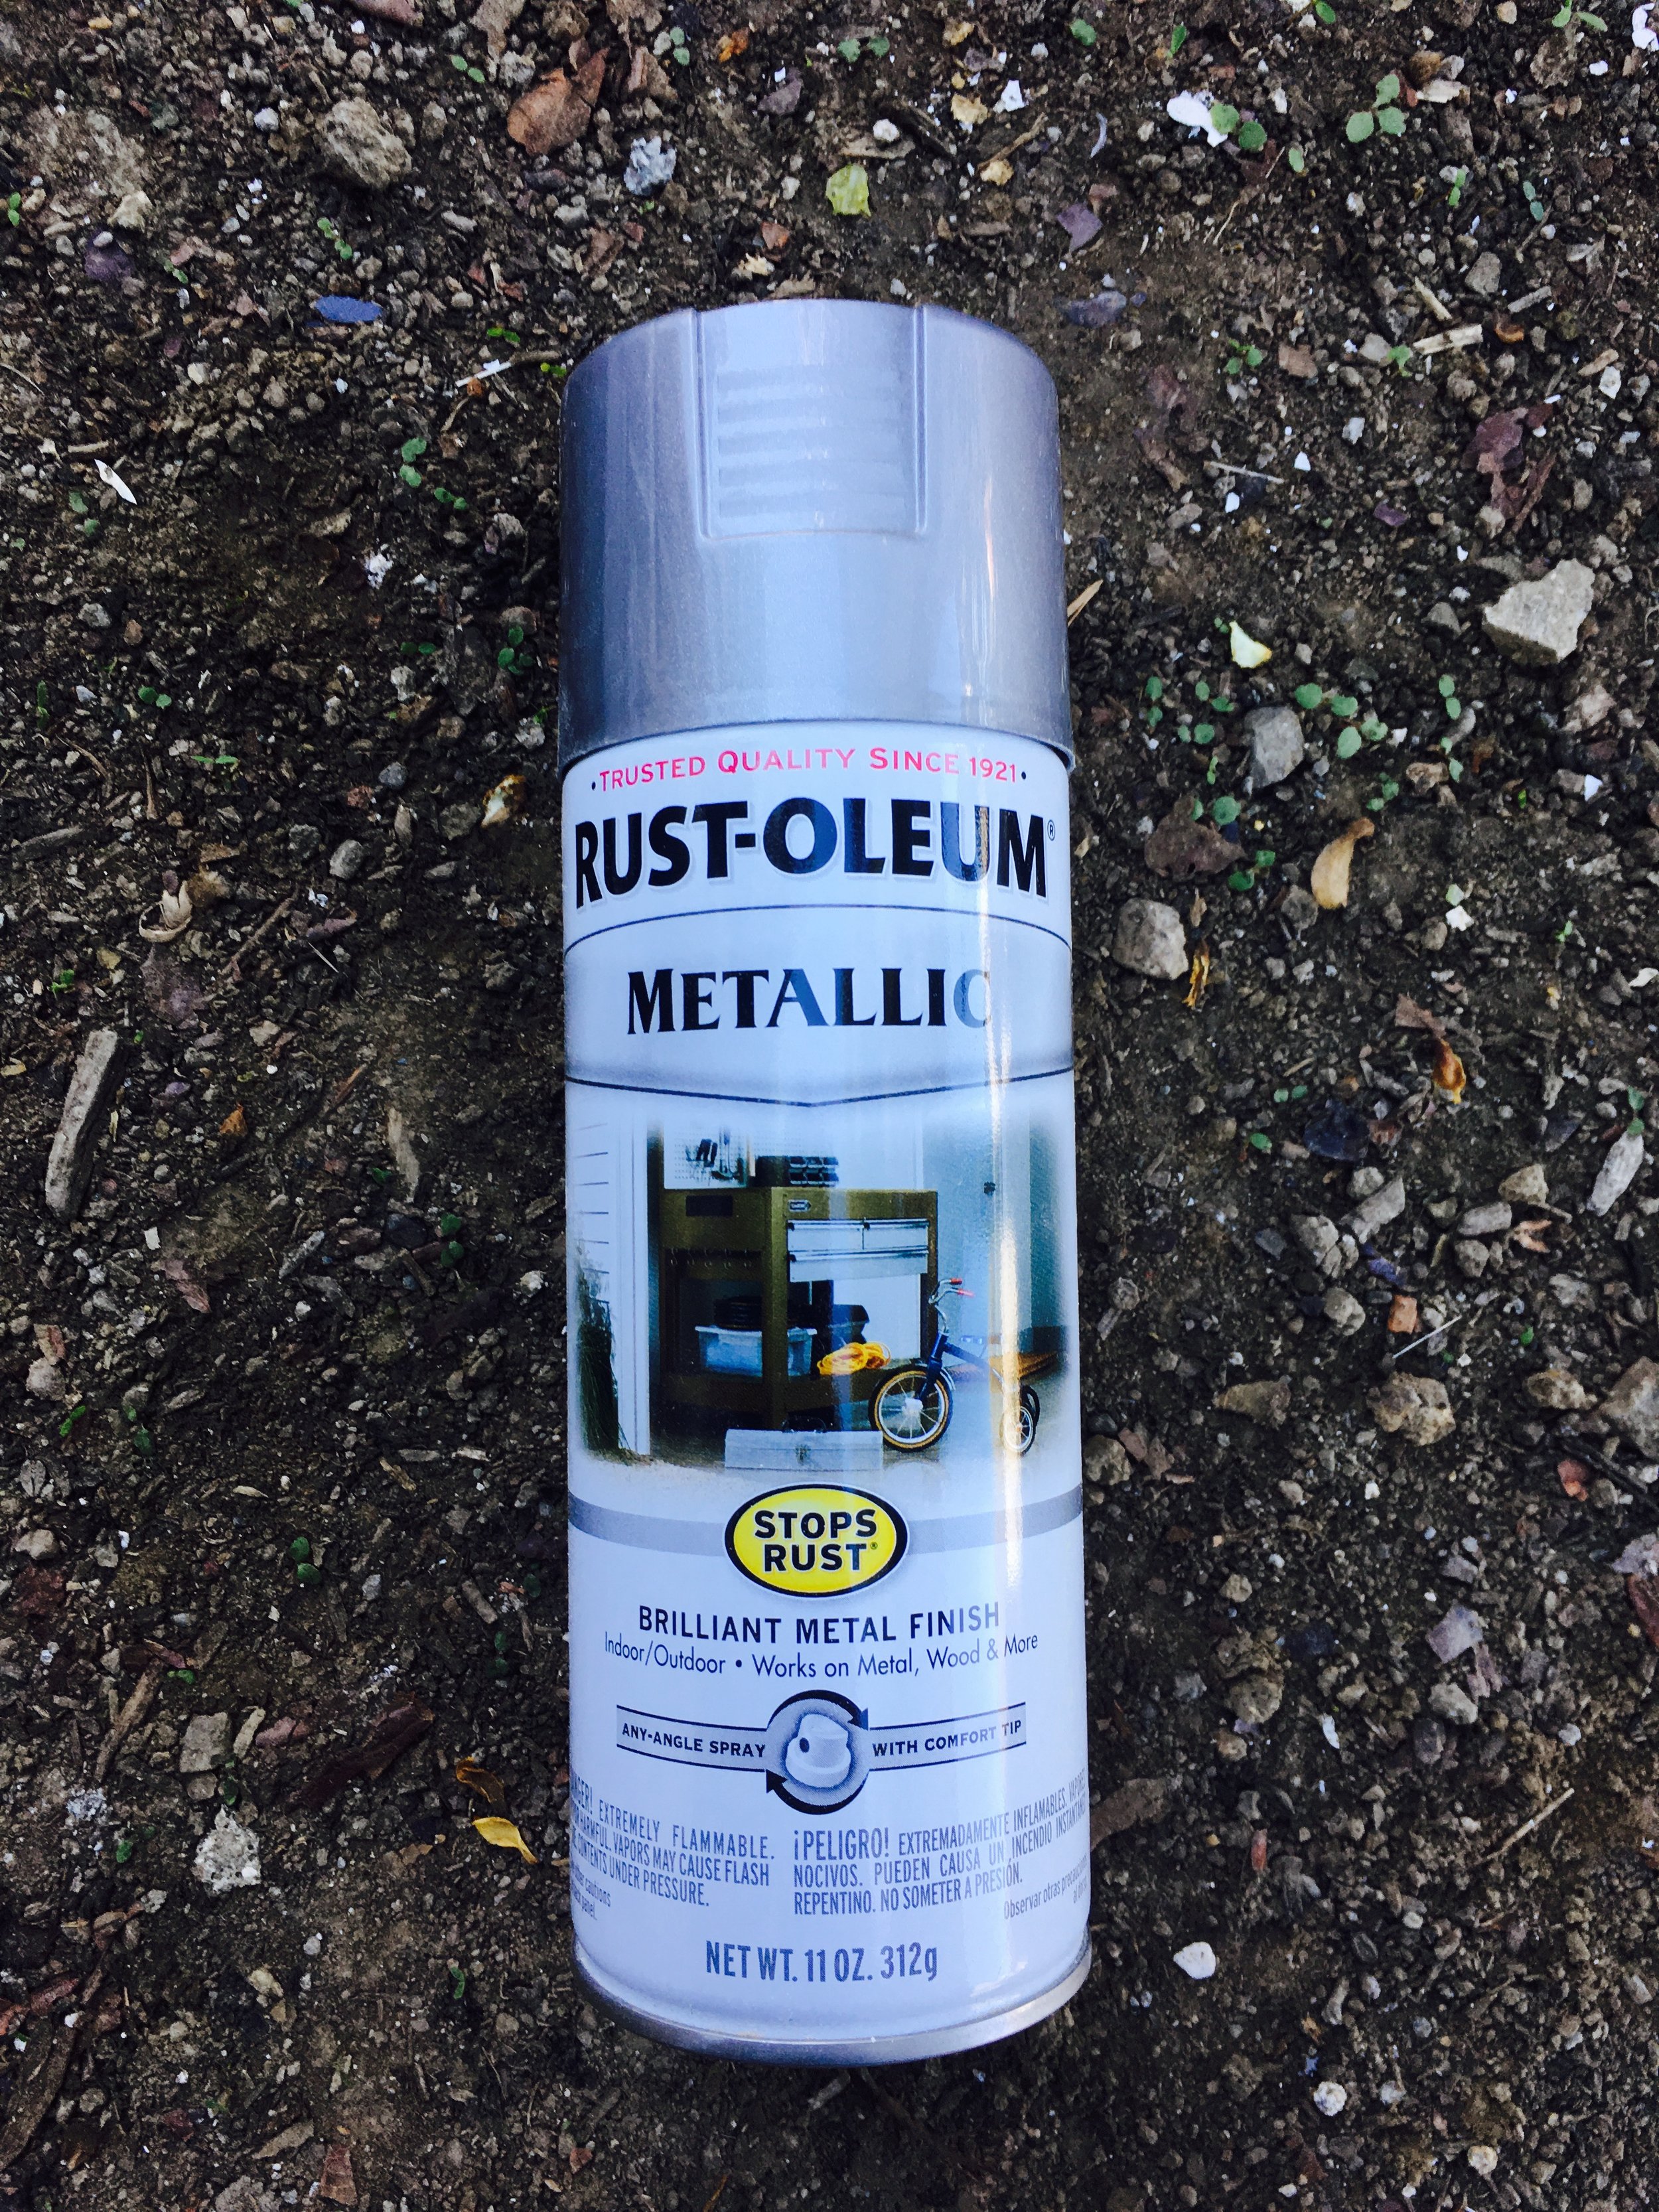
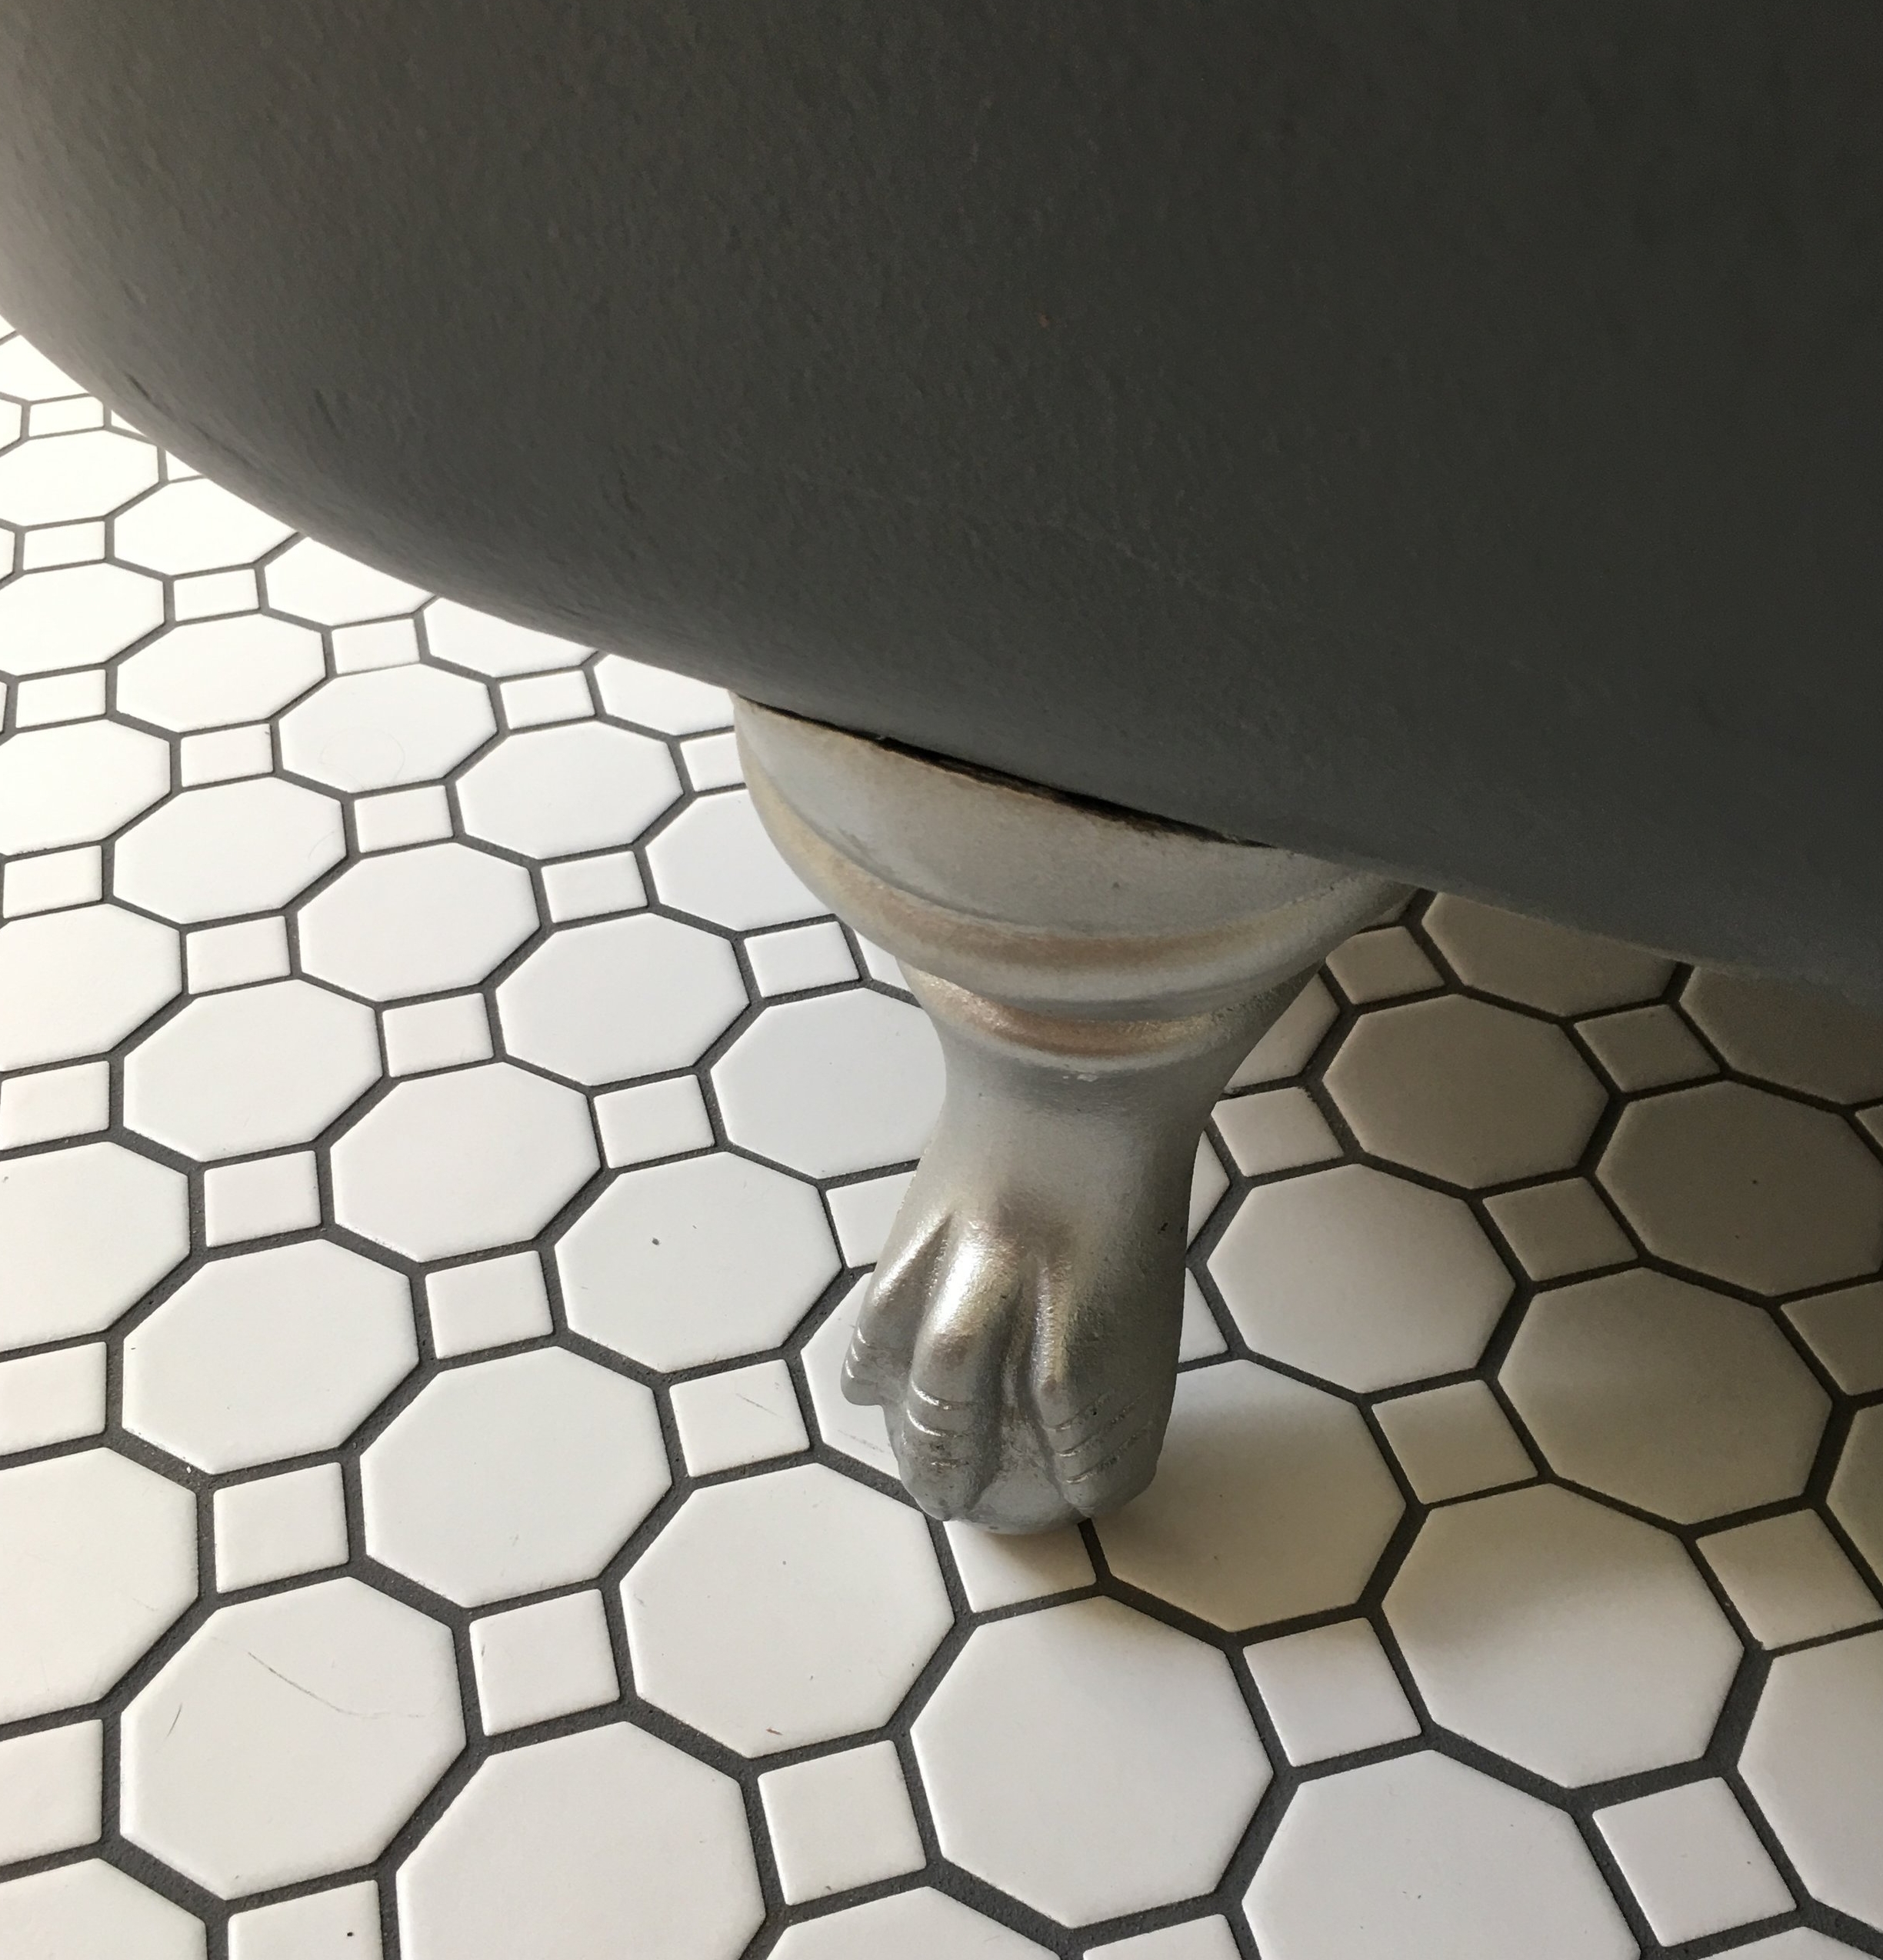
Ah, the Claw Feet!
This was the part of the project that I was most excited about. And a super quick and easy transformation. It's amazing what a little metallic silver spray paint will do!


And here's the finished product


I HOPE YOU ENJOYED LEARNING ABOUT the journey of our claw foot tub.
OTHER DIY PROJECTS
How to make a Mercury Glass mirror
Create a Criss Cross Vine Wall
How paint transformed my small, ugly bathroom
Add a shower to a small half bathroom
How to make a mirrored barn door
Know anyone who is interested in flipping homes?
WE DOCUMENTED THE RENOVATION OF LINCOLN AVENUE.
TAKE A LOOK AND PLEASE SHARE.
1. Flipping Lincoln Ave: Be brave...begin
2. Flipping Lincoln Ave: Yikes, this place is a mess
3. Flipping Lincoln Ave: Fun with tack strips
4. Flipping LIncoln Ave: Demo Day
5. Flipping Lincoln Ave: Ready Set Go!
6. Flipping Lincoln Ave: Up You Go
7. Flipping Lincoln Ave: We're Deep In Now
8. Flipping Lincoln Ave: Meet Cousin It
9. Flipping Lincoln Ave: It's a numbers game
10.Flipping LIncoln Ave: A long, overdue update